
Fabric Replacement #
Warning: This procedure requires careful attention to detail. Improper fabric centering will result in telescoping issues. If you need assistance, please contact Screen Innovations Technical Support at 512.832.6939 Option 3 or email Techsupport@screeninnovations.com
Step 1: Remove the Fabric, Tube and Weight Bar from the Shade #
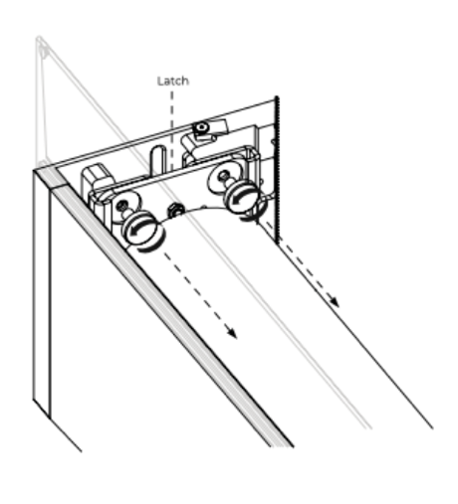
Remove the weight bar from the tracks
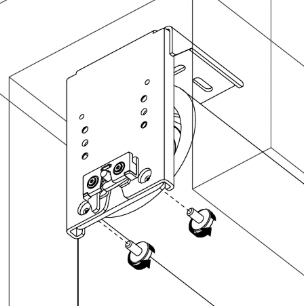
Remove the 2 safety thumb screws from each bracket
Release the latch on both brackets and remove the roll
Note: The motor plate is secured to the motor head with a C-clamp. The idler plate is not secured.
Step 2: Remove the Weight Bar #
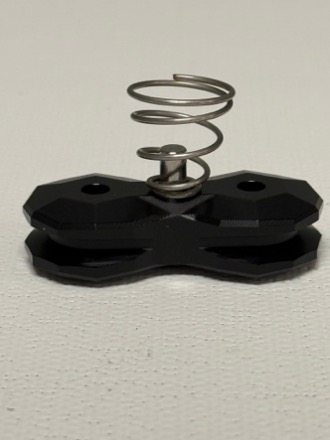
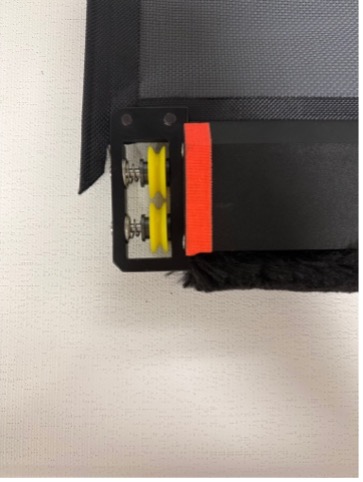
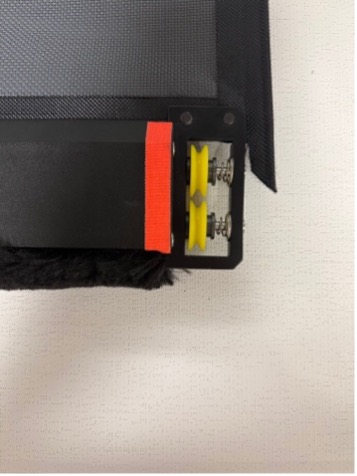
Remove the end caps
Note: Depending on the age of the shade, you will either have 2 wheels or the new Onyx on each endcap.

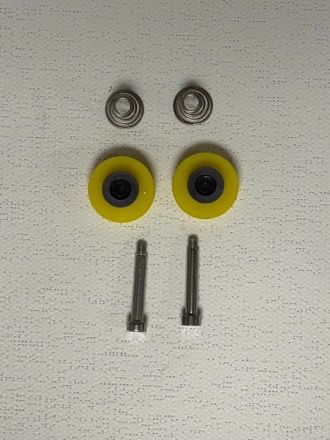
To access the 4 screws to remove the end caps, you will need to remove the wheels or Onyx
Remove the 2 screws (3/32″ Hex) and remove all parts
Remove the 4 Phillips head screws
Remove the 2 Hex screws above the Onyx or Guide Wheels
Slide the end cap off the weight bar
Repeat this on the other side
Slide the fabric off the weight bar and set aside
Step 3: Remove the Fabric from the Tube #
Unroll the fabric all the way to fully expose the tube
Remove the plastic plugs at the end of the tube (if applicable)
These can be extremely tight and can break during removal — they will not be needed
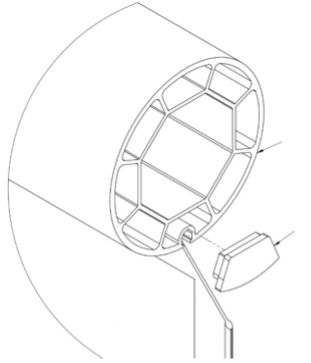
Slide the fabric off the tube and discard the old fabric
Step 4: Install New Fabric on the Tube #
Remove the replacement fabric from the box and packaging (Do NOT use a blade)
Unroll the fabric on a clean surface and identify the top/bottom:
The top will have the 45° angle cut on the left and right sides
The bottom will have the extended keder, and no 45° cut in the fabric
Slide the top of the fabric into the groove
Center the fabric on the tube
Important: The fabric must be centered on the tube to prevent telescoping.
While the fabric is taut, measure the top of the fabric from the edge of the keder to the edge of the keder (Fabric_L)
Measure the tube length (Tube_L)
Follow this formula to find the distance from the edge of the tube to the edge of the keder on either side of the system (Dist): Dist = (Tube_L – Fabric_L) / 2
Adjust the fabric on the tube so that the fabric is the correct distance away from the tube on both sides (Dist)
Step 5: Roll the Fabric on the Tube #
Important: Make sure the motor and the tube adapter, and the idler are fully seated into the tube.
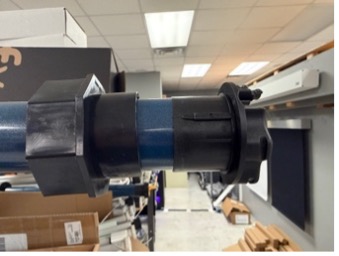
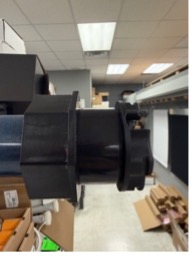
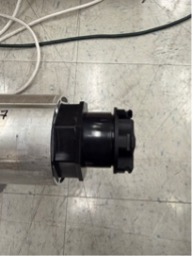
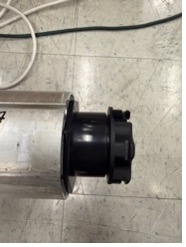
Start rolling the fabric while keeping the keder even, and stacking on top of itself on both sides
Leave a few feet to leave room for the weight bar installation
GOOD! — Correct Alignment 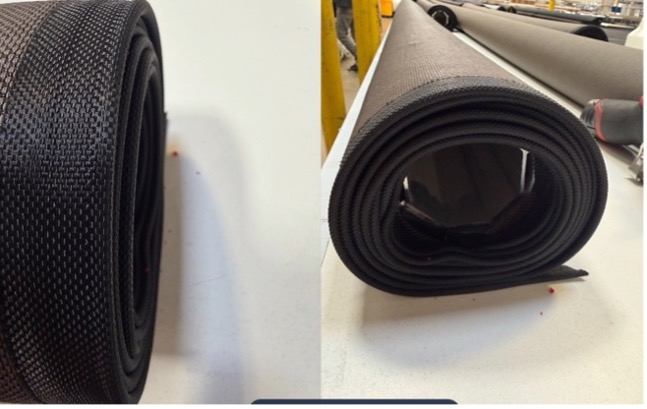 WRONG! — Telescoped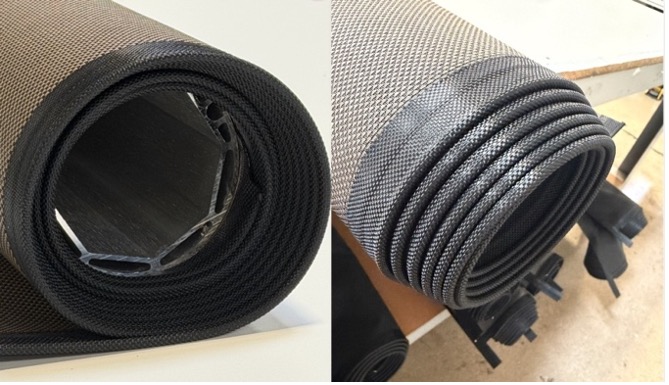
Step 6: Re-install the Weight Bar #
Slide the bottom keder into the groove at the top of the weight bar
Center the weight bar on the fabric and measure the distance from the end of the weight bar to the edge of the keder on both sides to ensure it is centered
Re-install the end caps using the 4 screws into the end of the weight bar, repeat on other side
Re-install the Onyx or Guide Wheels on both sides
Step 7: Re-install the Fabric, Tube and Weight Bar #
Install the Motor Plate and C-Clip, and the Idler plate
Insert the fabric roll into the brackets until the latch clicks
Screw in the 2 Safety Thumb Screws on each side
Step 8: Make Sure Roll is Tightly Wrapped #
Unroll the shade all the way to the tube
Verify the fabric is centered on the tube
With someone on each side, slowly roll up the shade while applying downward pressure as the shades roll up, guiding the keder to stack evenly
Warning: The first 3 FULL wraps are the most important!
Continue to roll the shade UP while applying pressure and keeping the keder aligned on both sides
If telescoping happens while rolling up, roll down before the point where telescoping started, and continue rolling up while applying downward pressure, guiding the fabric as it moves until it stacks evenly on both sides
Install the weight bar into the tracks
Cycle the shade 2-3 times
Tip: If you continue to experience telescoping issues after following these steps, contact Screen Innovations Technical Support for additional assistance.



