Groups & Scenes #
Creating Groups #
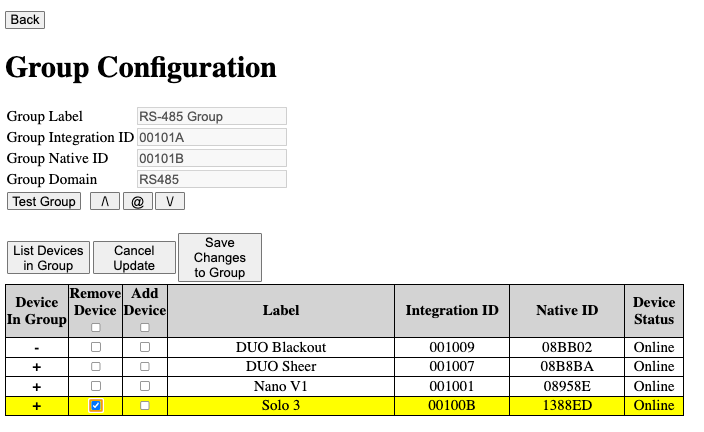
RS-485 Groups #
Only like devices can be in the same group. If you are using multiple communication types, check out the Creating Super Groups section.
In the Integration Table:
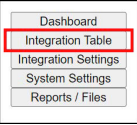
Go to Integration Table Group Table
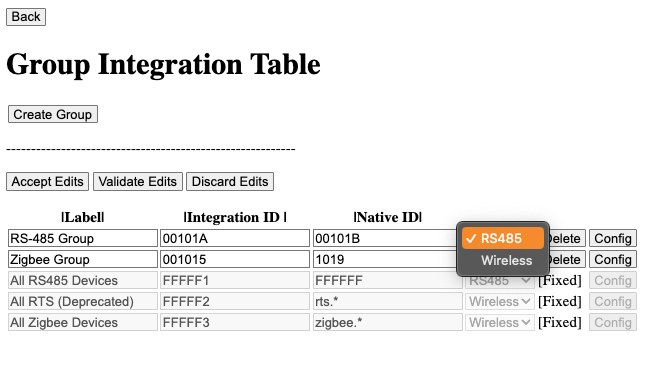
Click Create Group

Enter a Group Name
Select “RS485” from the dropdown
Click Accept Edits to save
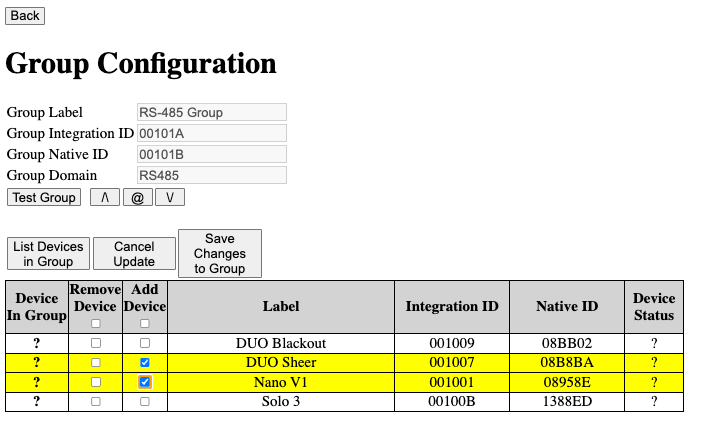
Click Config on the group to add devices
Check the boxes in the “Add Device” column
Click “Save Changes to Group”
Click the “Back” Button to return to the Device Table
Zigbee Groups #
In the Integration Table:
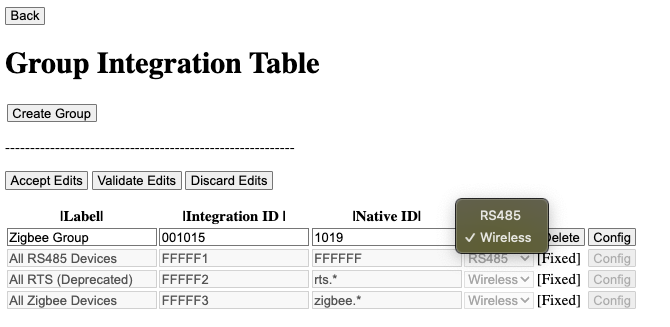
Click Group Table
Click Create Group
Enter a Group Name
Select “Zigbee” from the dropdown
Click Accept Edits
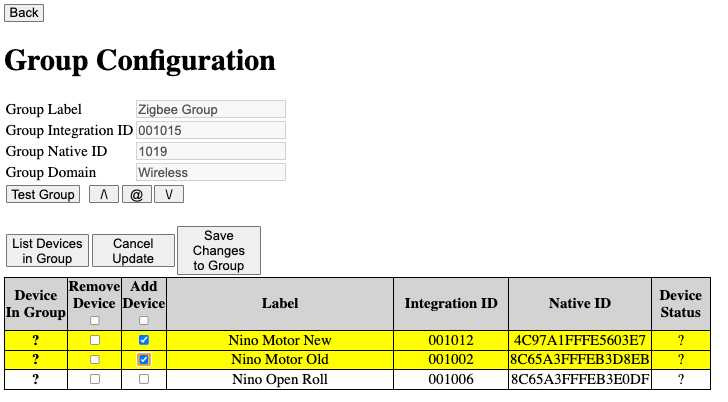
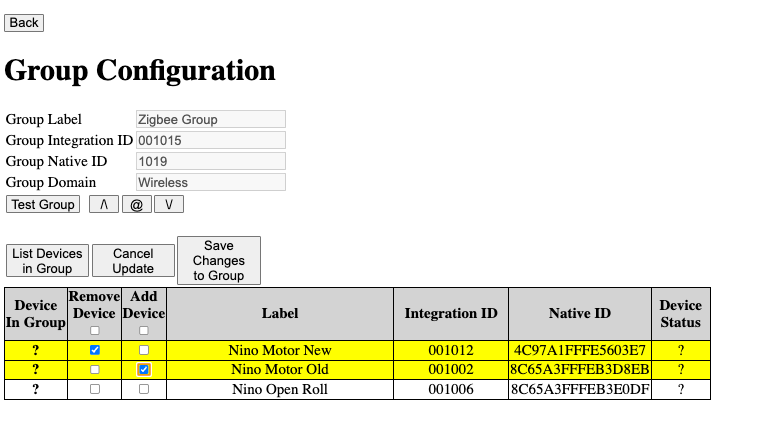
Click Config to add devices
Click “Save Changes to Group”
Click the “Back” Button to return to the Device Table
Super Groups #
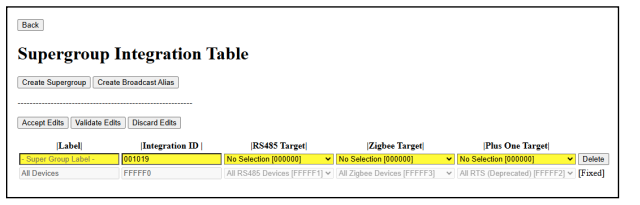
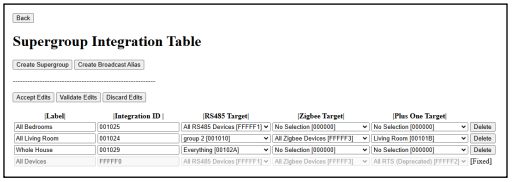
A Super Group is a combination of communication types–an RS-485 Group, a Zigbee Group, and an RTS Group–that will trigger simultaneously.
In the Integration Table:
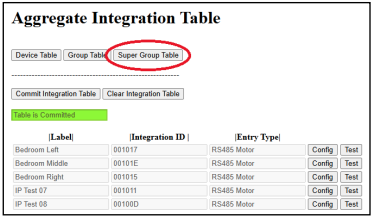
Click the “Super Group Table” button
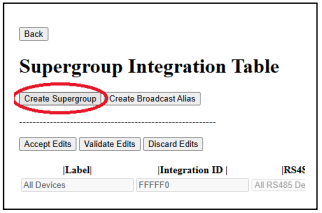
Click “Create Super Group” to add a new super group
Select targets (RS485, Zigbee, or Plus One devices)
Click “Accept Edits” when finished
Creating RTS Groups via Pegasus #
Program up to 16 group channels – all motors in a group respond together.
Important: You must create and Name an RS-485 group in the Group Table before creating the RTS Group.
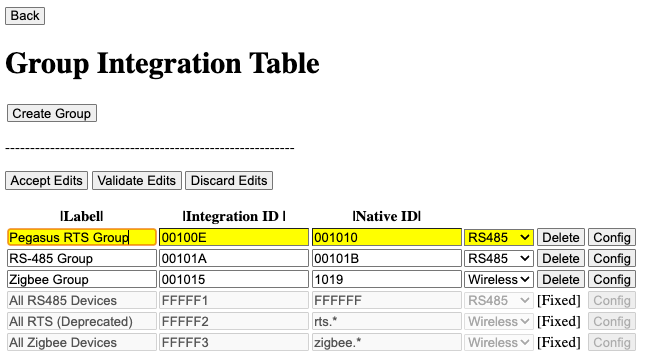
Step 1: Create the RS-485 Group First #
In the Integration Table:
Click “Group Table.”
Click “Create Group.”
Enter a label
Select “RS485” from the dropdown.
Click “Accept Edits” to save.
Click the “Back” button to return to the Integration table.
Step 2: Configure RTS Group in Pegasus #
In the Integration Table:
Click the “Config” button next to the Pegasus.
In the Pegasus Config, Click the “RF Motor Table Button”
Next to the RF Group you are programming, select the RS-485 Group you created from the drop down.
Click the “Save Tx Table” button
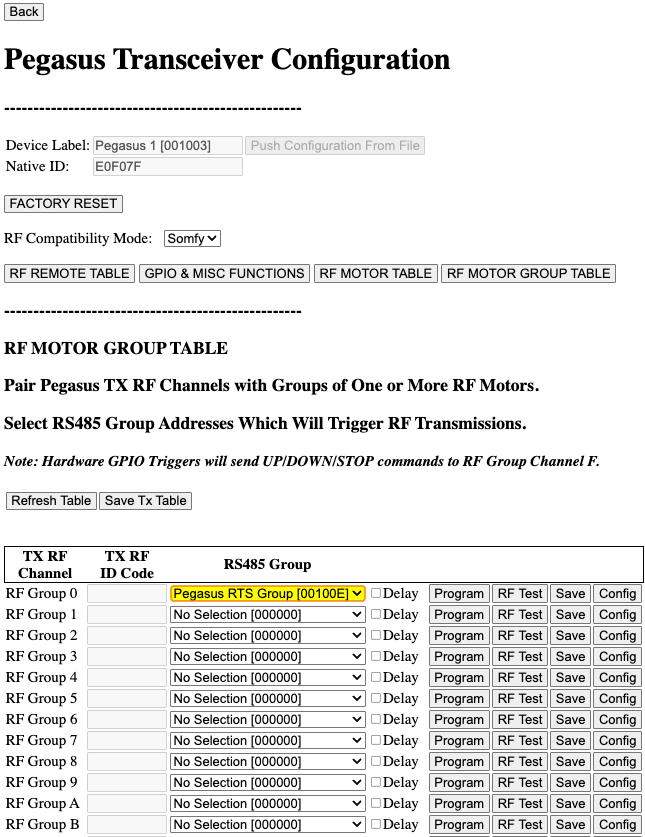
Pro Tip: Use the Config button for a quick way to add groups to motors.
Step 3: Managing RF Motor Table #

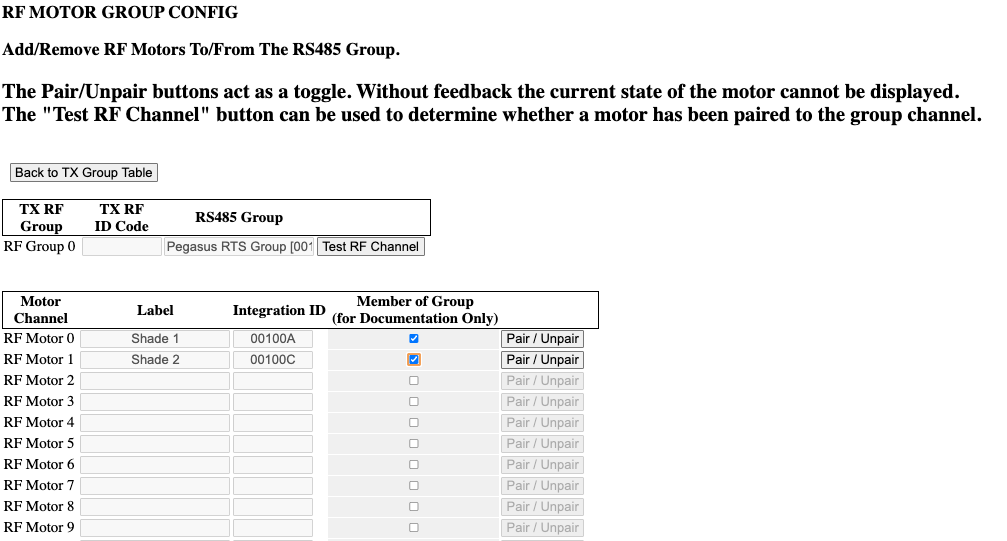
View all 16 programmed motor channels from the RF Motor Table in this table.
Click Pair/Unpair to add or remove motors from an RF group – no pairing mode needed.
Click Test RF Group to confirm motors were added.
The Group Member checkbox is just for reference, manually check or un-check as you are adding or removing shades from the group.
Check the box when the shade is added to the group.
Un-check the box when the shade is removed from the group.
Click the “Back to TX Group table” Button
Click the “Save Tx Table” Button
Creating Scenes & Events #
Scenes #
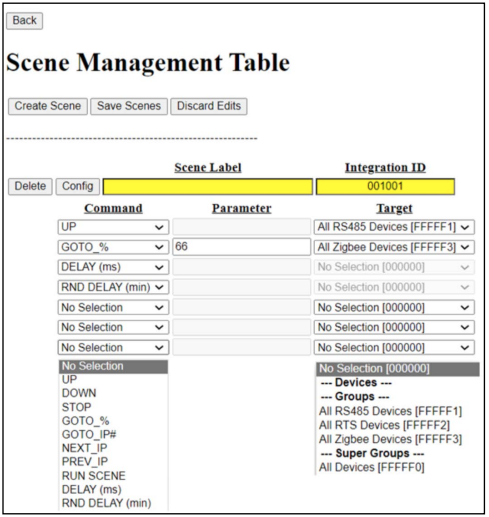
Scenes are preset command sequences triggered by events or third-party controls, sending specific commands to designated targets.
Scenes allow multiple shades to move to specific positions with a single command.
Go to Scenes & Events
Click Create Scene
Enter a Scene Name
Set positions for each shade/group
Click Save Scene
Events (Scheduled Actions) #
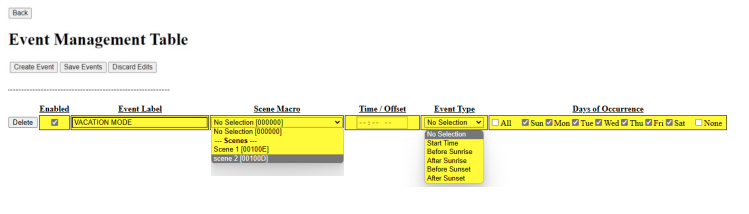
Events allow scenes or commands to run automatically based on time or sunrise/sunset.