
Make sure your Zigbee network is established in TRO.Y and all necessary Zigbee Routers are connected
In the TRO.Y GUI: Select the INTEGRATION TABLE
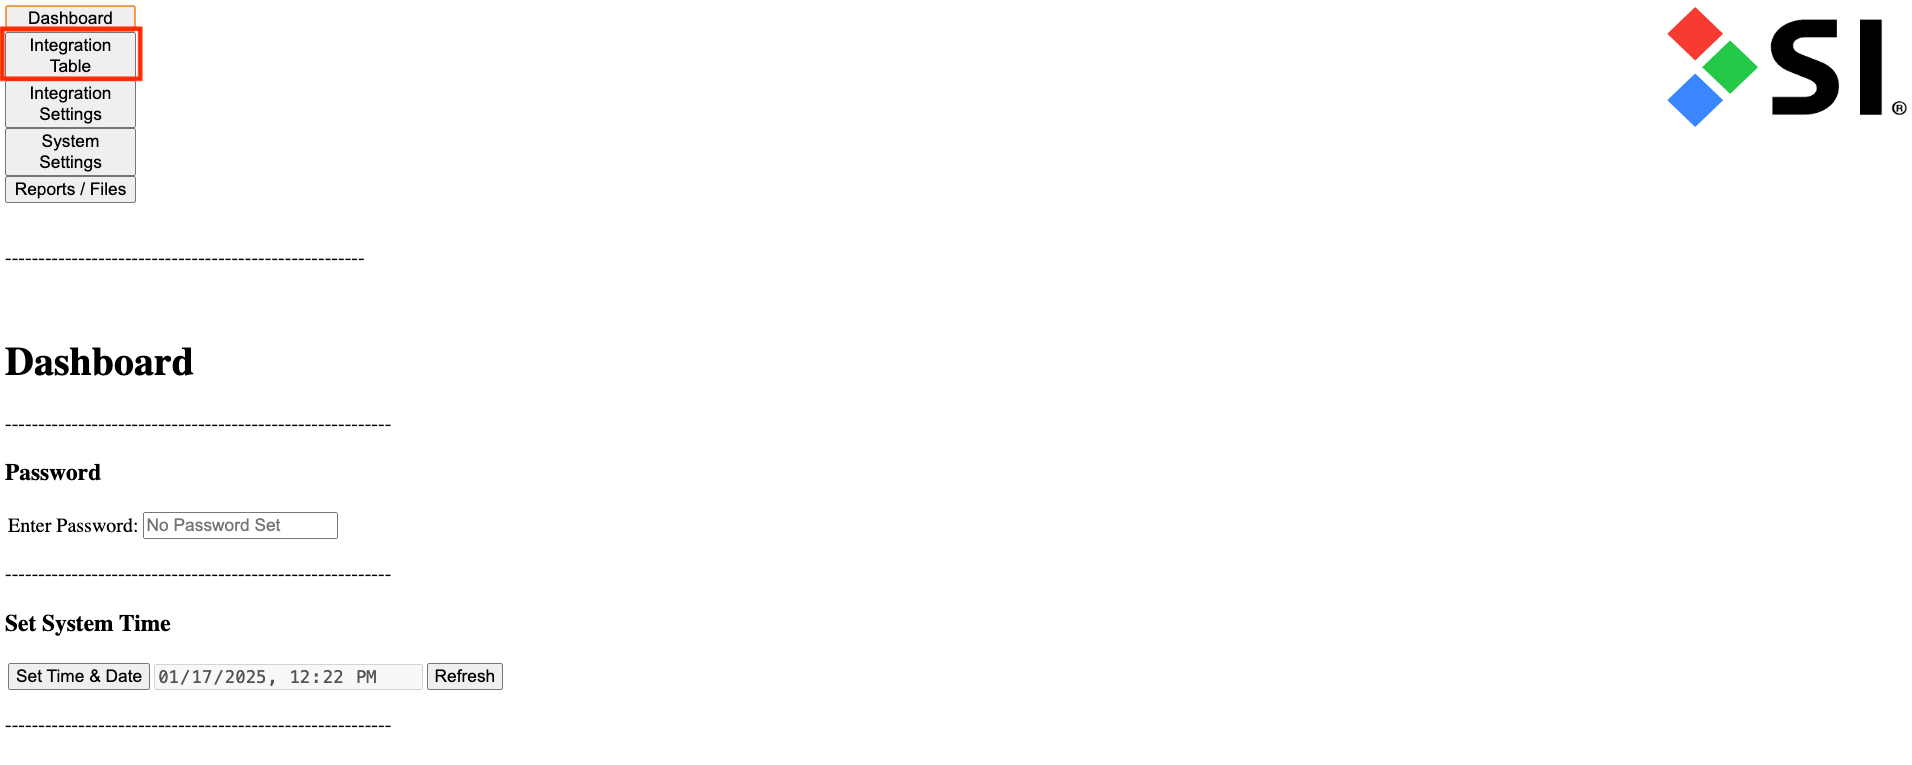
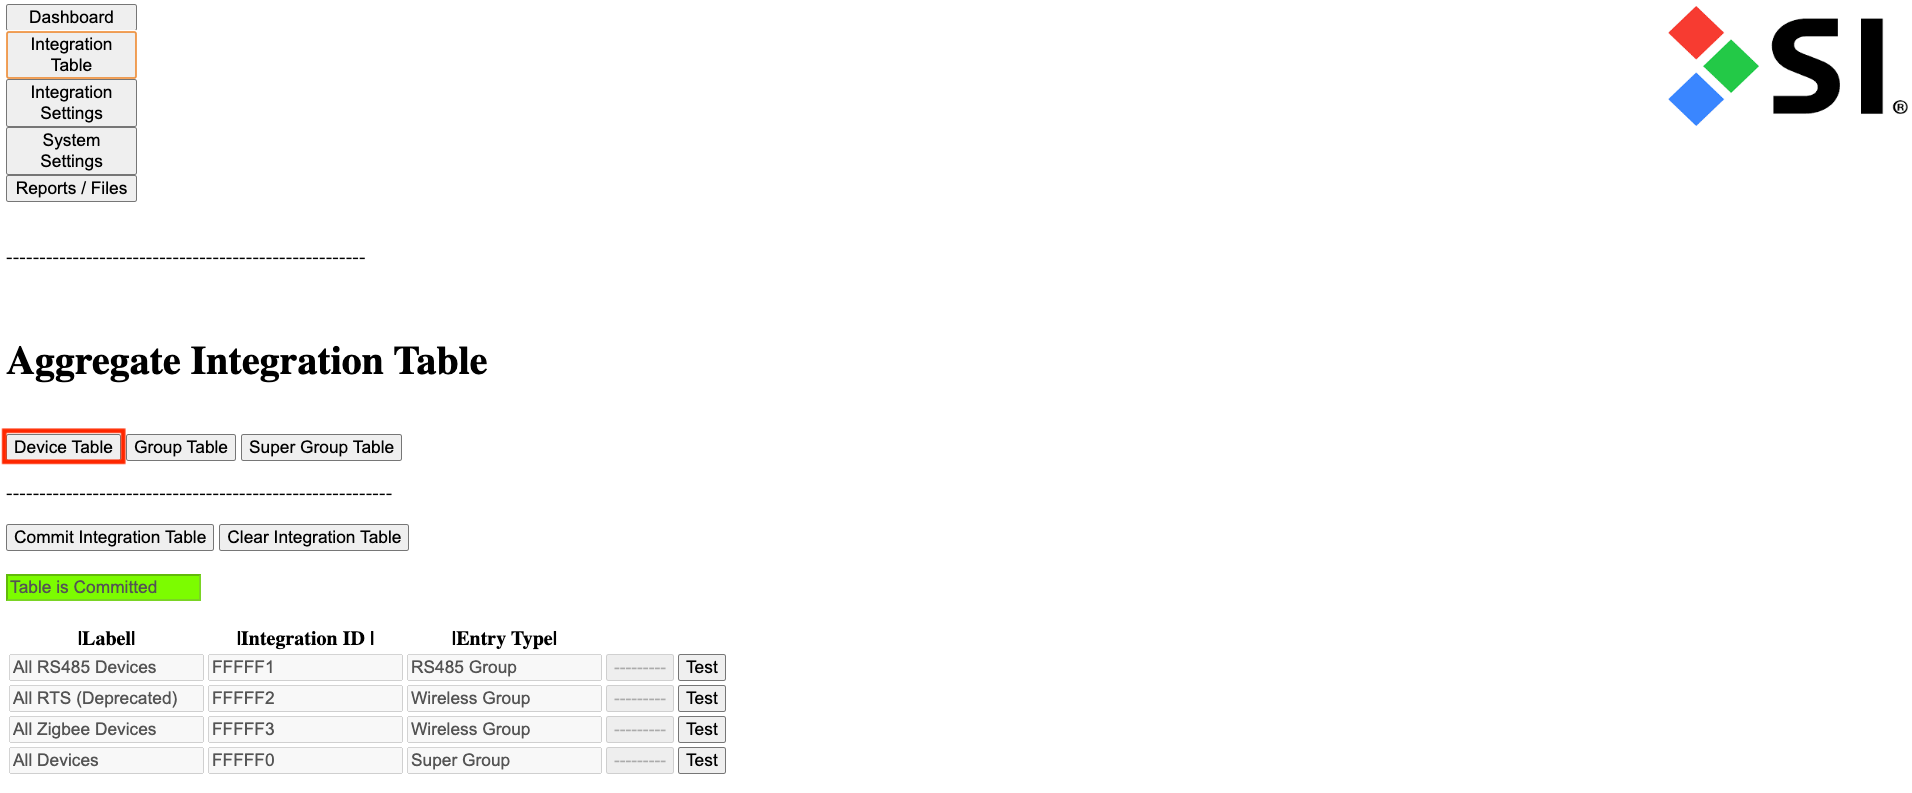
Next, select the DEVICE TABLE
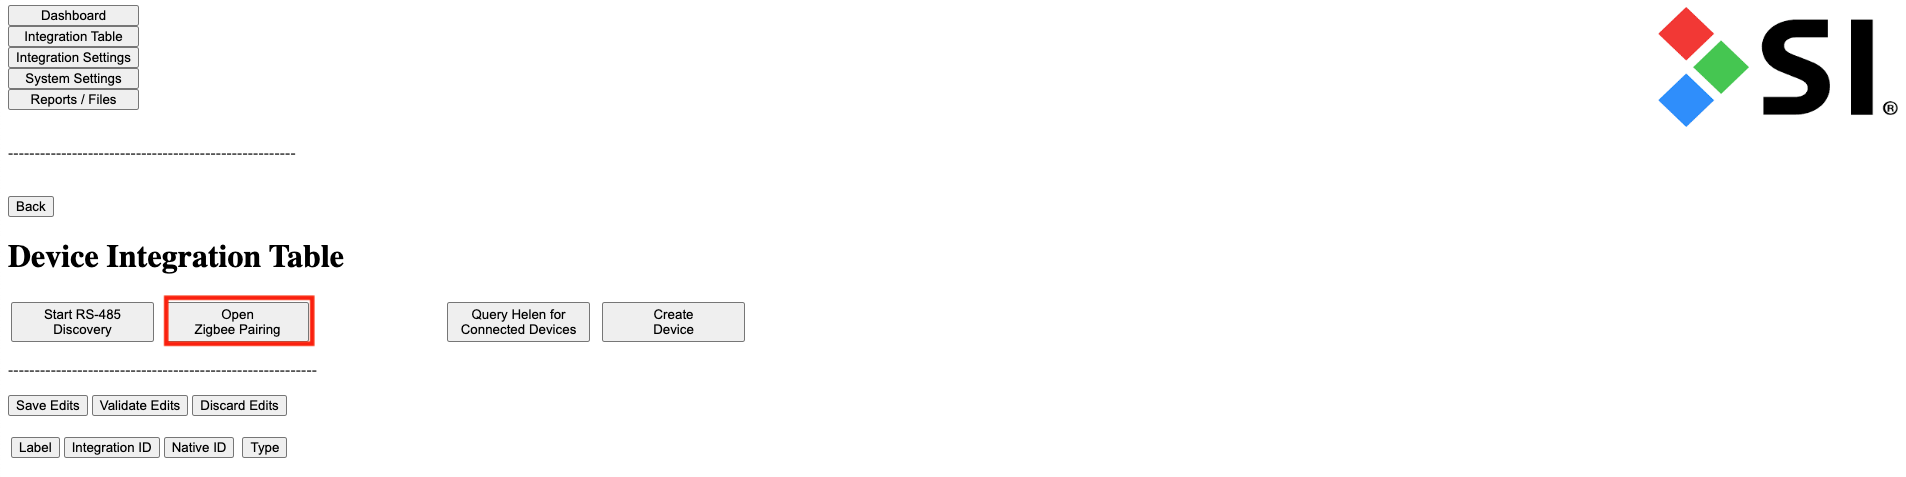
Next, press the OPEN ZIGBEE PAIRING button
Make sure the shade the shade is Awake buy pressing and holding the Motor Head Button for 1 jog
Now you will put the shade into Discovery Mode by pressing and holding the Motor Head button until the shade jogs twice, the LED will turn RED
When your shade populates in the Device Table you can Label it, then Save Edits
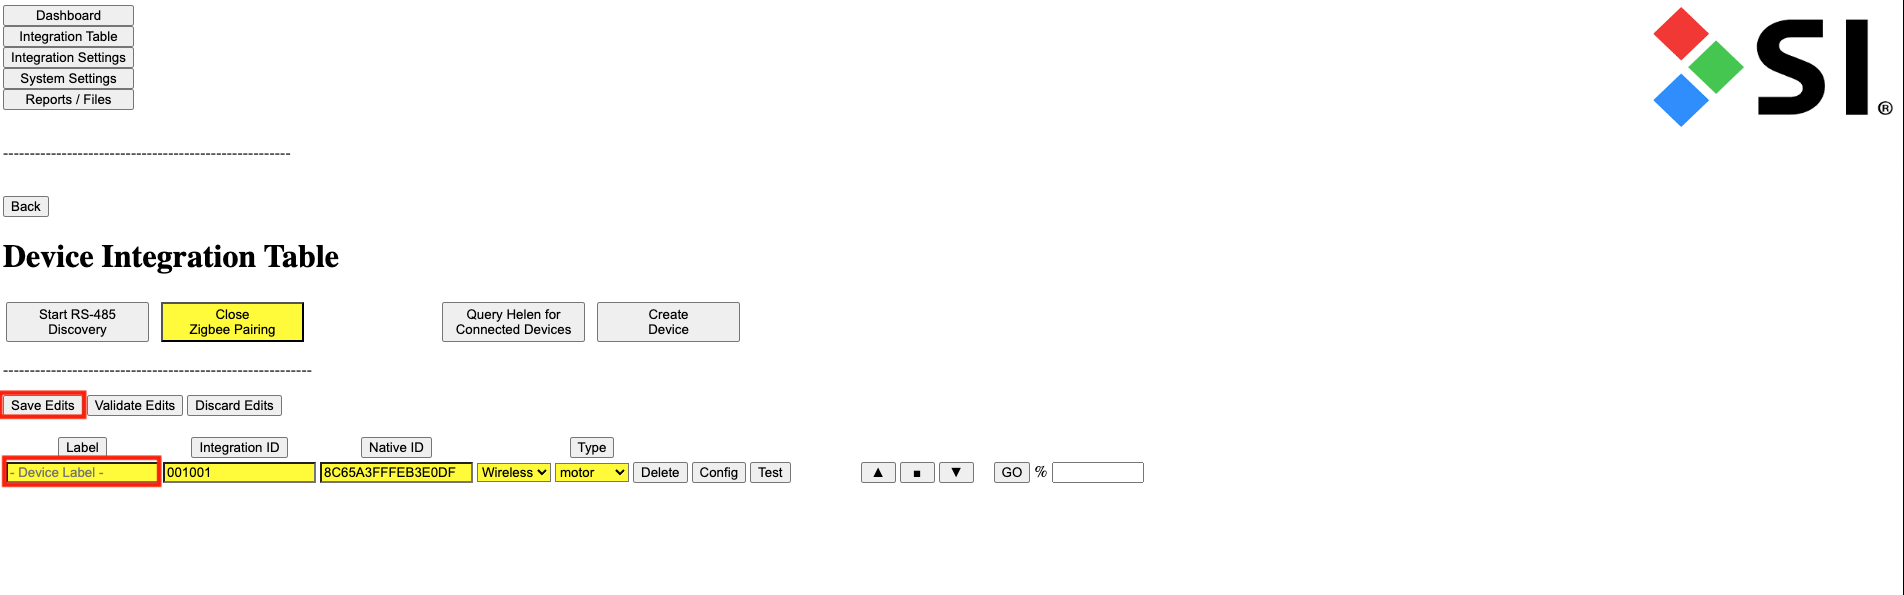
Repeat this process to add additional shades
When all shades are added press the yellow CLOSE ZIGBEE PAIRING button
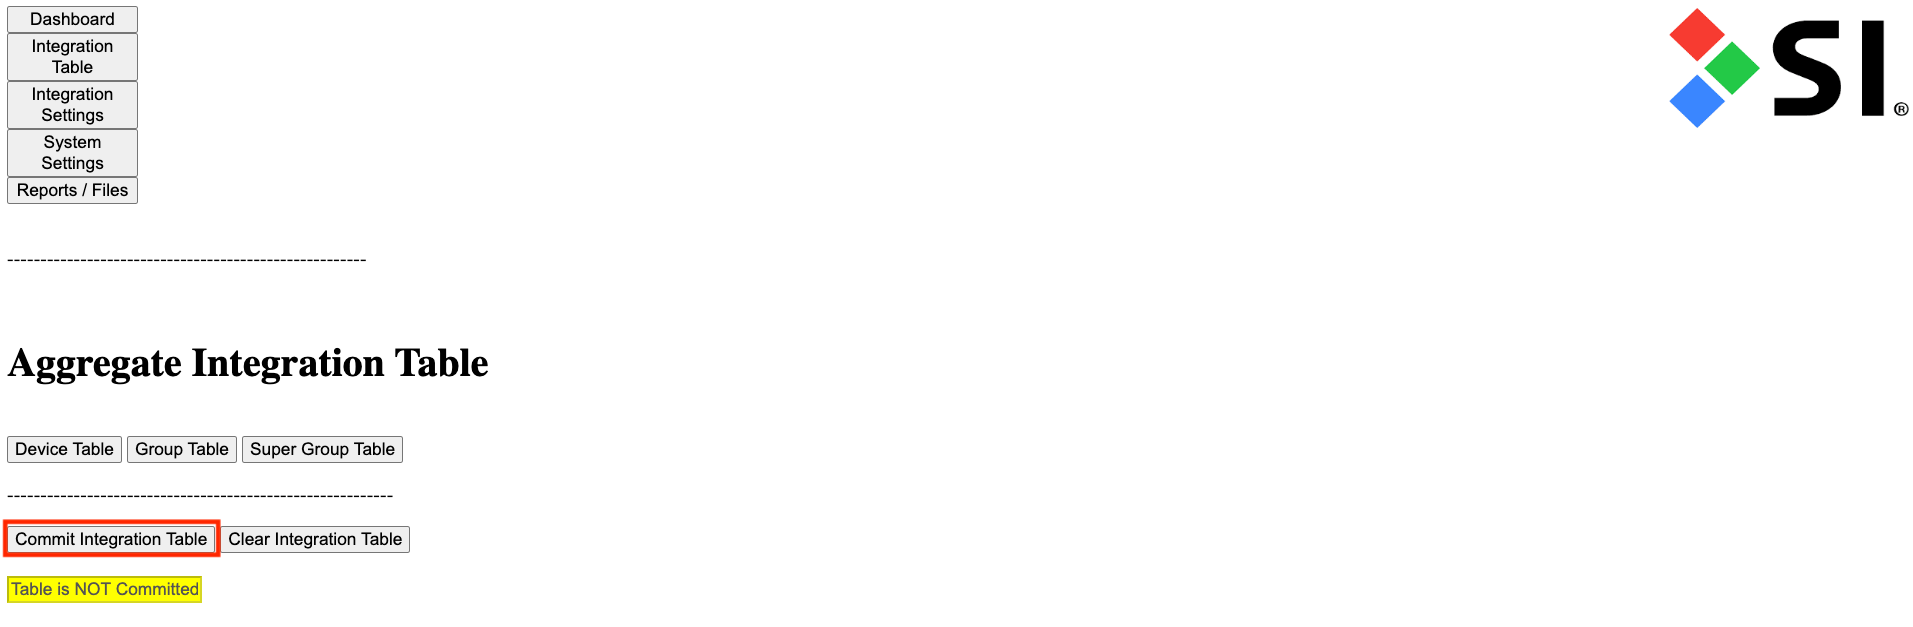
Press the BACK button in the Device Integration Table to return to the Aggregate Integration Table page and Commit the Integration table by pressing the COMMIT INTEGRATION TABLE button yellow TABLE IS NOT COMMITTED will turn Green and say TABLE IS COMMITTED
Adding Poe Niño Shade to TRO.Y #
✅ Important: If you are using PoE motors, start by adding the IP Bridge
Connect the IP Bridge
Connect the PoE side to a network switch
Connect the RS485 side to one of the BUS outs
Thats it!!
Follow the next steps to discover the PoE motors, they will appear and operate exactly like the RS-485 motors.

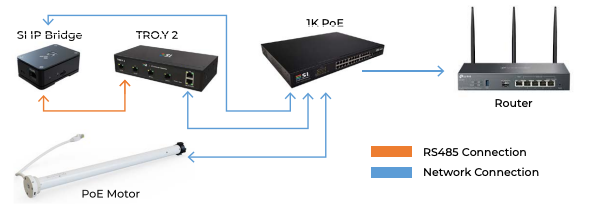
The SI Niño PoE Motors, IP Bridge, and TROY are required to all be on the same network
In the TRO.Y GUI: Select the INTEGRATION TABLE
Next, select the DEVICE TABLE
Click the Start Wired Discovery button.
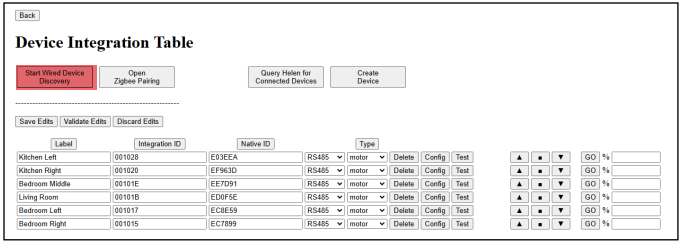
As devices are found, they will automatically appear in the device table.
The discovery process will continue until you click the yellow Stop Wired Discovery button.
Clicking on the Accept Edits button will save all discovered devices to the Browser.
Click the Back button
In order to save all your changes to TROY, you will need to hit the yellow Commit Integration Table button.
The button will turn green and say Table is Committed when saved.



