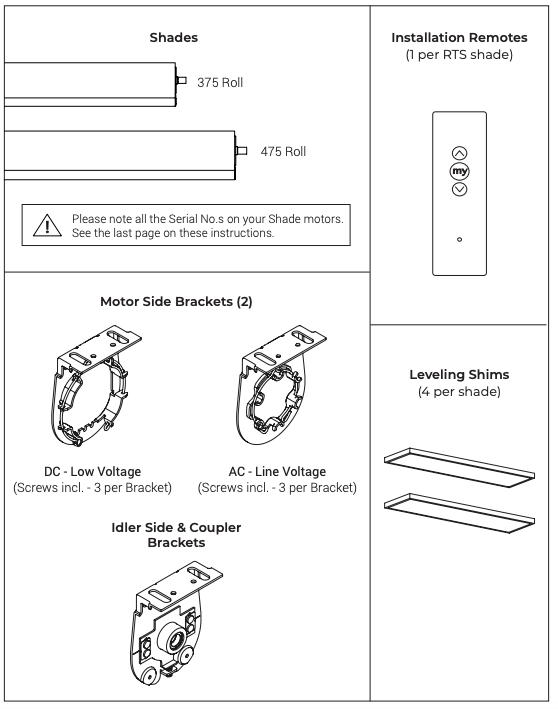
Step 1: Leveling Shims (Optional) #
Used if the window frame is out of level.
Connect to shade brackets before installation
⚠️ Warning: Do not use more than 2 leveling shims per bracket.
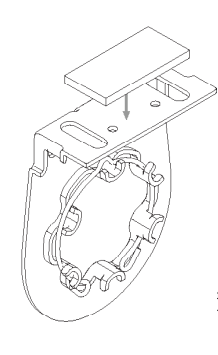
Step 2: Installing the brackets #
Install the motor side bracket inside of the pocket with a distance of 0.46 inches from the wall (backside).
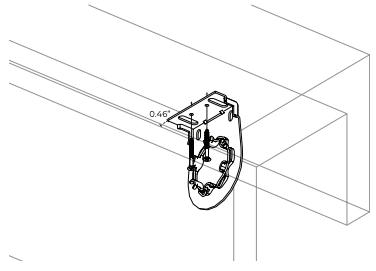
Install the idler side bracket inside of the pocket with a distance of 0.46 inches from the wall (backside).
The bracket to bracket width will be the dimension the shade was ordered from.
Repeat this for additional shades bands.
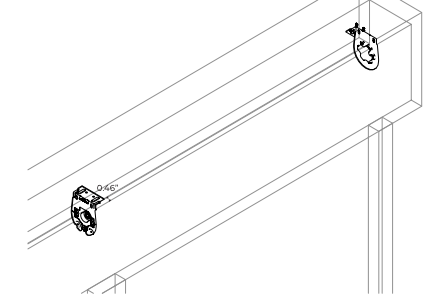
Once the brackets are secured with the screws, we are ready to install the roll.
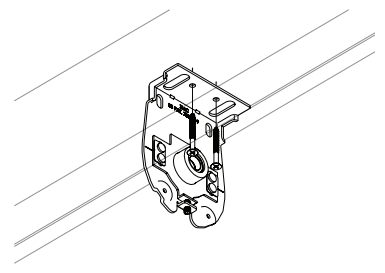
Step 3: Installing the Rolls #
To install the roll: First, insert the idler side of the roll in the idler side bracket.
Making a slight pressure to the idler side, push up the motor side of the roll until lined up with the motor side bracket.
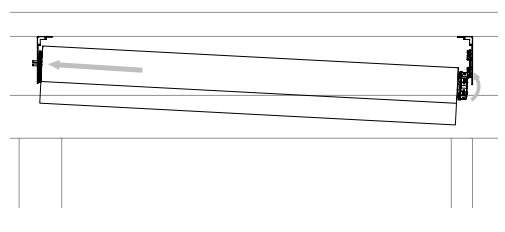
Repeat the same step 4 for the following remaining shades.
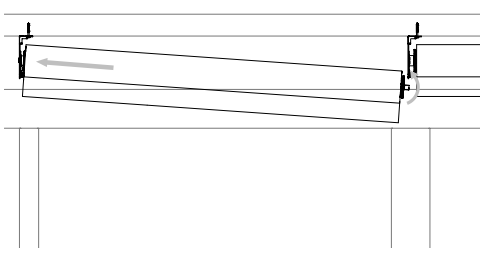
Step 4: Adjusting the Rolls #
Adjust/deploy idler with provided tool.
Rotating this will cause the
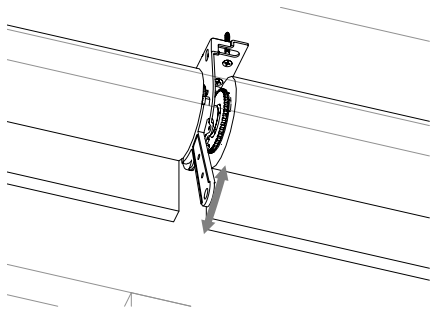
Step 5: Leveling the Hembars: #
If shade is not properly level.
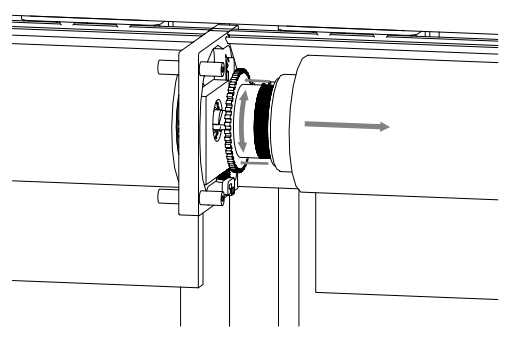
Pull the inner part of idler that connects to the previous shade idler and leave it connected.
Rotate shade until is properly level with previous shade.
Then push the shade back into the idler
Parts in the Box #