
Device Setup #
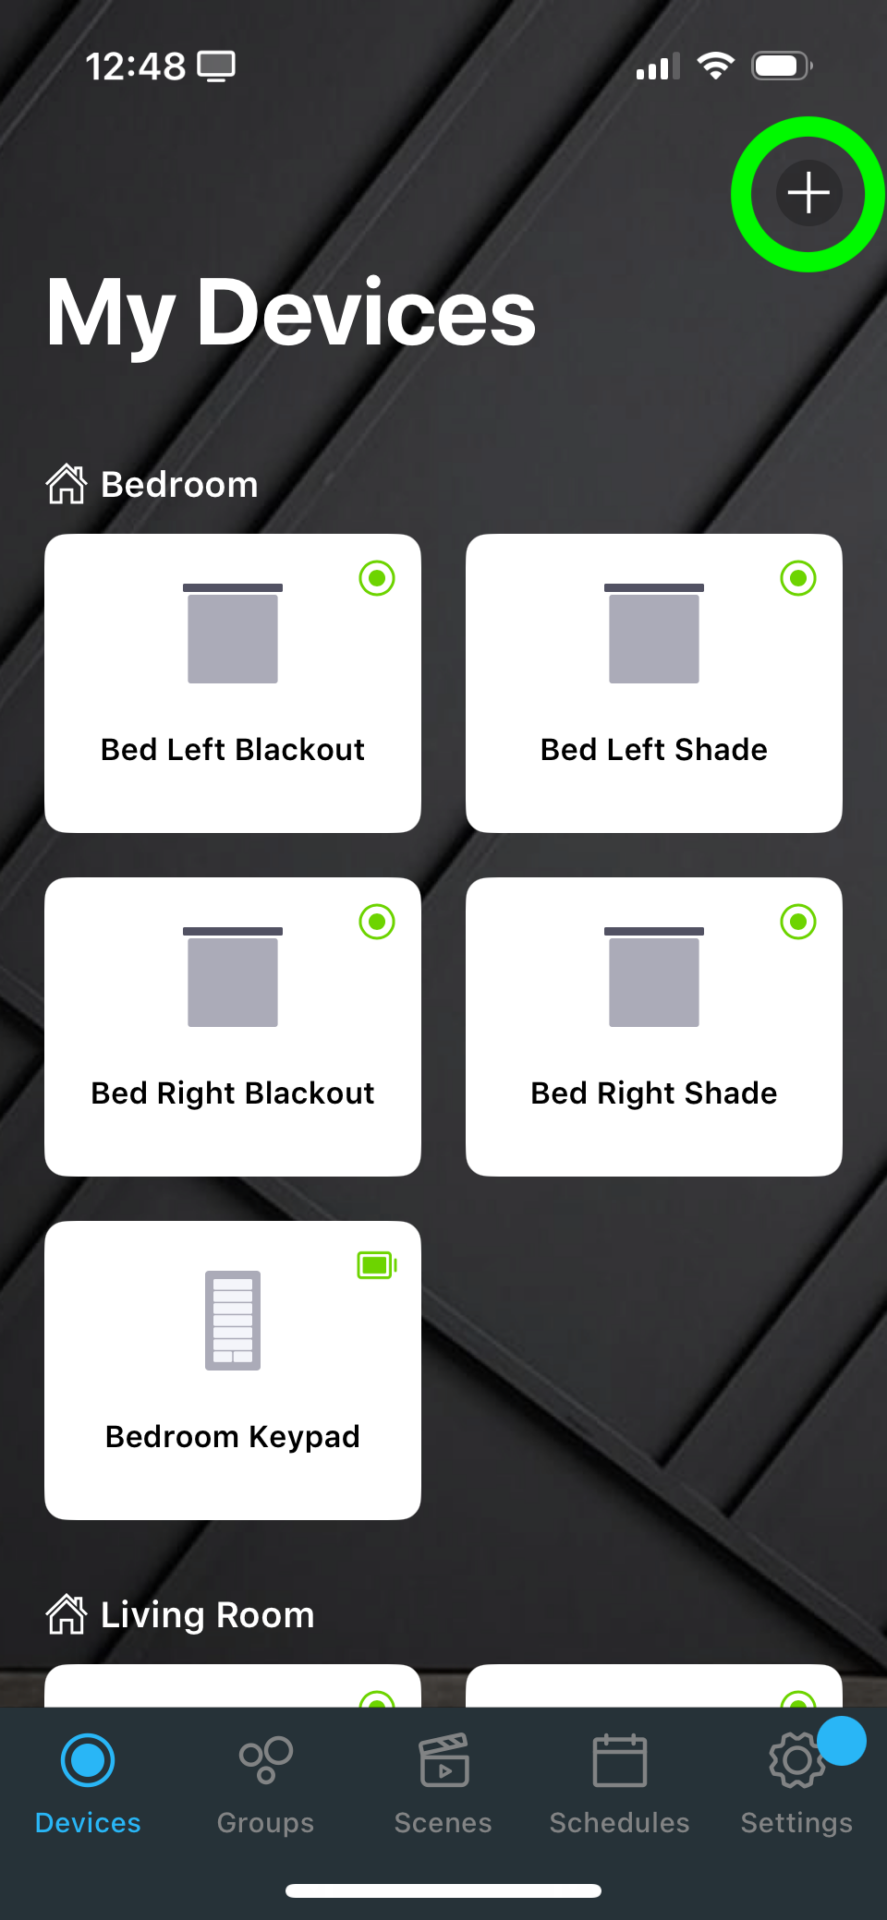
Access device menu: From the devices tab, press the + button in the top right corner of the screen
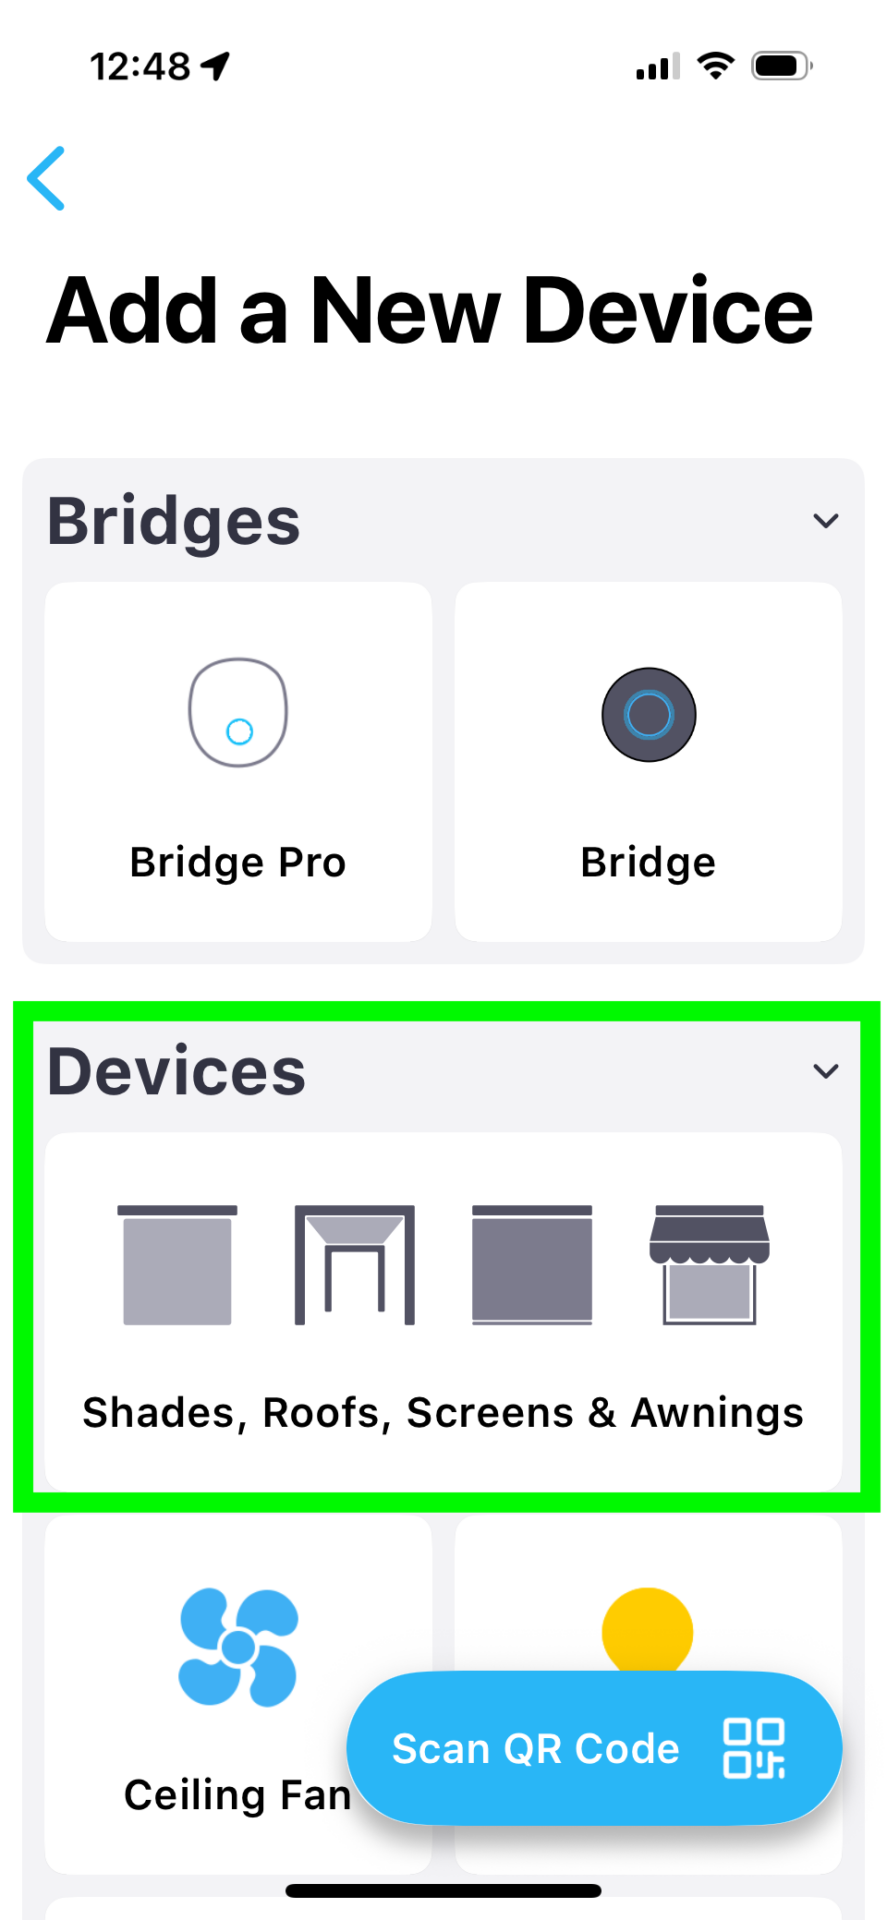
Select device category: Under Devices, select the Shades, Roofs, Screens & Awnings button
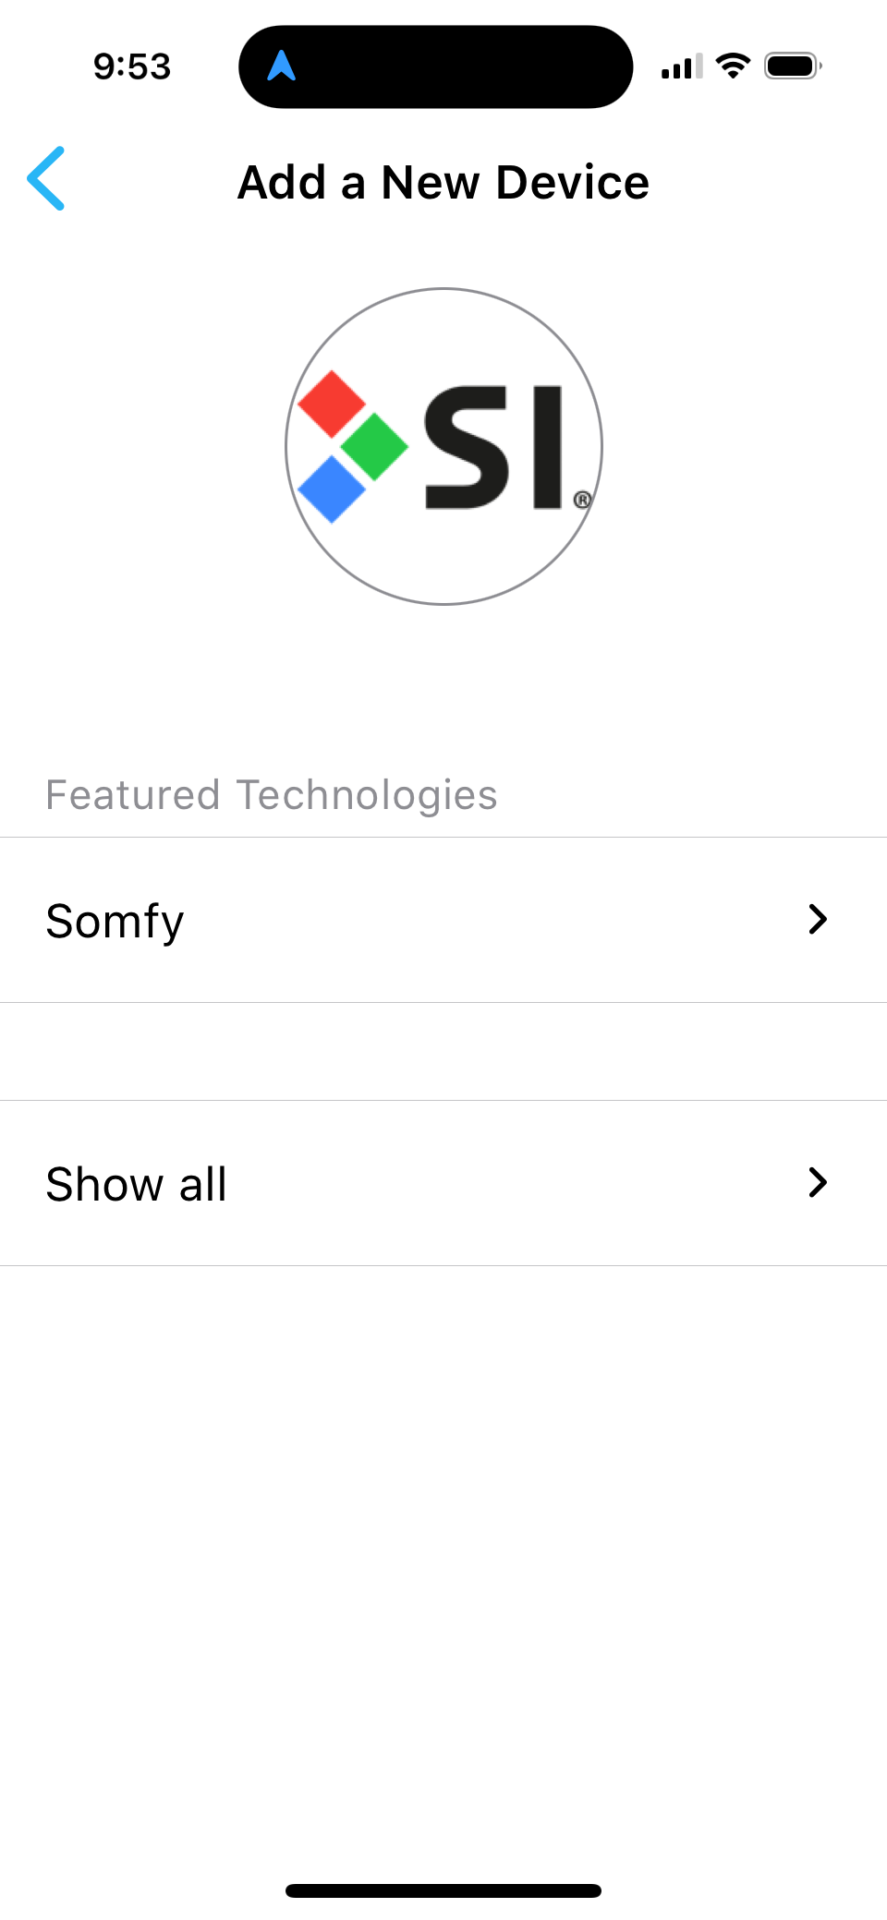
Choose motor brand: Select SOMFY
Motor Pairing Process #
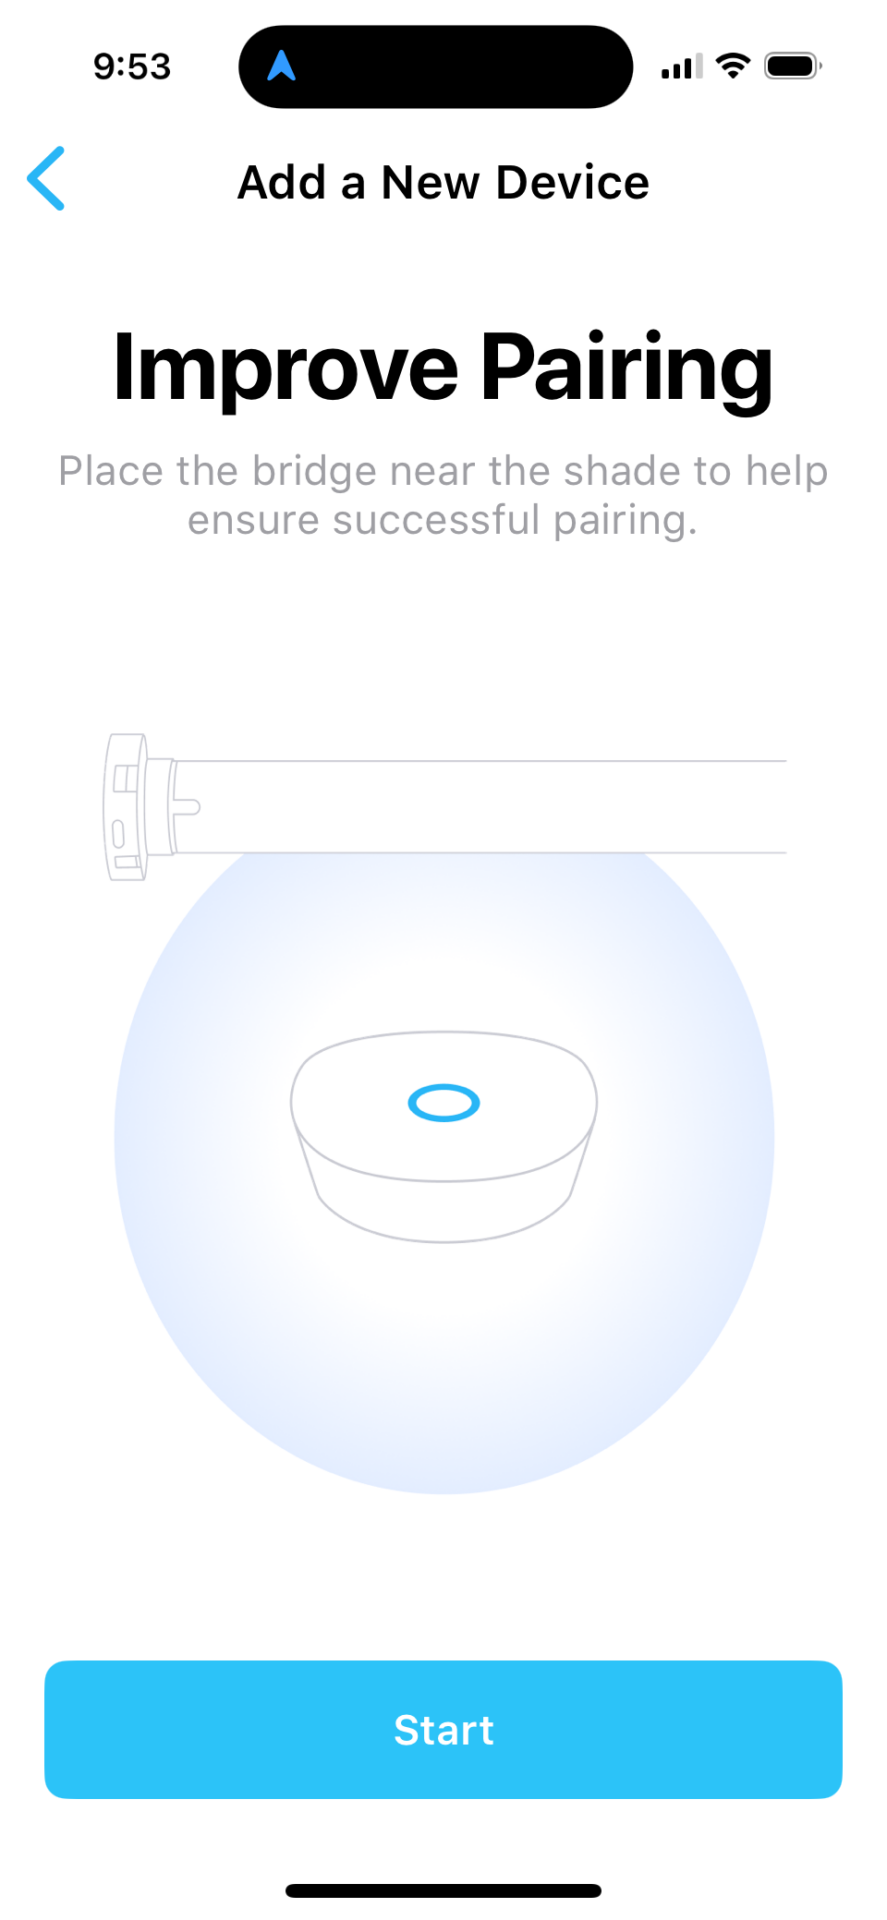
Tip: Move the motor closer to the Bond Bridge Pro if possible to ensure reliable pairing.
Prepare for pairing: Move the motor closer, if possible
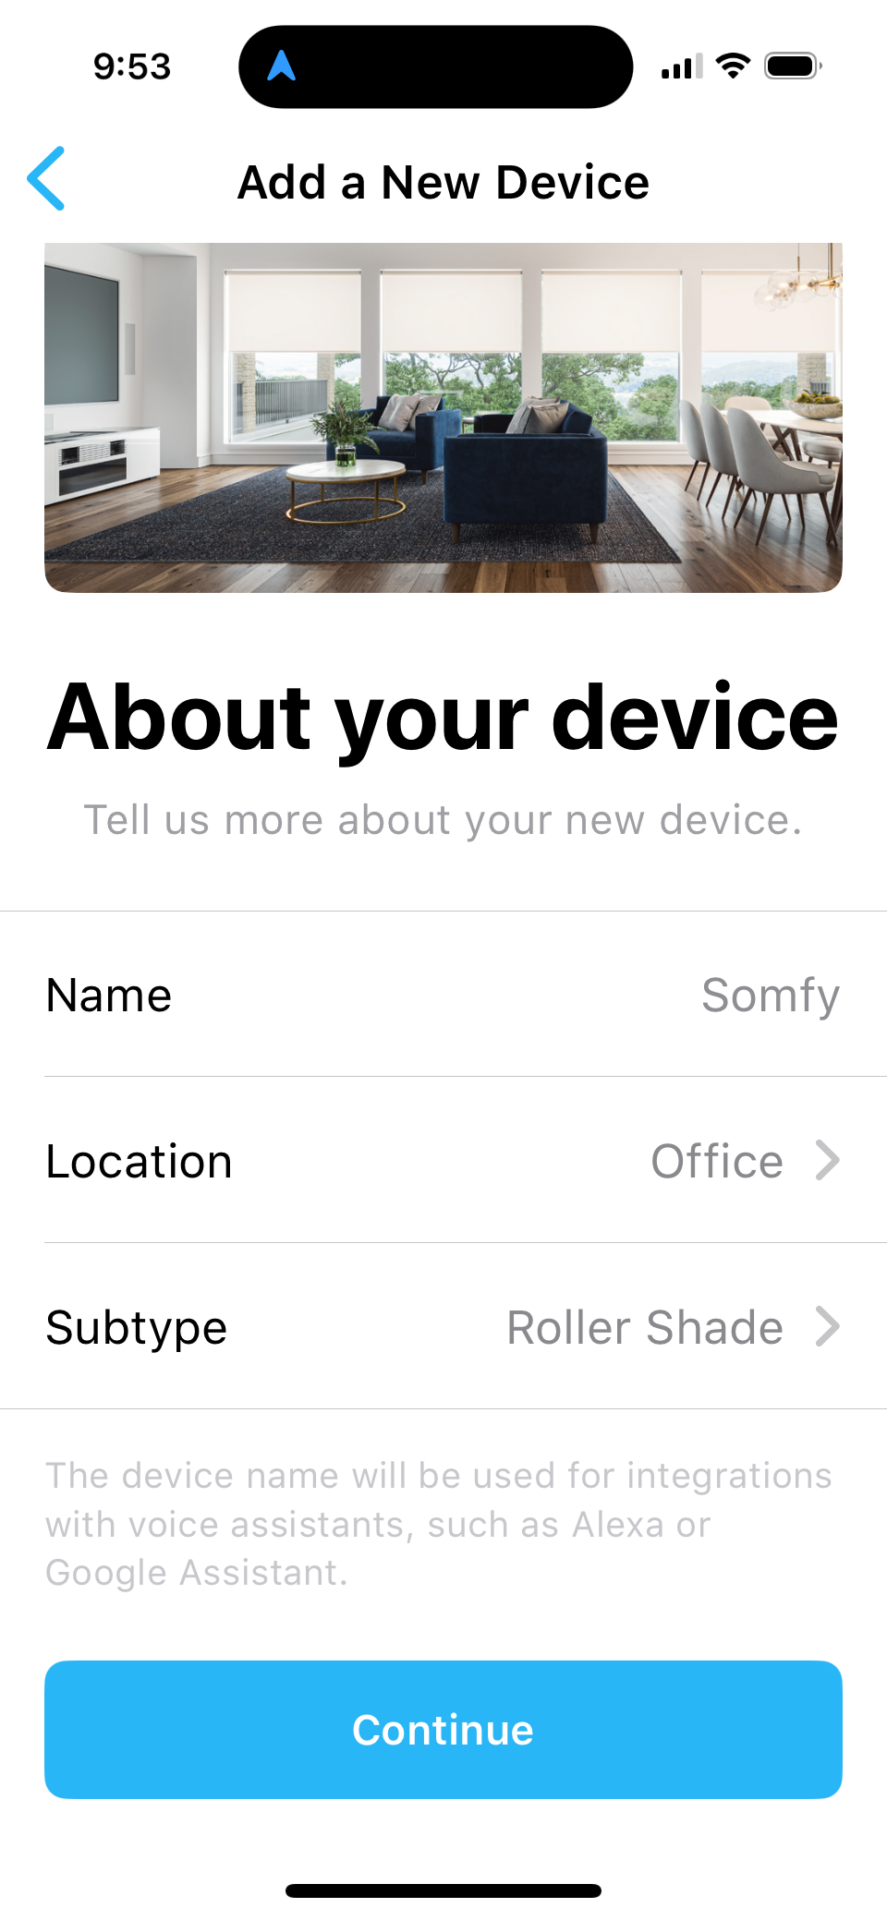
Configure shade details: Name and locate the shade, then press Continue
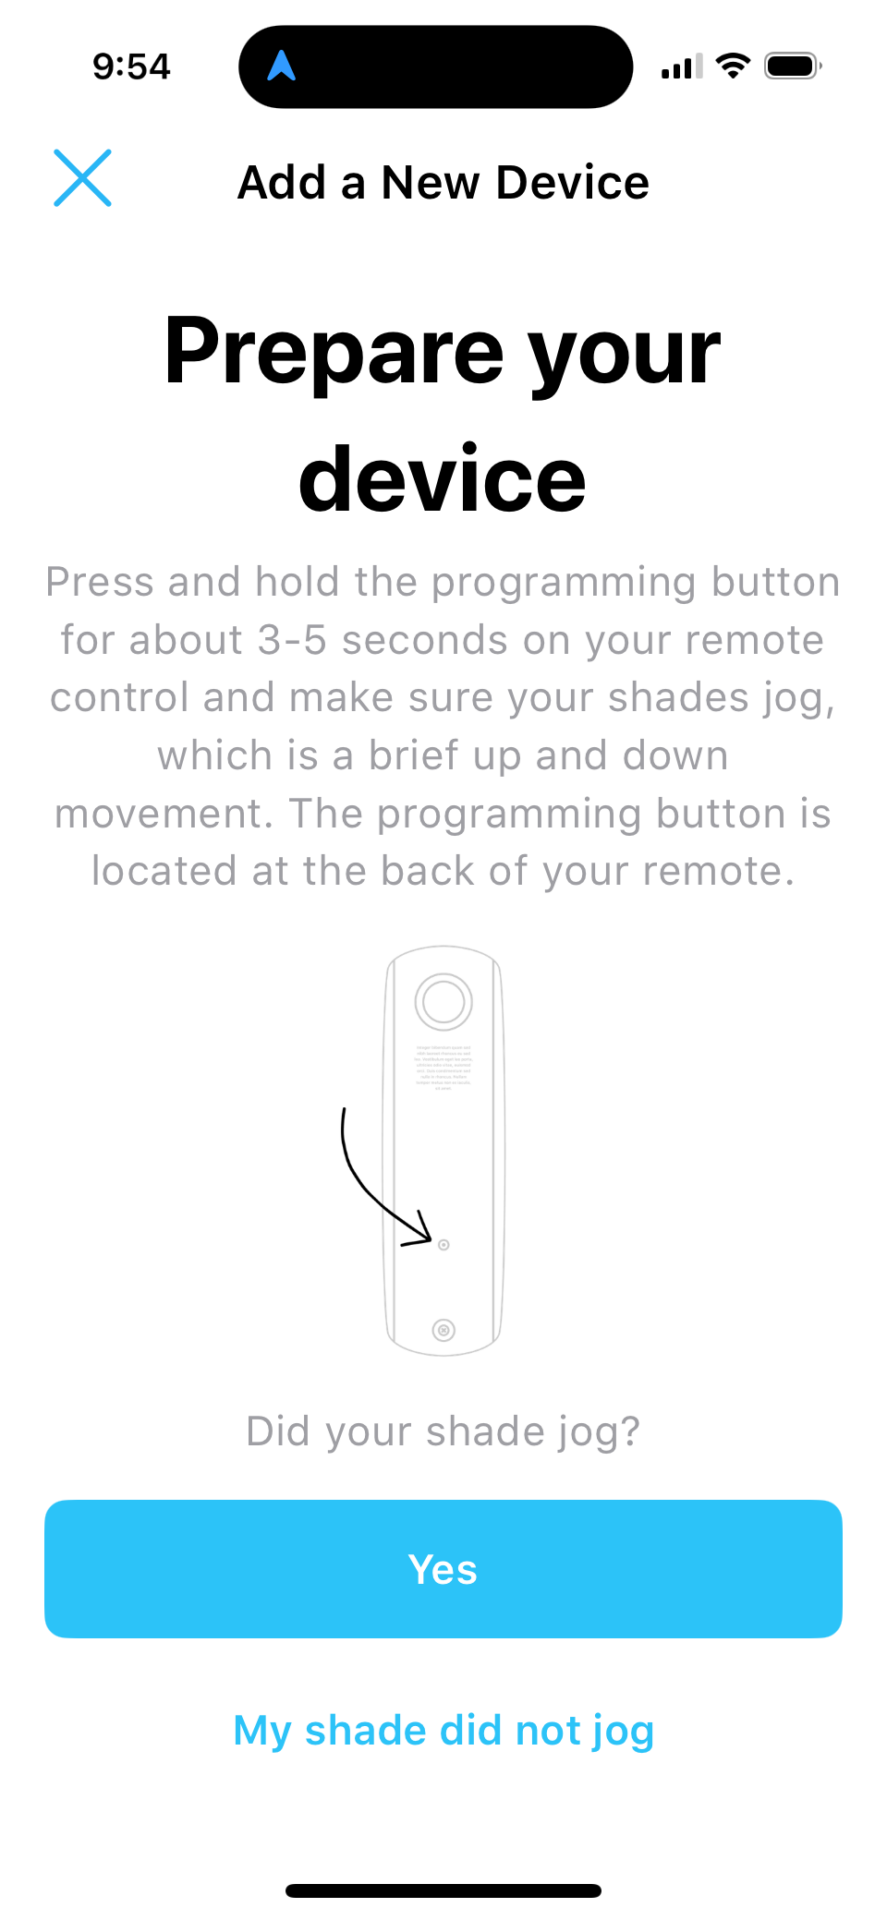
Activate pairing mode: Press and HOLD the programming button on the back of the remote until the shade jogs once
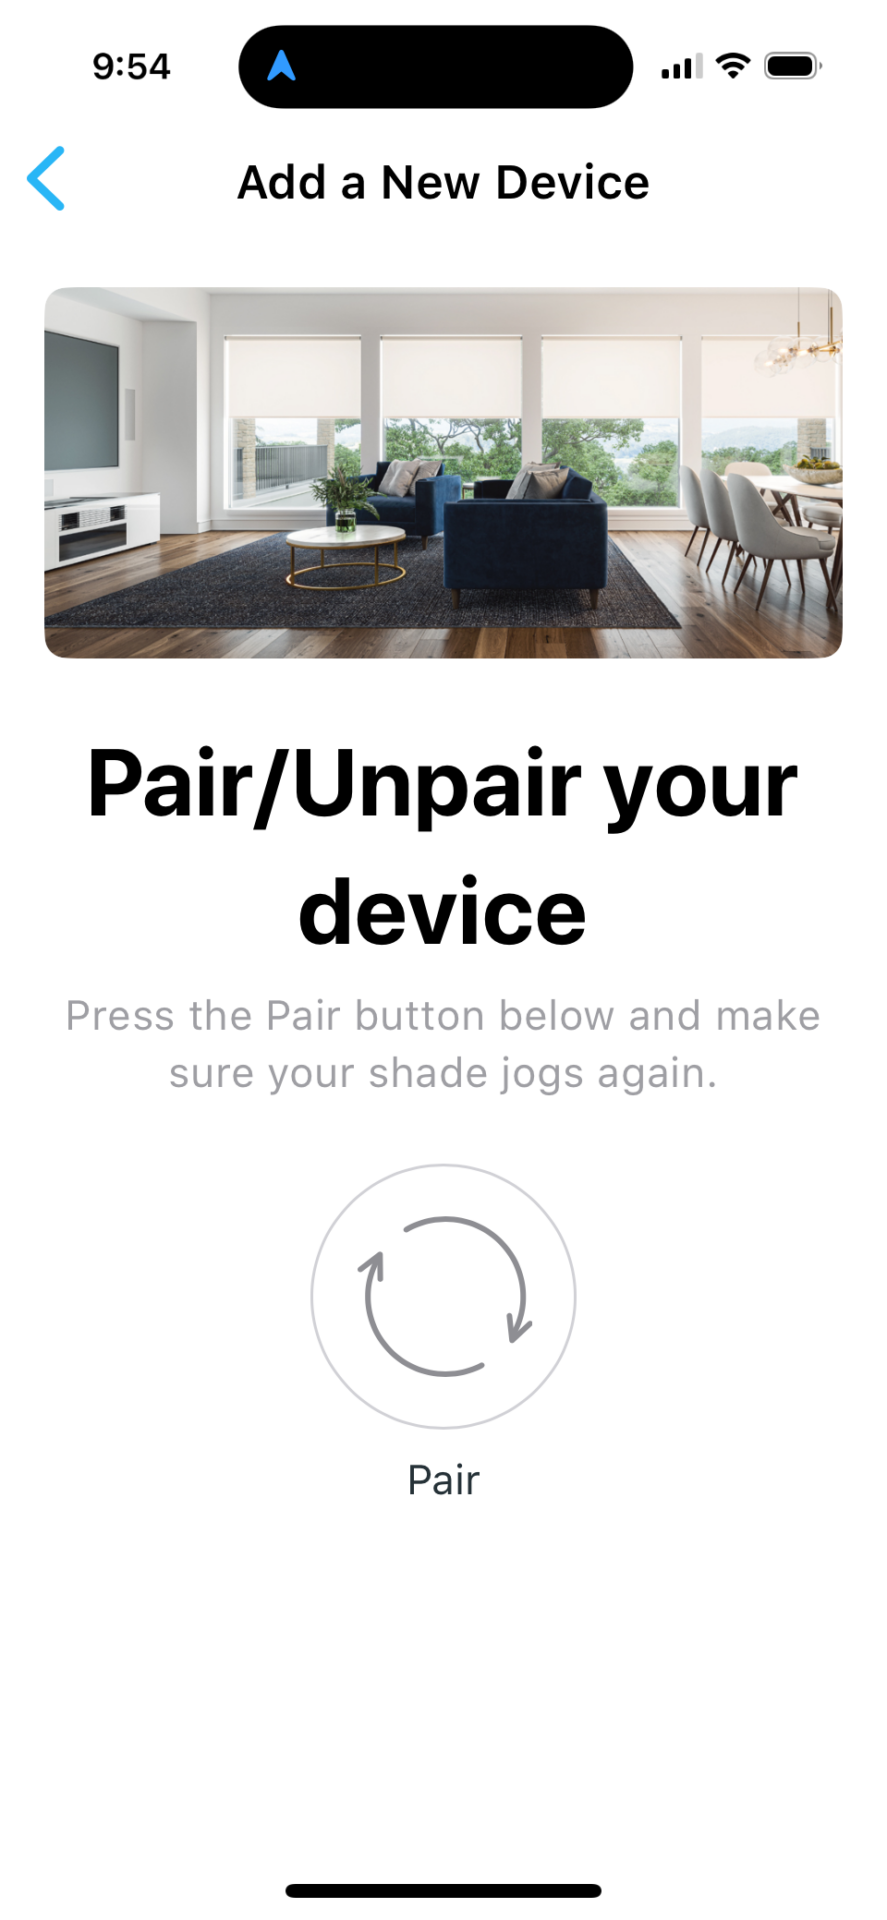
Initiate pairing: Press the PAIR button
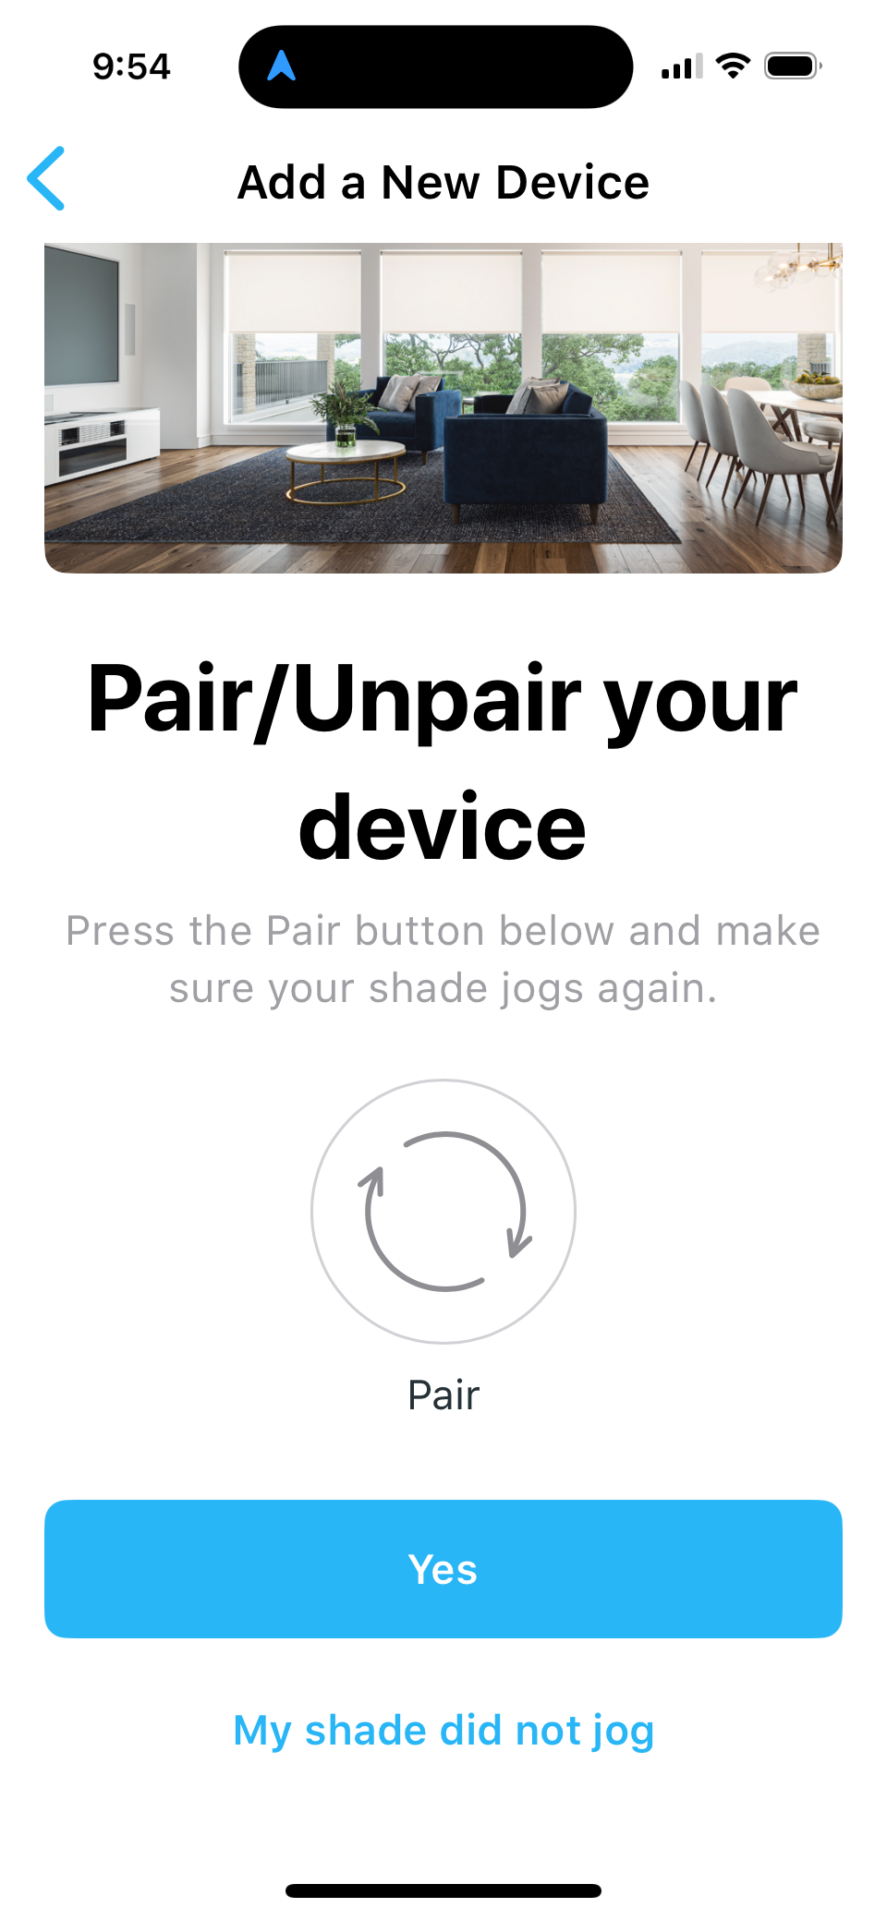
Confirm pairing: If your shade jogged, press the YES button
Initial Shade Testing #
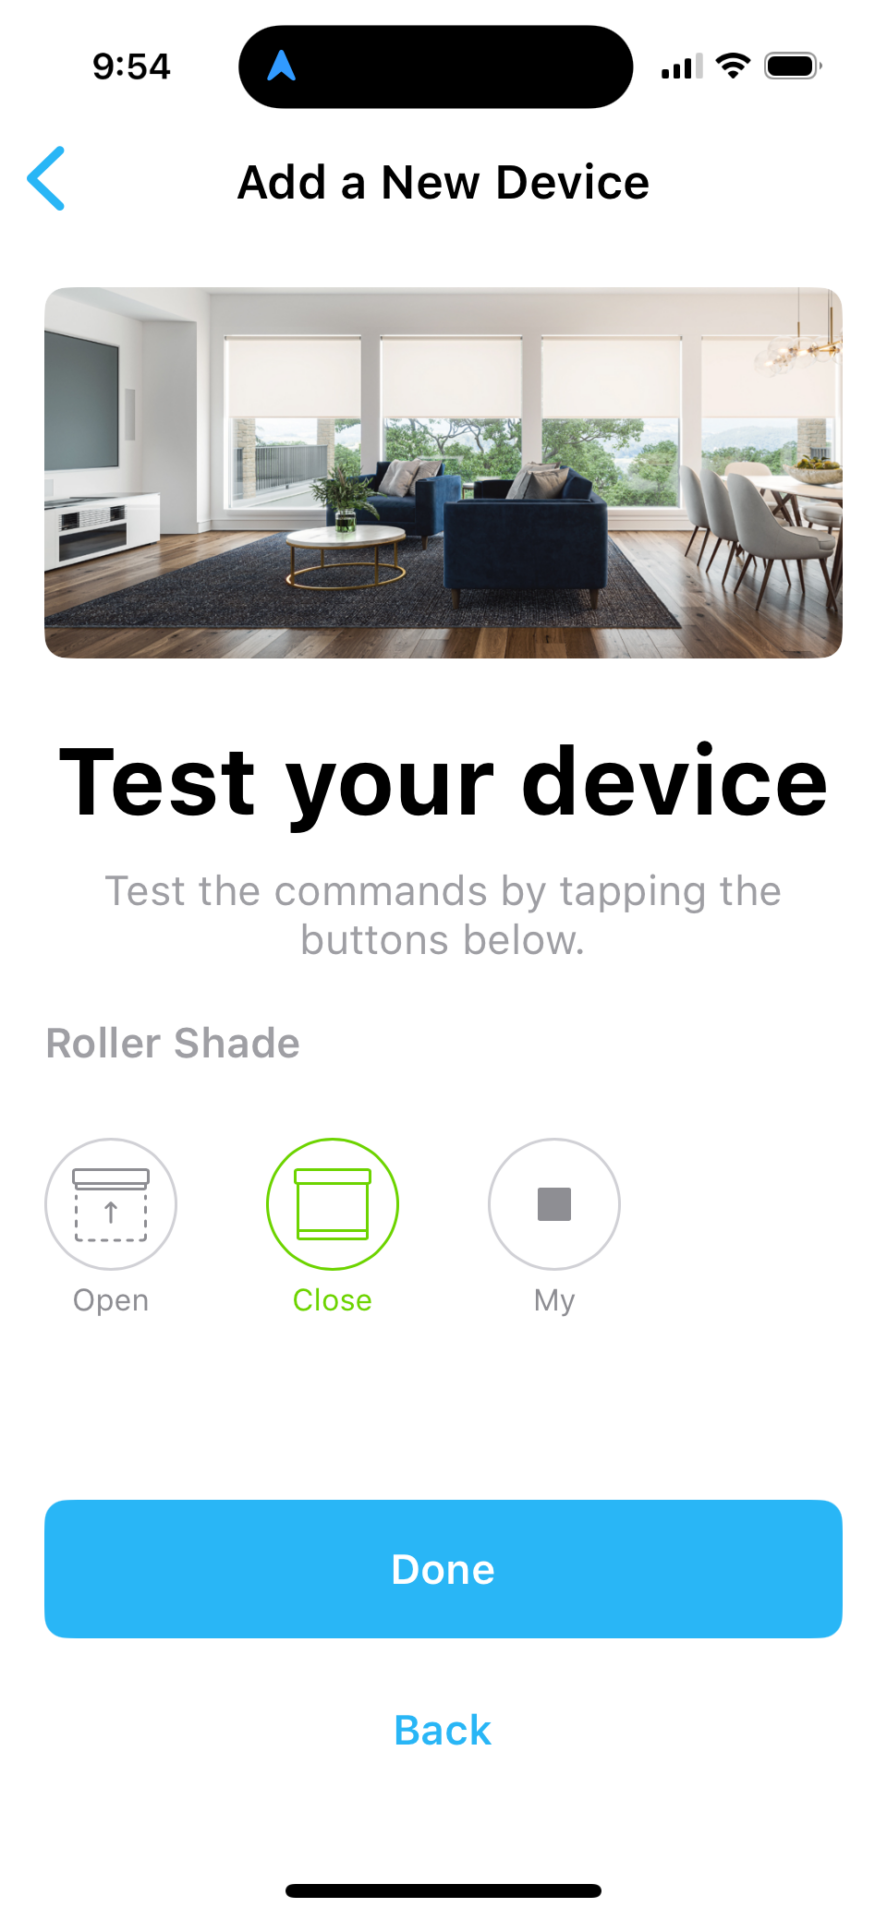
Test operation: Test the shade, then press DONE
Slider Calibration #
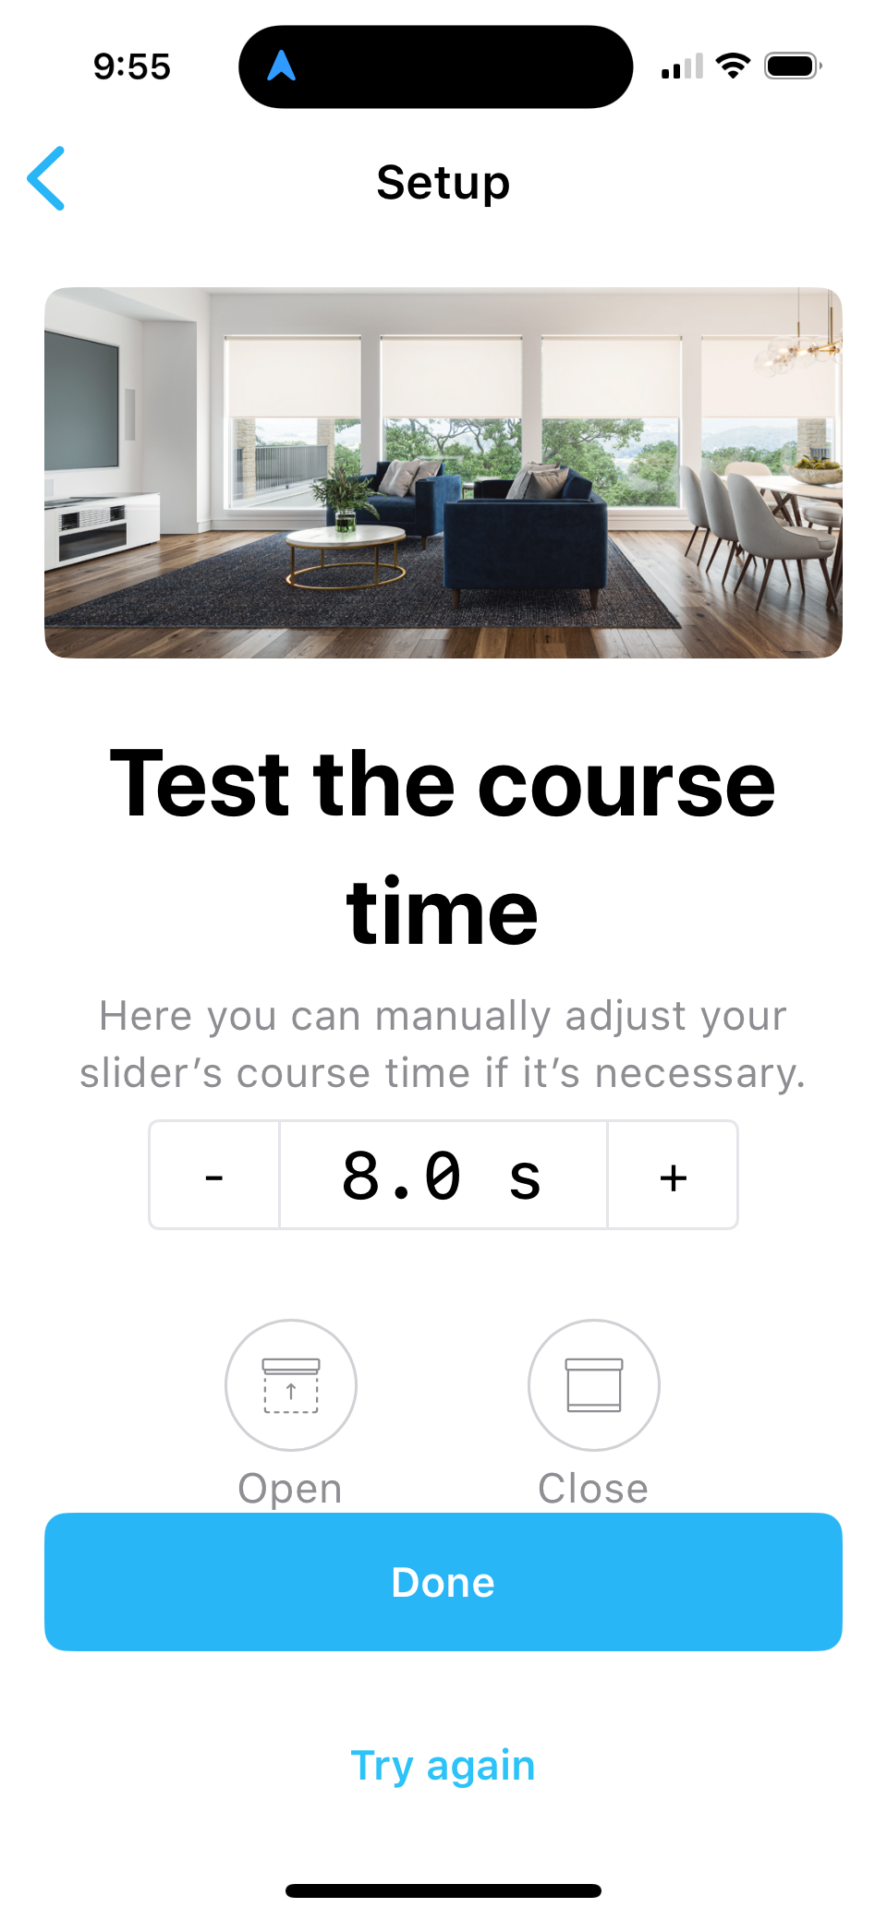
Info: This process calibrates the app’s position sliders by timing how long it takes the shade to fully open.
Begin calibration: Calculate Sliders
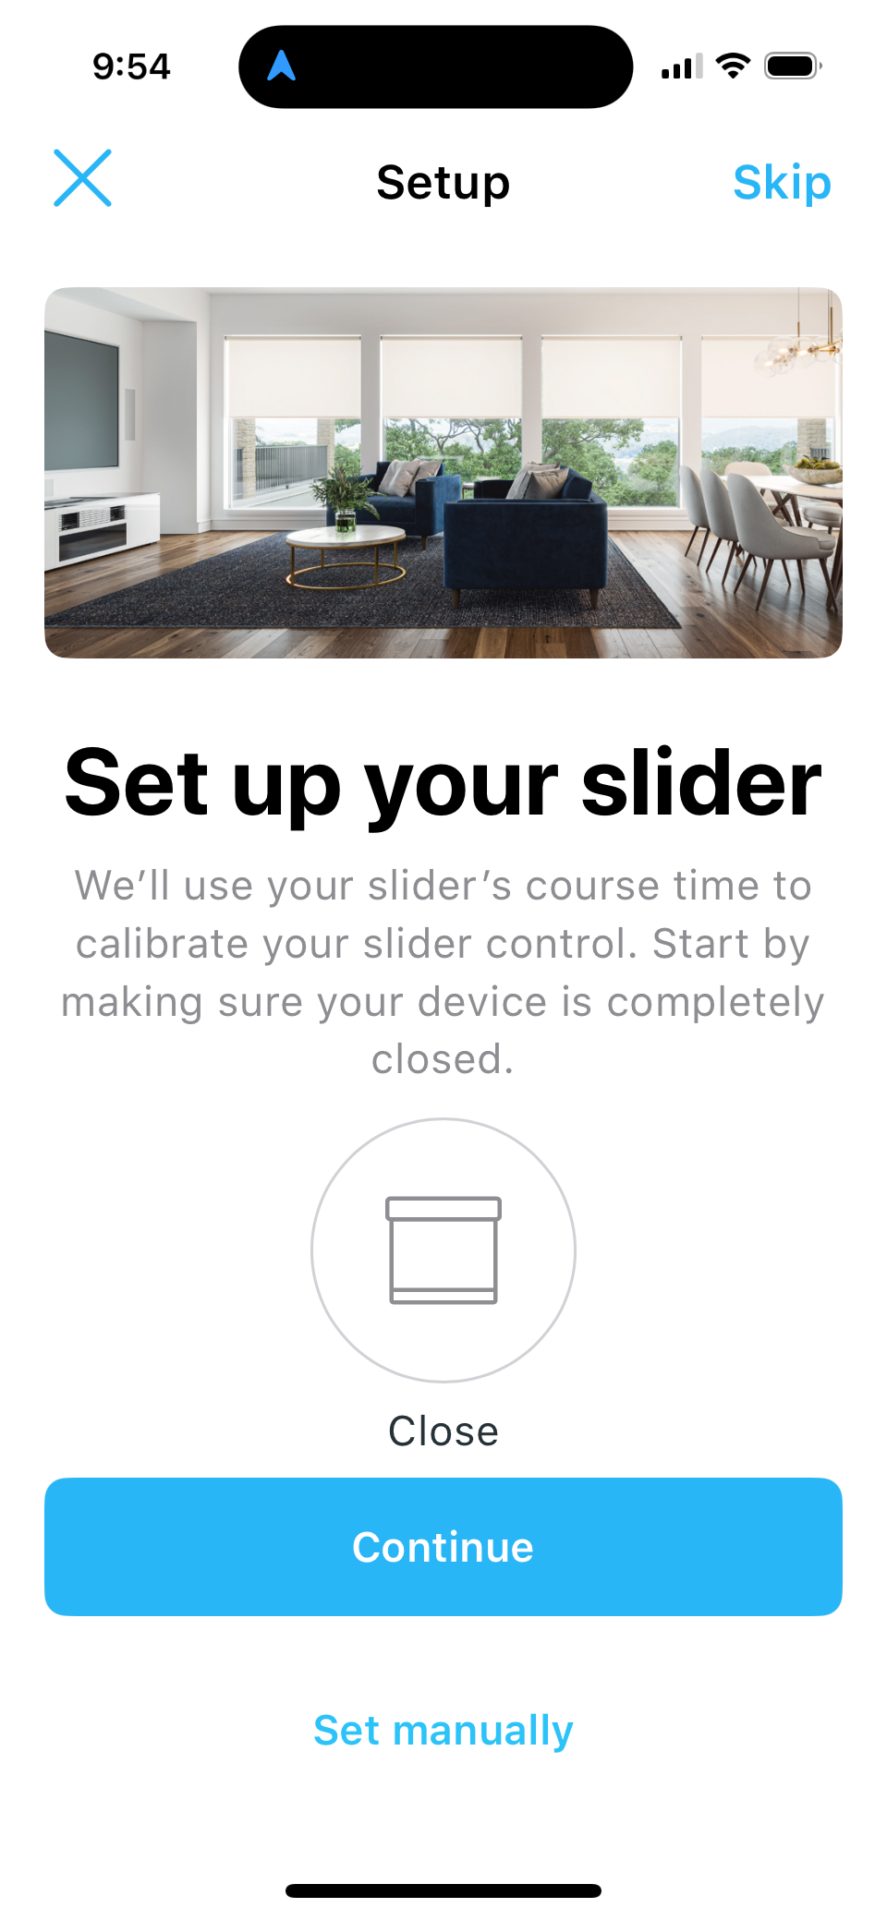
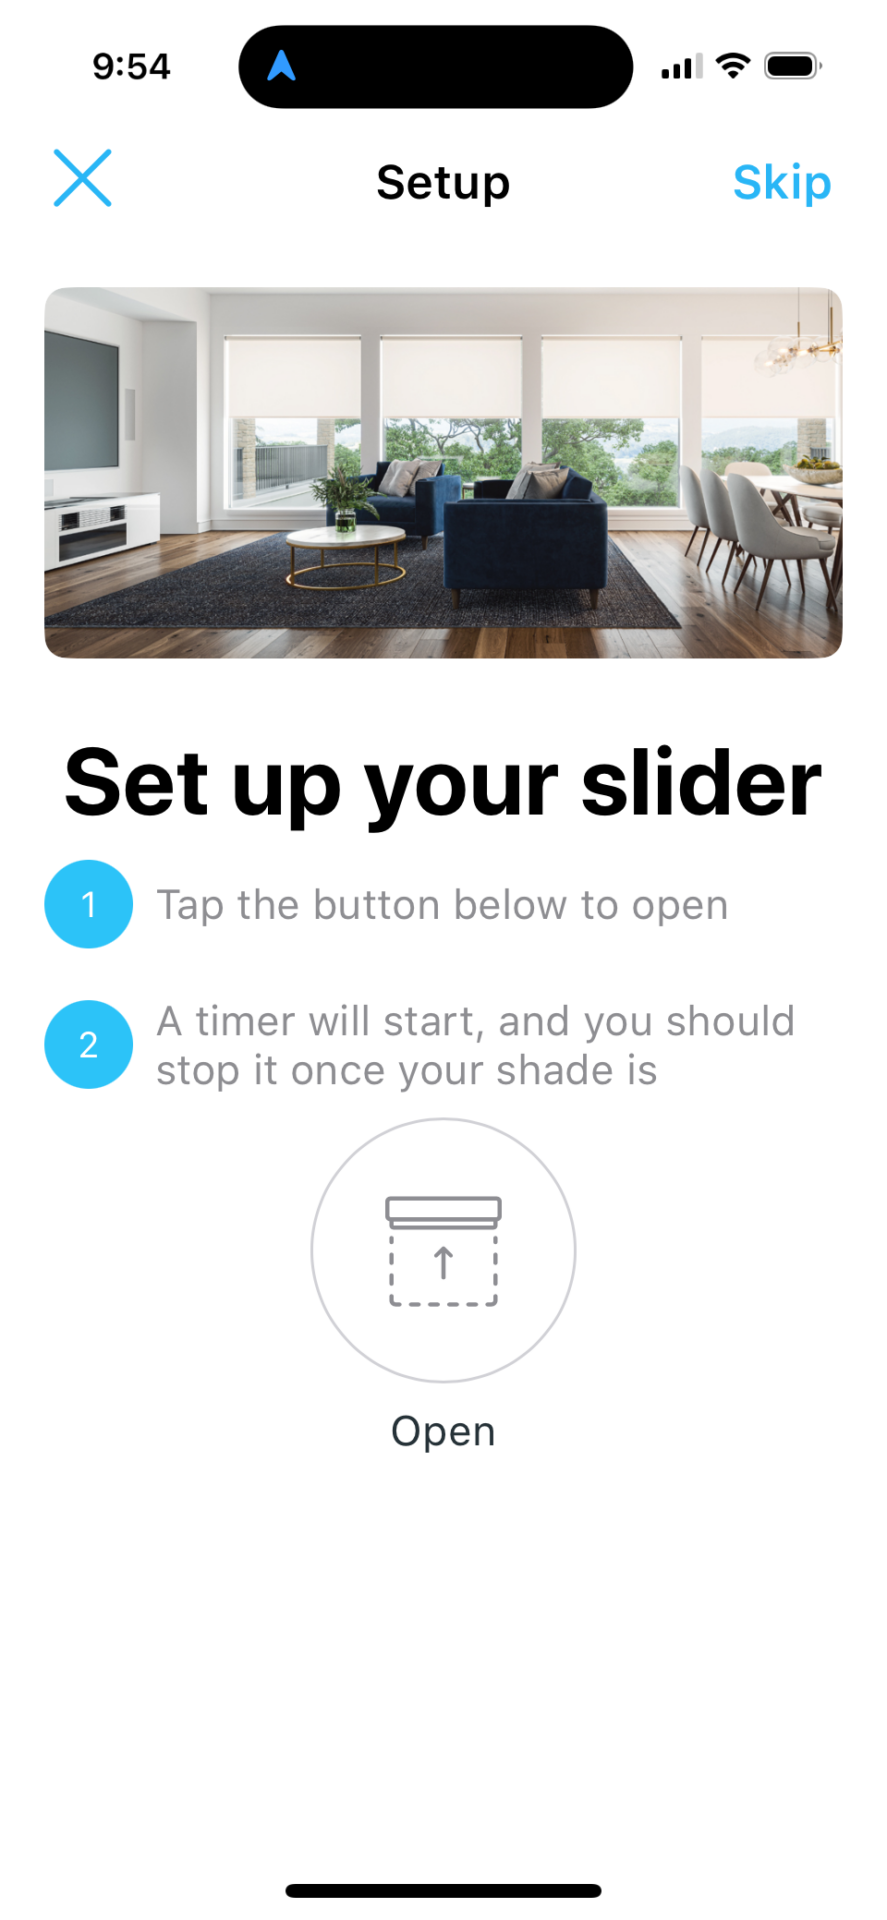
Start timing: Press the UP Button
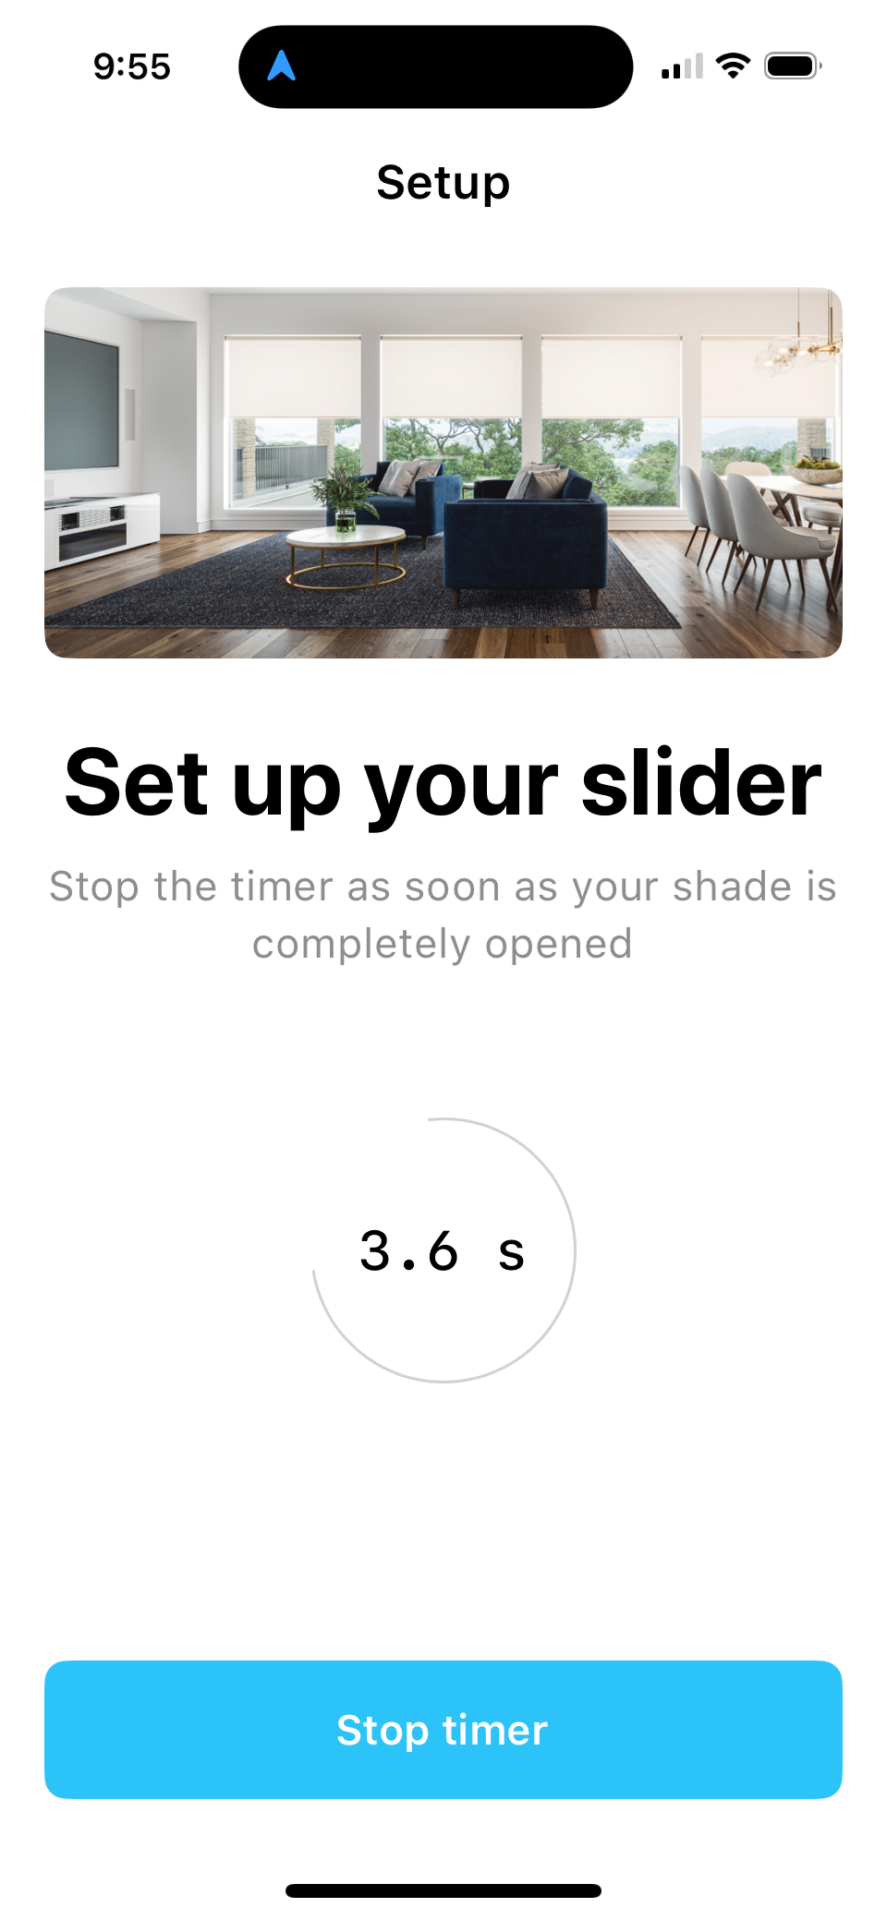
Record timing: When the shade fully opens, press the STOP TIMER button to record the time
Final testing: Test the shade, then press DONE
Setup Completion #
Finish setup: Press DONE, or add other like this to add another shade
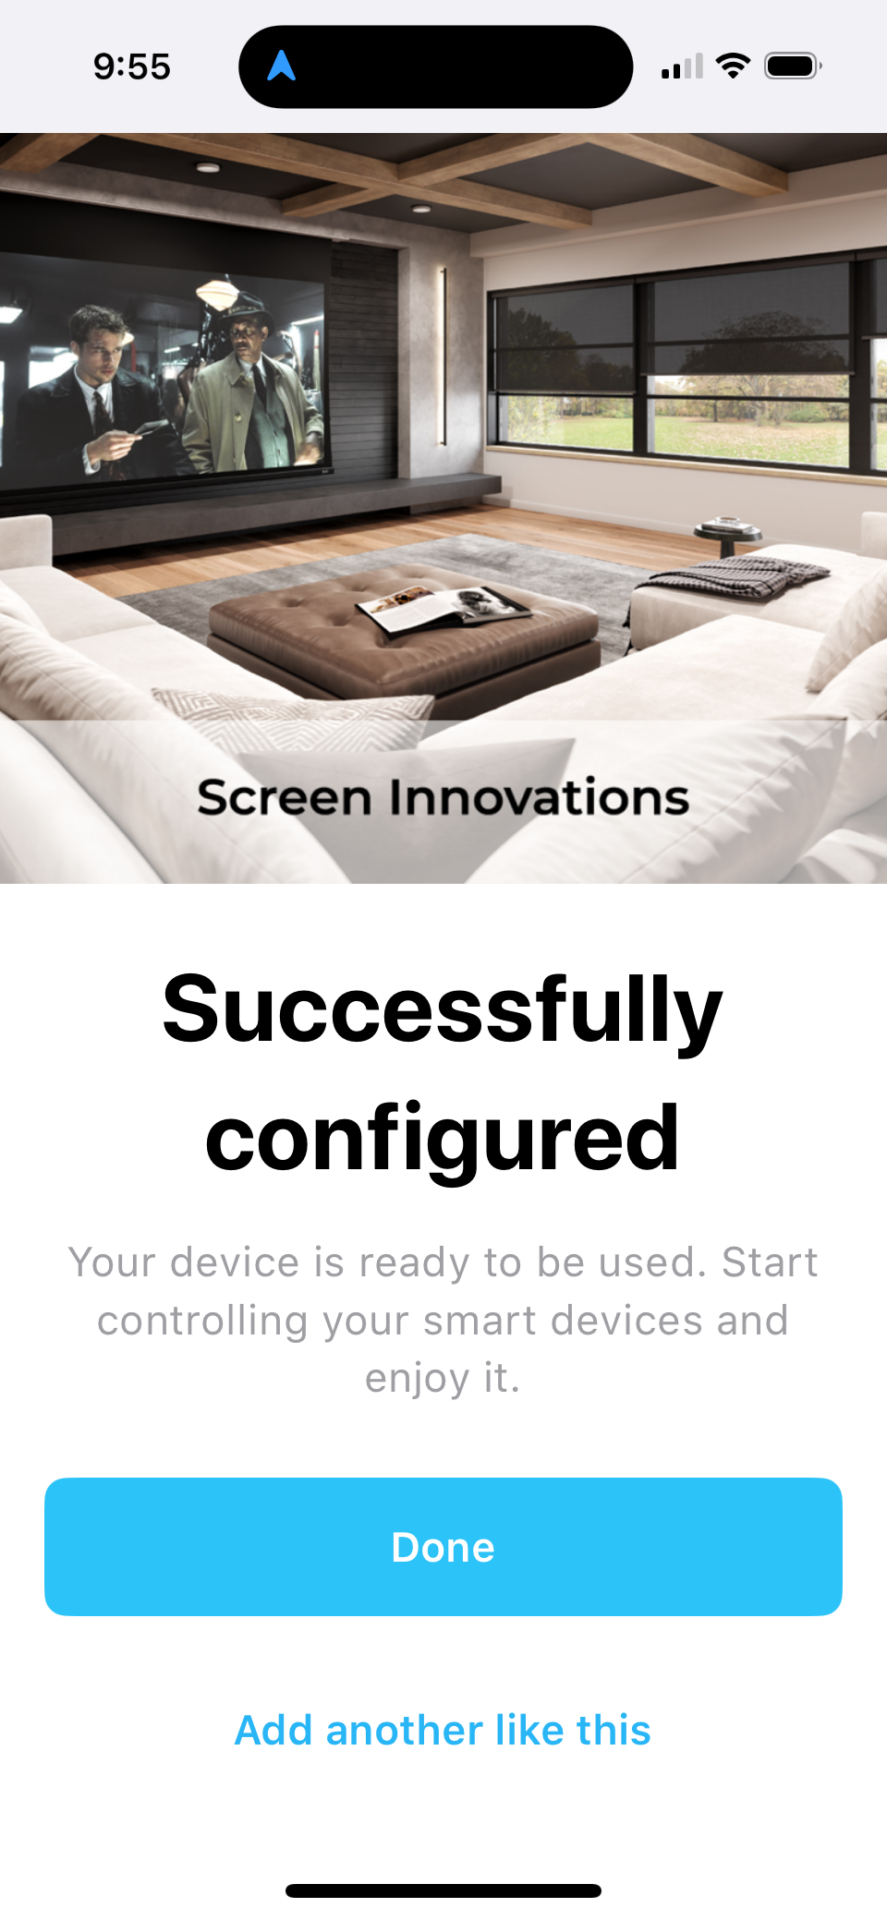
Tip: You can repeat this process to add multiple SOMFY RTS motors to your Bond Bridge Pro system.



