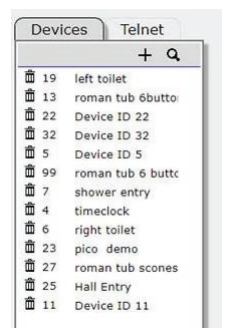
Warning: Before starting integration, make sure the SDN system is fully set up, including Telnet usernames and passwords.
Integrating SIFI with Lutron HomeWorks QS #
1. Understand the Integration #
HomeWorks integrates with Groups of shade motors–not individual motors.
If single shade control is needed, create a Group with just one motor.
2. Create Motor Groups #
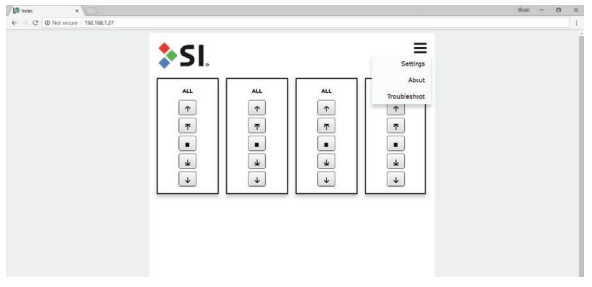
Go to the SDN tab → Groups tab
Click the ( + ) Plus icon to create a group
Add motors by right-clicking them and selecting the desired group name
3. Configure SIFI for HomeWorks QS #
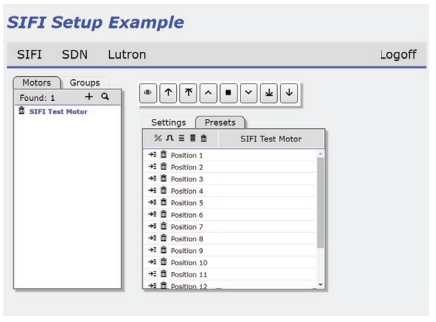
Go to the SIFI tab → Hover over Lutron menu → Click Setup
In the LUTRON column:
Right-click next to System and select HomeWorks QS
Enter the HomeWorks QS Processor IP in ADAPTOR_IP
Set Connection to Enable
Enter the Login and Password (from your Lutron config)
Click Restart to reboot the SIFI
4. Capture Keypad Devices #
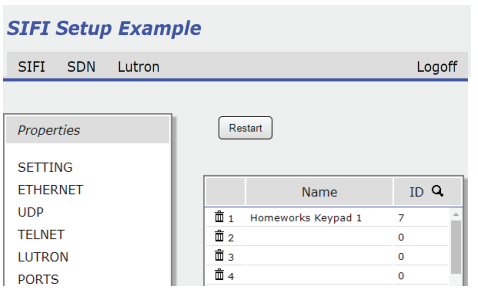
After restart, go to Menu (top right) → Settings → Lutron > Devices
Press a button on the Lutron keypad
Quickly click the magnifying glass icon in the ID column
If successful, the Device ID will appear
Rename it to match the keypad
Note: This ID identifies the keypad, not the button.
5. Assign Keypads & Buttons #
Go to Lutron > Tables
In Lutron ID, right-click and select the keypad from the list
In Button, enter the button number (use the cheat sheet if needed)
Set the Action (usually “Press”) and click the Add (↓) icon
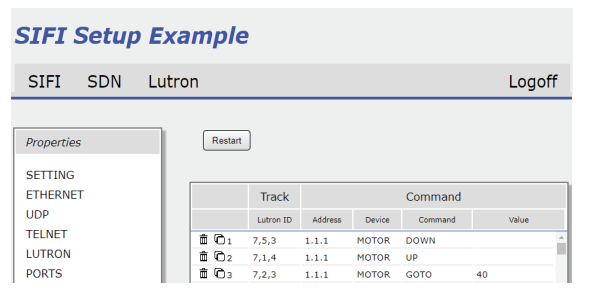
6. Link to Motor Groups #
In the Address column, add the group address:
Format:
Group1 = 1.1.1,Group2 = 1.1.2, etc. (drop leading zeros)
In Device, select Motor
In Command, select the motor action (e.g., “UP”, “DOWN”)
In Value, optionally enter a percentage (e.g.,
40for 40% open)
7. Test the Integration #
Press the programmed keypad buttons to test shade group movement
Confirm UP/DOWN commands work as expected
Integrating SIFI with Lutron Radio RA2 #
1. Access the SI.Fi #
Open a web browser and enter the SIFI IP address
Go to Menu (top right) → Settings
2. Create Motor Groups #
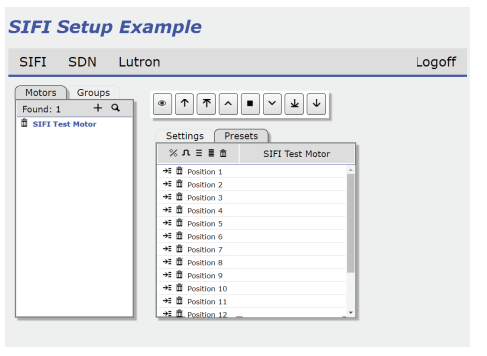
Go to SDN tab → Groups tab
Click the ( + ) Plus icon to create a group
Right-click each motor to assign it to a group
3. Configure for Radio RA2 #
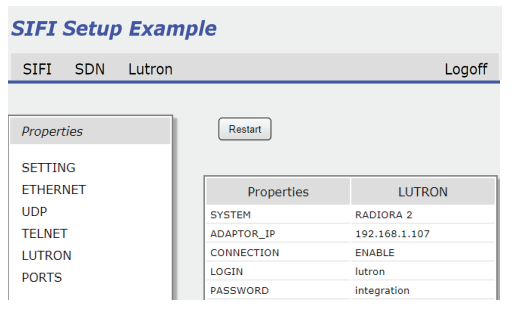
Go to UAI Plus tab → Lutron > Setup
In the LUTRON column:
Right-click next to System, select RADIORA 2
Enter the Processor IP into ADAPTOR_IP
Set Connection to Enable
Enter Login and Password (from Lutron configuration)
Click Restart to apply settings and reboot the SIFI
4. Capture Keypad Devices #
After reboot, go to Menu > Settings > Lutron > Devices
Press a button on the Lutron keypad
Quickly click the magnifying glass icon in the ID column
If successful, a Device ID will appear in the “Name” column
Rename it to match the keypad
Note: This captures the keypad ID, not the specific button.
5. Configure Keypad Buttons #
Go to Lutron > Tables
Under Lutron ID:
Right-click and select a previously discovered keypad
Under Button:
Enter the button number and assign an Action (default: “Press”)
Click the Add (↓) icon to add the function
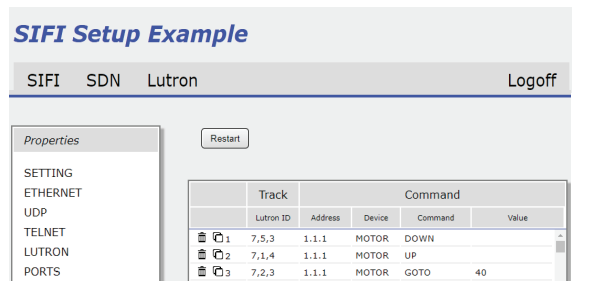
6. Assign Motor Group & Commands #
Address column: Add the Group Address from SDN > Groups
Example:
Group1 = 1.1.1,Group2 = 1.1.2(remove leading zeros)
Device column: Select Motor
Command column: Select the desired action (e.g., “UP”, “DOWN”)
Value column (optional): Set a % value for “GOTO” (e.g.,
40for 40%)
7. Test Functionality #
Press the programmed keypad buttons
Confirm the assigned shades respond correctly to UP/DOWN commands
Integrating SIFI with Lutron RA2 Select #
1. Configure the Lutron RA2 Select App #
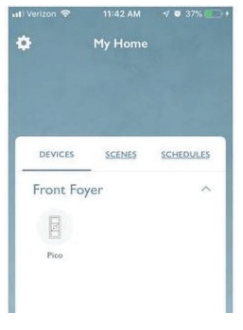
Launch the Lutron Caséta and RA2 Select App
Tap the Tools (gear icon) → Go to Advanced / Integration
Enable Telnet Support
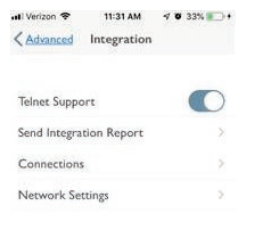
Note: RA2 Select supports only one Telnet socket. Only one third-party app (like SIFI) can be connected at a time.
2. Connect to the SIFI Web Interface #
Open a web browser and enter the SIFI IP address
Go to Menu (top right) → Settings
Scroll to the Lutron tab and select RadioRA2
3. Configure RA2 Select Connection #
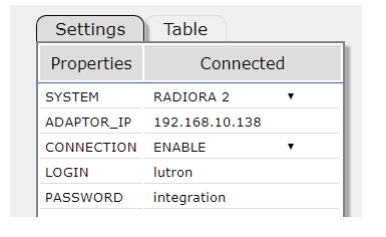
In the LUTRON column of the setup:
Enter the RA2 Select Main Repeater IP Address in ADAPTOR_IP
Enter your RA2 LOGIN and PASSWORD
Set CONNECTION to ENABLE
Wait for the Status indicator to show “Connected”
4. Discover Lutron Devices #
In the SIFI web interface, go to Lutron > Devices
Press a button on a Lutron device (previously integrated in the Lutron App)
Quickly click the Spyglass (🔍) icon in the ID column to capture the device
Repeat for all Lutron devices you want to control with SIFI
Tip: You can rename devices after discovery for easier identification
5. Program Device Commands #
Go to Lutron > Table
For each discovered device:
Select the Device ID
Enter the Button number
Assign the desired Motor or Lighting command