
Install the Groove Endpoint #
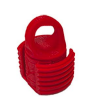
Drill a 3/8″ hole at the wire location (top or side of the header/framing).
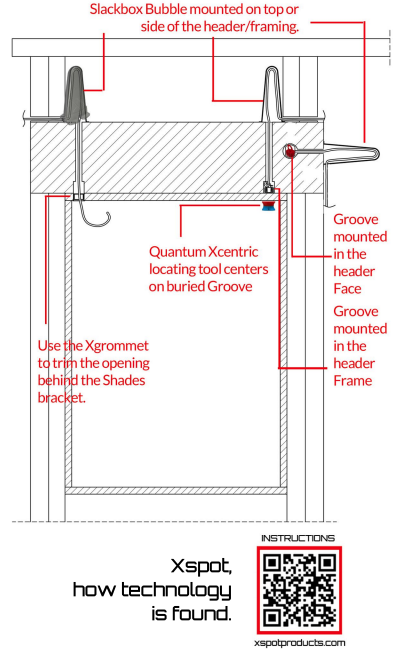
Drill a 1″ wide by 2″ deep hole for the Groove inside the frame.
Trim the wire to length, allowing for 8″ of slack wire.
Run the wire down through the 3/8″ hole.
Attach the wire to the Groove by pulling it through the top cap loop and securing it.
Push the Groove into the hole to be buried until Trim stage.
Mount the Slackbox Bubble (Rough-in) #

Remove one of the four “breakaway” tabs to feed the wire into the Bubble.
Note: Fit should be tight to block spray foam.Secure the Bubble with two screws to the top or side of the header, aligning the slack end directly over the wire hole.
Push up to 8″ of slack wire into the Bubble.
Tip: Ensure the fit is tight around the wire entry point to prevent spray foam infiltration.
Locate Buried Groove and Wire (Trim) #

Use the blue side of the Quantum Xcentric tool to scan the surface.
The Quantum will repel when the Groove is located.Flip the Quantum to the red side — it will snap onto the Groove.
Mark the notches around the sides of the Quantum.
Remove the Quantum and drill a 1″ hole in the center of the marks.
Info: The Quantum Xcentric tool has two distinct sides – blue for detection and red for precise positioning.
Trim Wire Hole with Xgrommet (Trim) #

Pull the wire through the Xgrommet and trim out the shade motor.
The Xgrommet outer flange can be removed for a flush installation.
Feed the excess wire back into the Slackbox Bubble and cover the Xgrommet with the shade’s bracket.
Tip: The outer flange removal option allows for different aesthetic preferences depending on the installation requirements.



