
🔧 Tools Required #
Phillips screwdriver
Flathead screwdriver or trim tool (optional)
Clean, padded work surface
Replacement motor (Nano-compatible)
Remote (for programming/testing)
Charger (if rechargeable motor)
Step-by-Step Instructions
1. Remove the Shade from the Brackets #
Locate the manual levers underneath each bracket.
Slide the levers to the unlocked position.
Lift the cassette up and outward to remove.
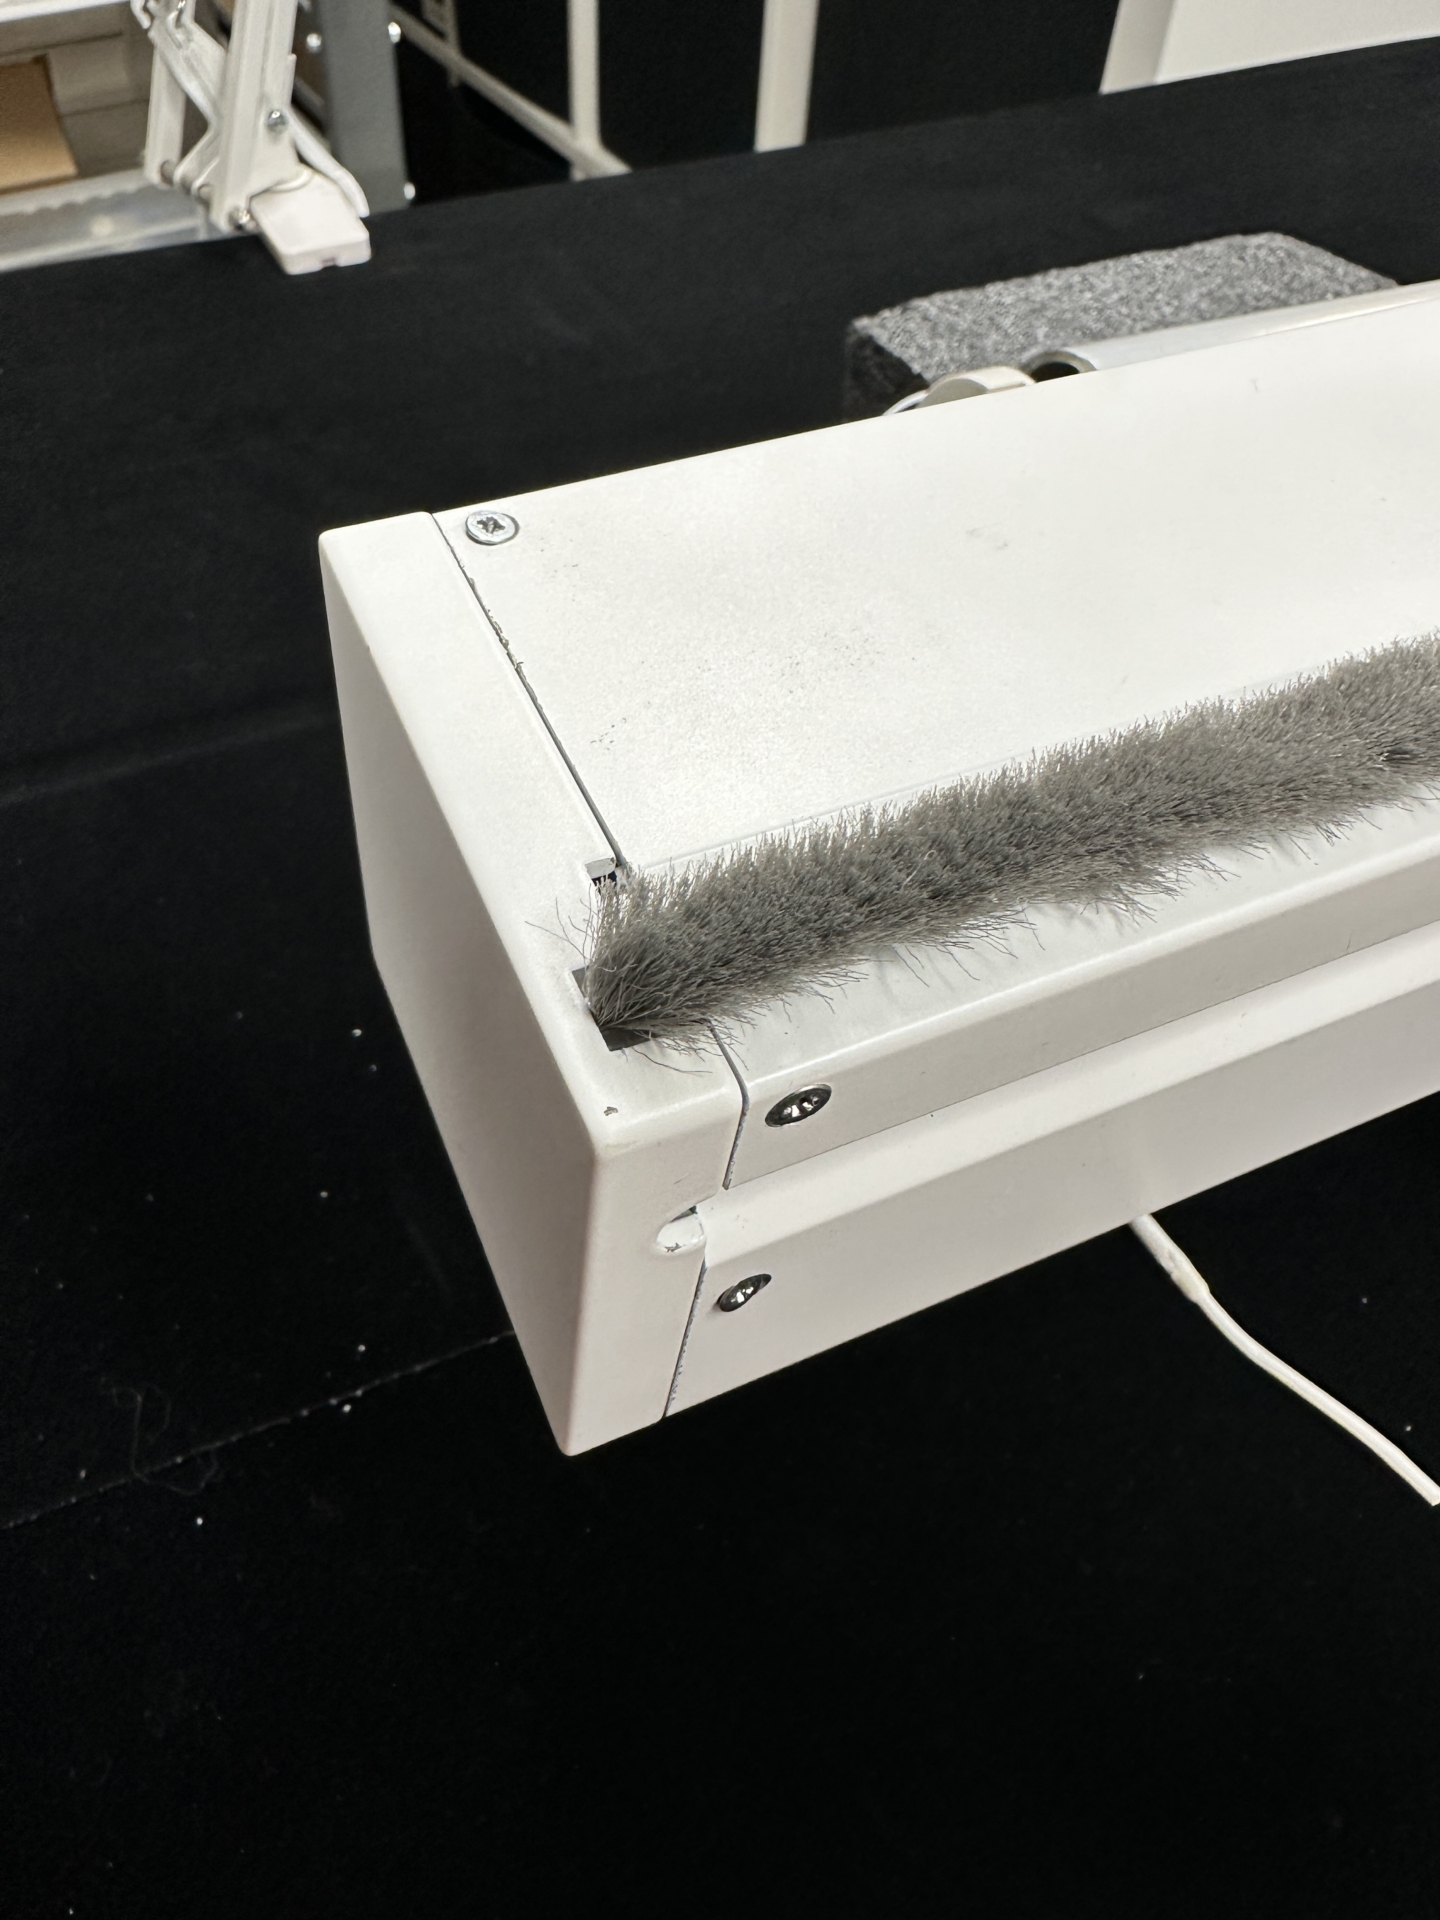
2. Remove Both End Caps #
Use a Phillips screwdriver to remove the 3 screws (1 on top, 2 on the back) from both end caps.
Motor side: Pry gently if the end cap is snug.
Idler side: Remove carefully — ⚠️ spring on idler pin can fall off.
3. Remove the Motor #
Slide the motor out of the tube.
Twist slightly to disengage the shaft.
Disconnect wiring if applicable.
4. Transfer or Replace the Motor Plate #
Remove the metal motor plate from the old motor.
⚠️ Save the rubber isolators on the tab ends.
If using a V2 motor (to replace V1 Low Voltage RTS/Zigbee):
➡️ Use the provided V2 plate to align the motor head button with the end cap access hole.
5. Install the New Motor #
Align the notched rubber drive end with the grooves inside the roller
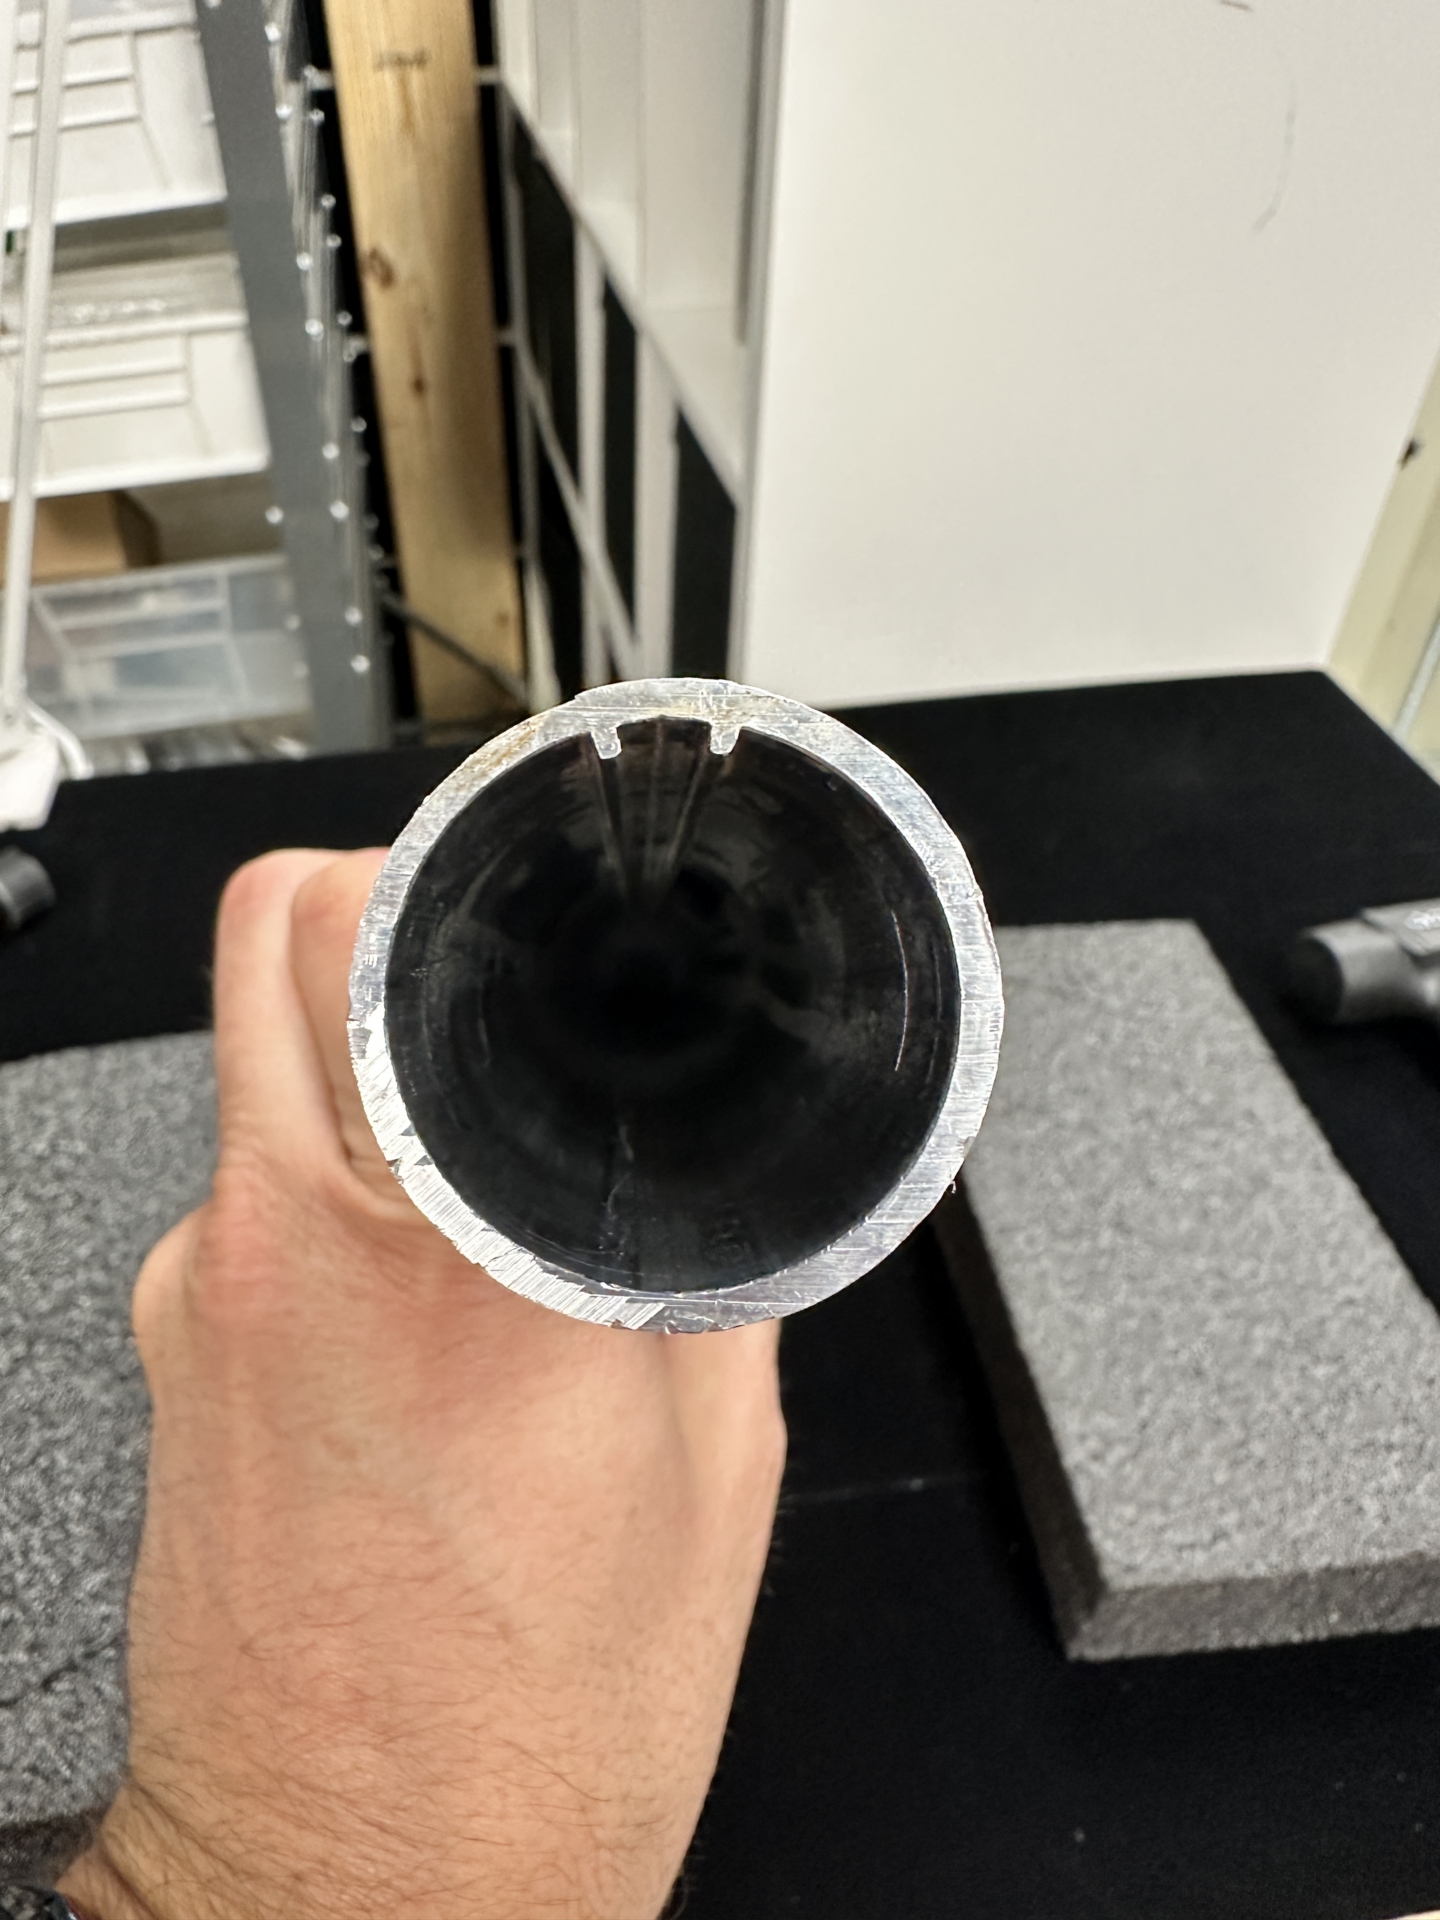
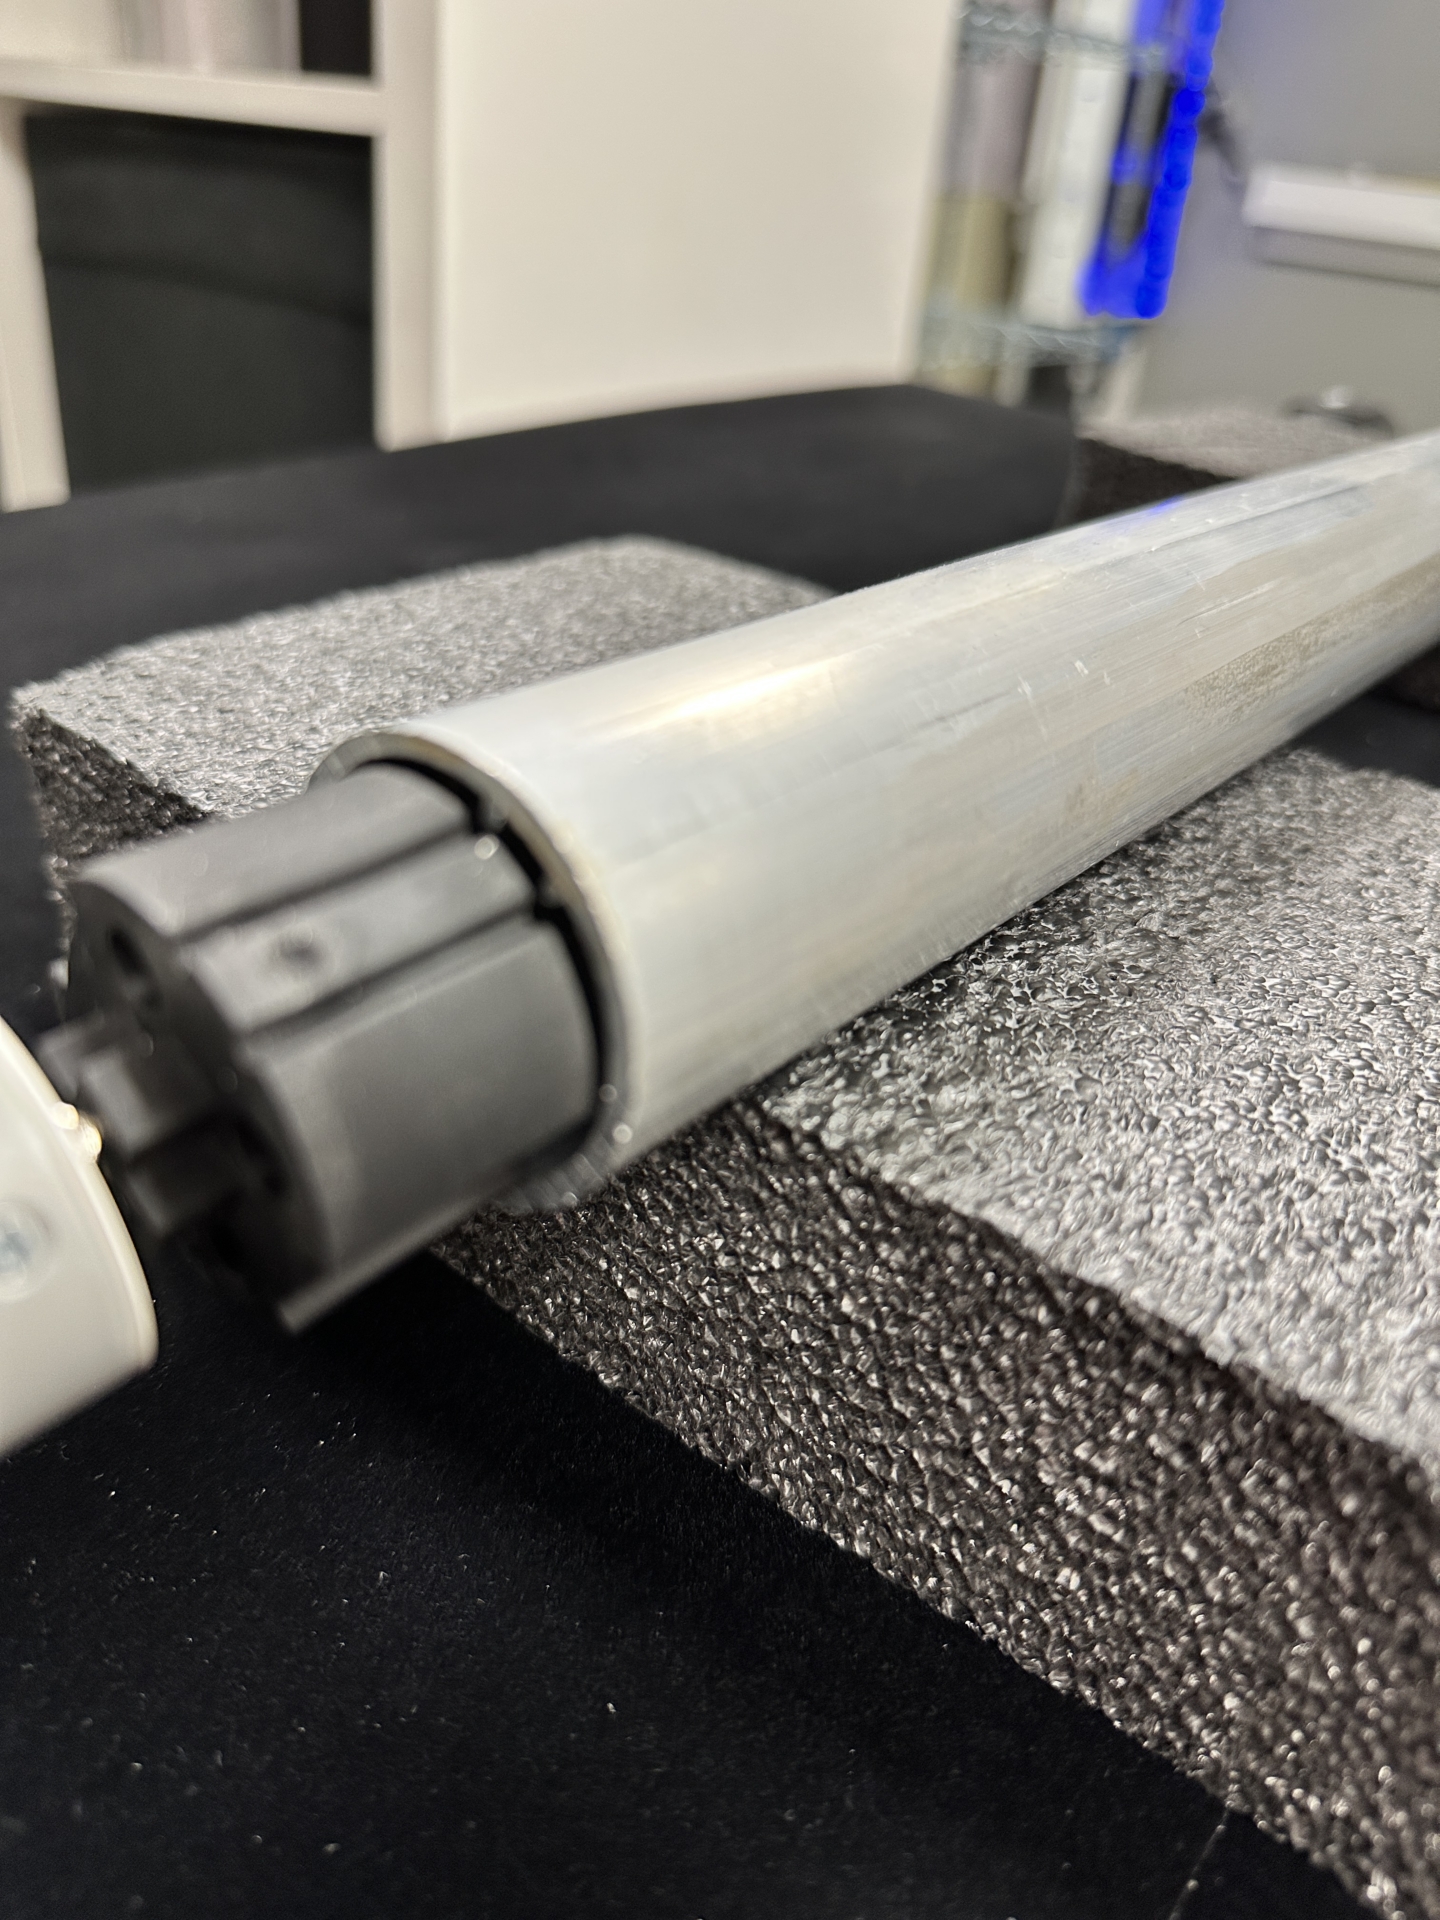
The medium-sized collar gap goes over the groove.
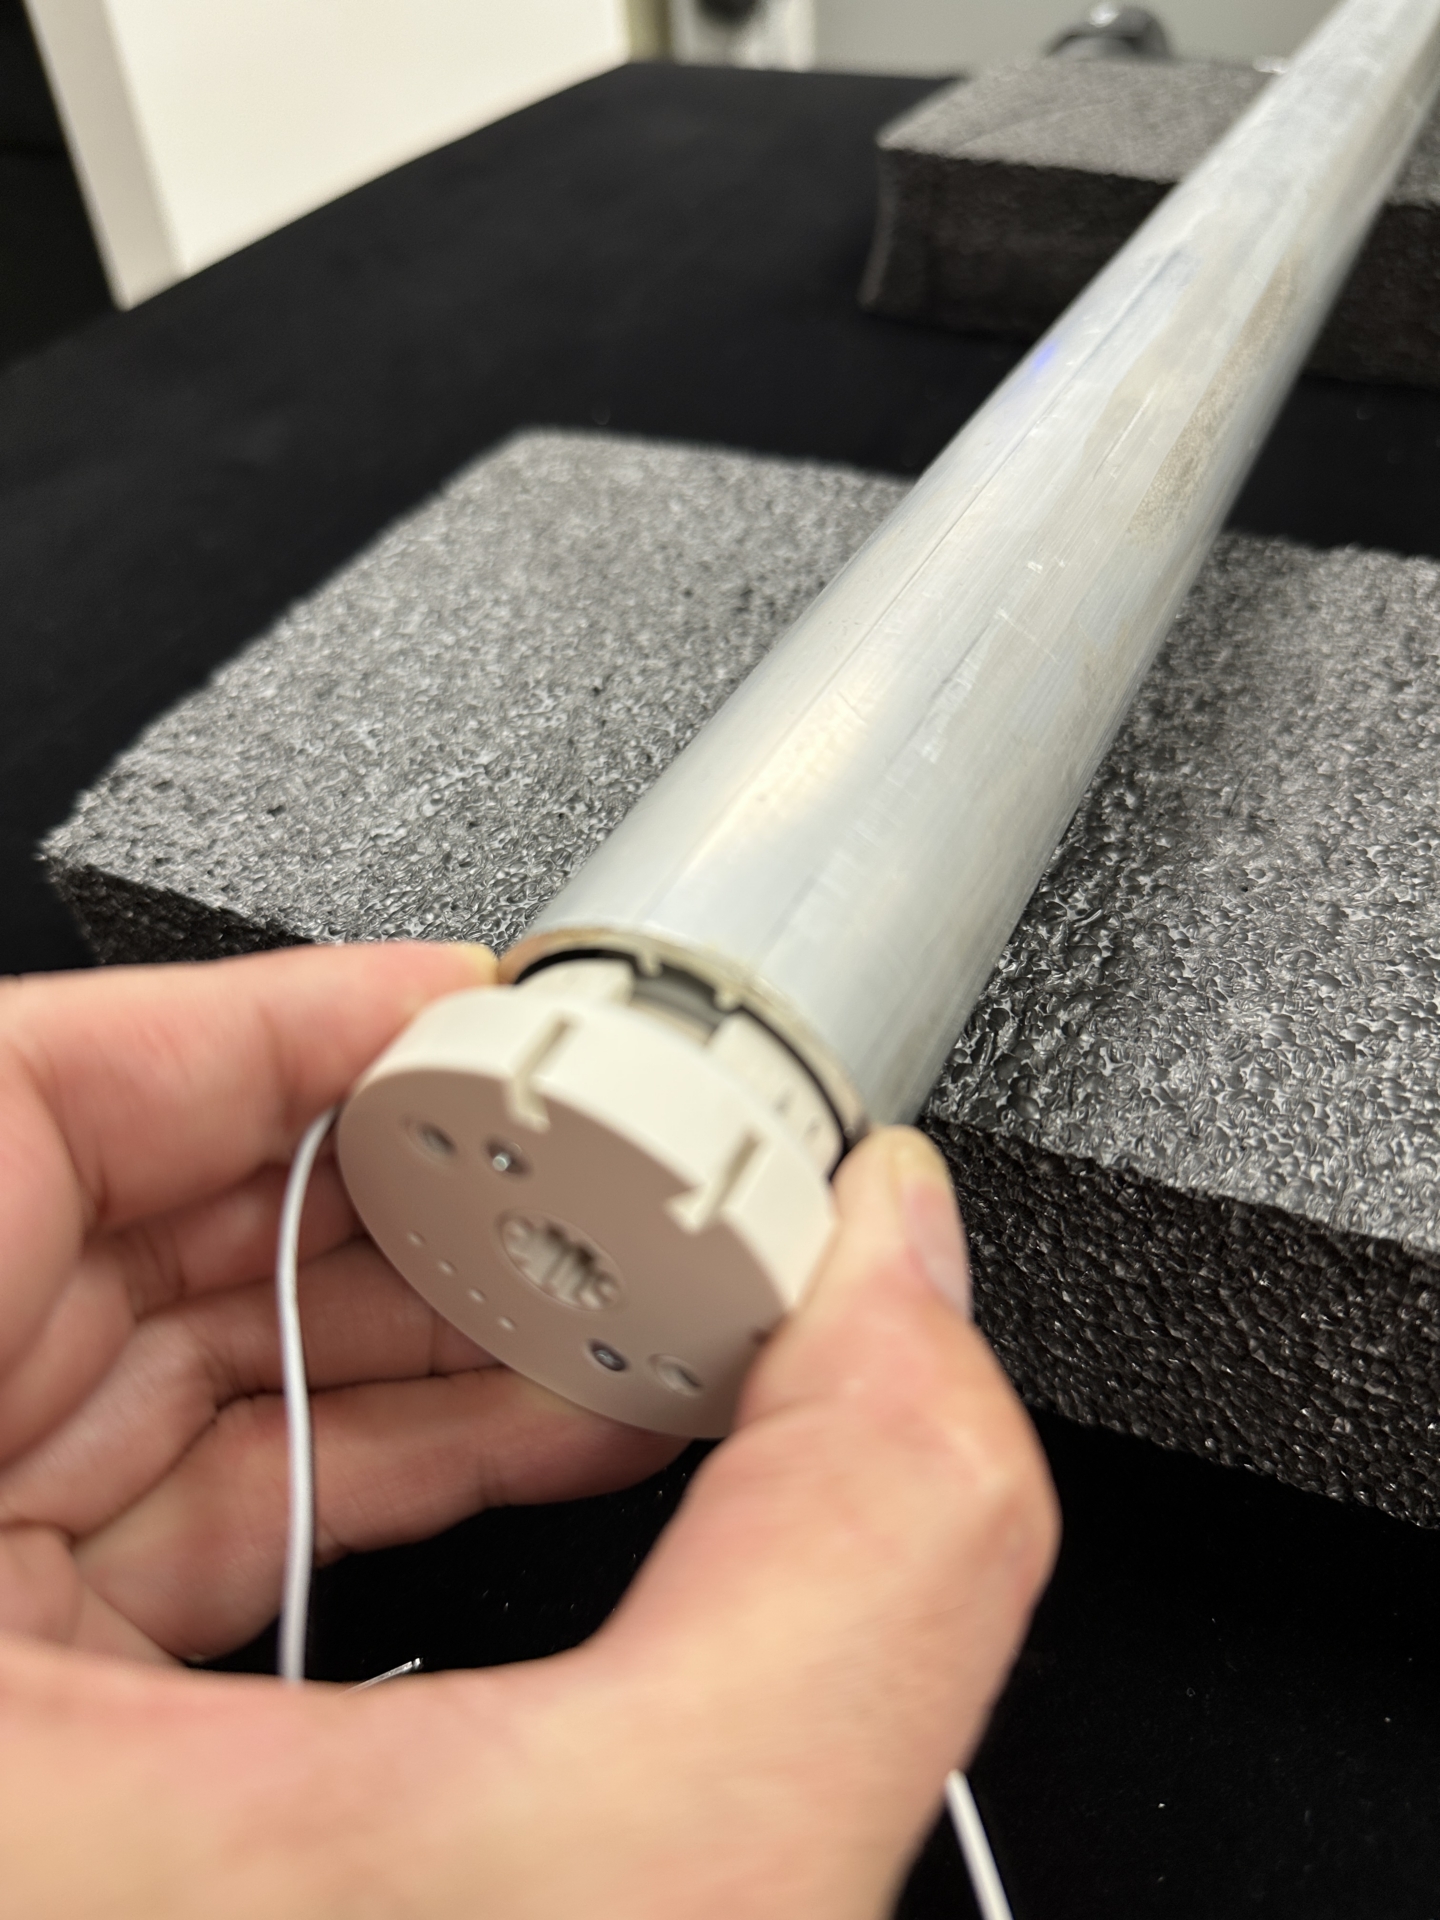
Push in until firmly seated, then reinstall the motor-side end cap.
Re-install 3 phillips screws to secure the motor side end cap.
6. Reinstall the Idler-Side End Cap #
Confirm the spring is on the idler pin.
Insert the pin into the idler bearing inside the tube.
Reinstall the idler end cap with screws.
7. Reinstall the Shade #
Hook the back edge of the cassette onto the brackets.
Tilt it up and in until it seats fully.
Manually lock both levers on the brackets.
8. Program and Test the Motor #
⚠️ Only test the motor when the shade is mounted.
Use the remote or controller to:
Confirm motor direction
Set upper and lower limits (required — new motors ship without presets)
✅ Final Tips
Always mount the shade before testing.
Don’t lose small parts:
Rubber isolators
Idler spring
Save the old motor for possible diagnostics or warranty.



