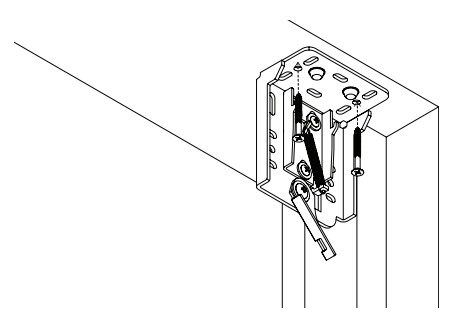
Step 1: Mounting the Brackets: #
Install wall bracket 4 – 6 inches from the jamb using the supplied screws.
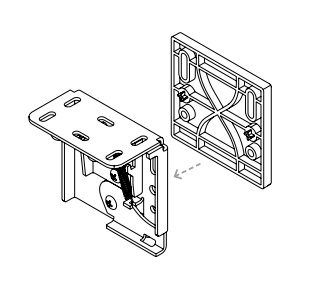
Spacer Blocks – used to clear an obstruction in the fabric path.
. Connect spacer blocks to shade brackets before installation.
⚠️ Warning: Do not use more than 4 spacer blocks per bracket.
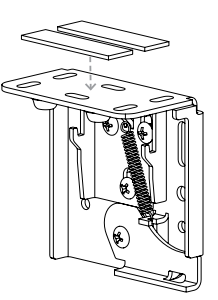
Leveling Shims – used if the window frame is out of level.
Connect to shade brackets before installation.
⚠️ Warning: Do not use more than 2 leveling shims per bracket.
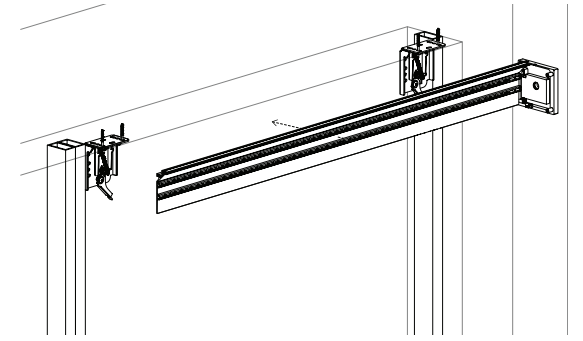
Step 2: Mounting the first Band: #
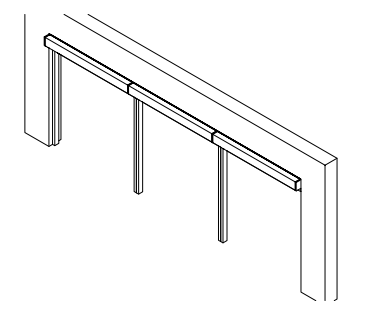
Hang back shade extrusion onto wall brackets and centered.
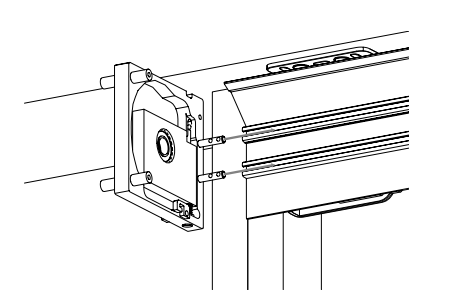
Step 3: Mounting the Couplers: #
Install intermediate plate by inserting pins into t-slot in the shade extrusion.
Repeat steps 1 – 3 for next extrusion.
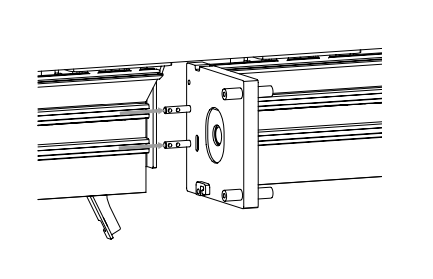
Step 4: Securing the Extrusions to the Couplers: #
Secure extrusions by tightening helical insert.
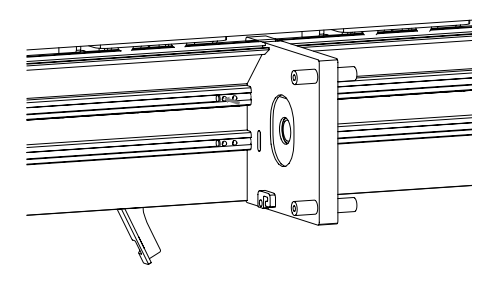
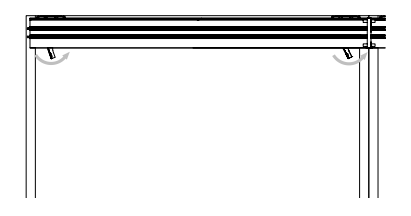
Step 5: Locking the Extrusions in place: #
Lock extrusions in place.
Step 6: Installing the Fabric Rolls: #
Install the shade on the motor side with end cap.
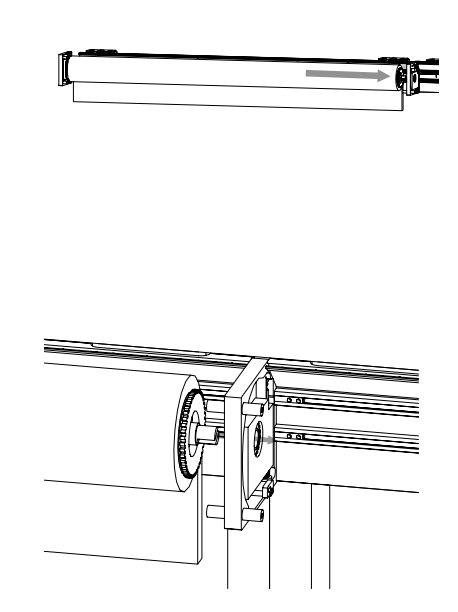
Step 7: Installing the Fabric Rolls:
8. Adjust/deploy idler with provided tool.
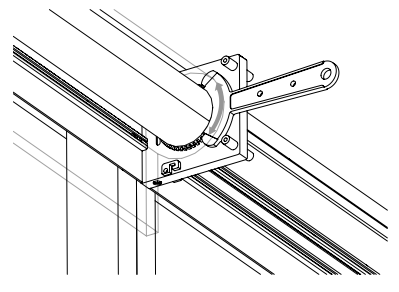
Step 8: Installing the Fabric Rolls:
With the first shade installed you are ready to install the next shade(s).
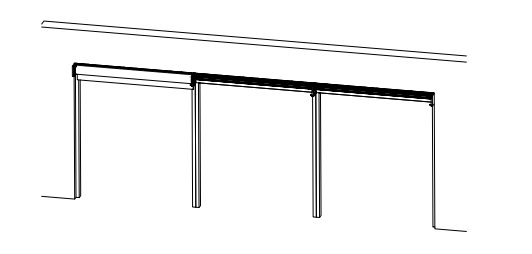
Step 9: Installing the Fabric Rolls:
Install next shade.
Insert the side that connects to previous shade then lift and align idler with coupler.
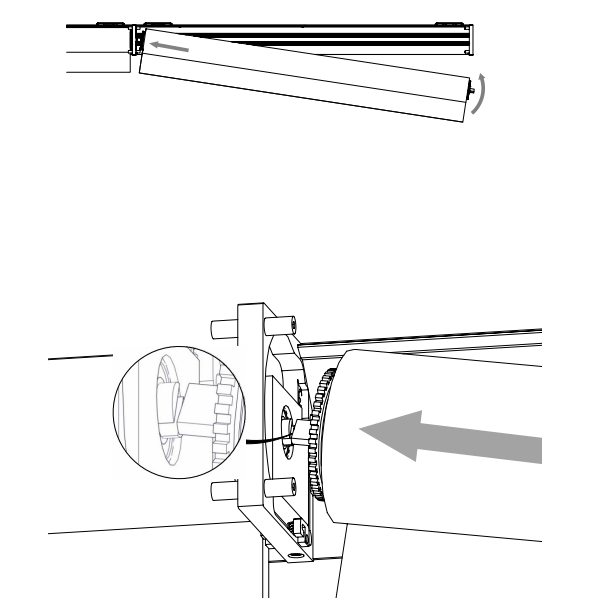
Step 10: Leveling the Hembars: #
If shade is not properly level.
Pull the inner part of idler that connects to the previous shade idler and leave it connected.
Rotate shade until is properly level with previous shade.
Then push the shade back into the idler
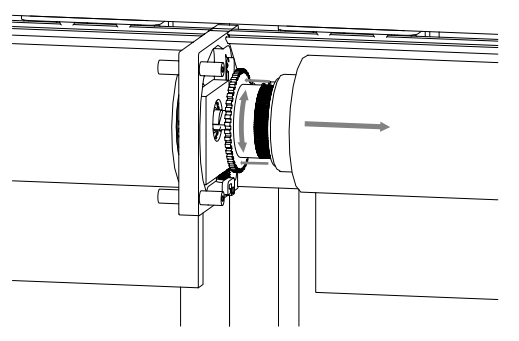
Repeat Steps 10 as needed depending the amount of shades ordered. (Max 4 shades per set)
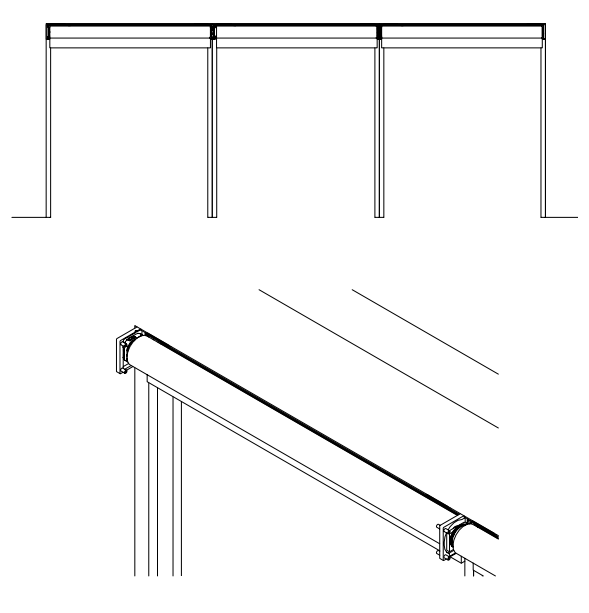
Step 11: Installing the Fascia: #
Install the front cassette by inserting top edge into back cassette slot them slightly rotate down until snap in place.
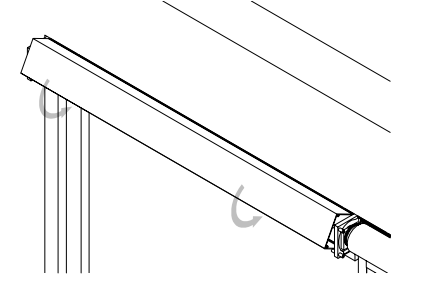
Repeat last step as needed depending the amount of shade ordered. (Max 4 shades per set)
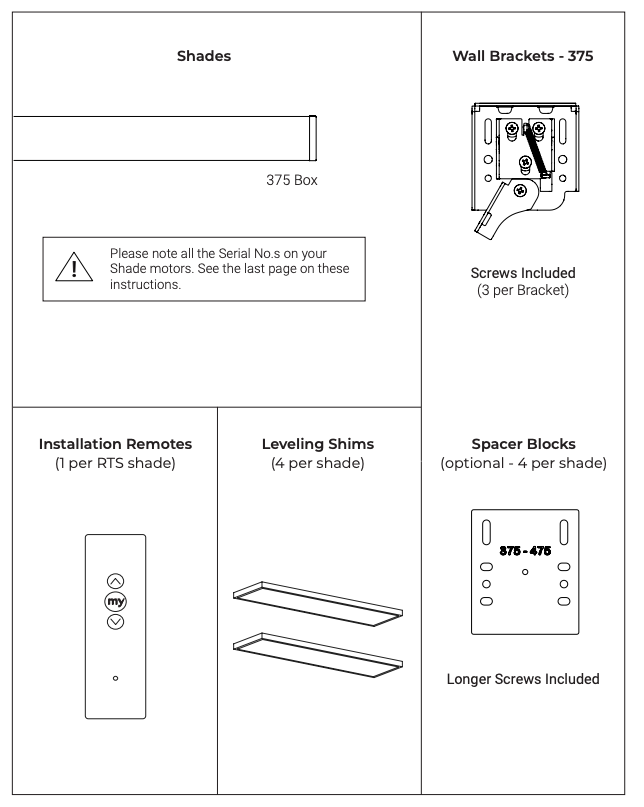
Parts in the Box #