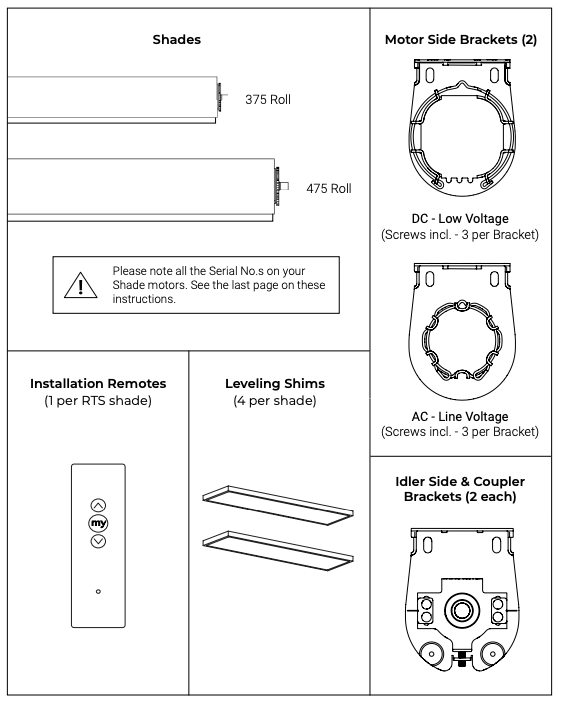
Complete guide to our precision-engineered Nano shading solutions
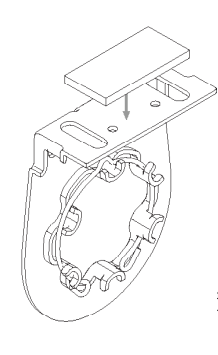
Step 1: Leveling Shims (Optional) #
Used if the window frame is out of level.
Connect to shade brackets before installation
Do not use more than 2 leveling shims per bracket.
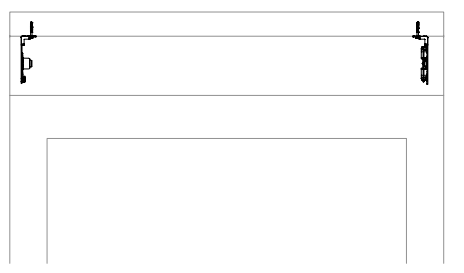
Step 2: Bracket Installation #
Measure outside of the bracket to the outside of the bracket width and verify it matches the width the shade was ordered with.
Adjust accordingly
Step 3a: Bracket Installation (Using 24v Low Voltage Motors) #
Install the motor side bracket inside of the pocket with a distance of 0.46 inches from the edge of the mounting bracket to the back wall.
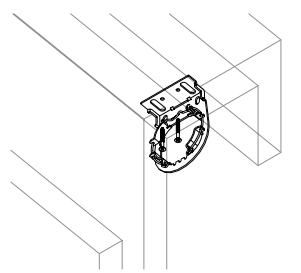
Install the idler side bracket inside of the pocket with a distance of 0.46 inches from the edge of the mounting bracket to the back wall.
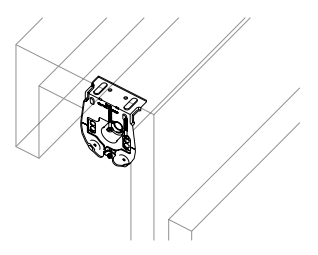
Step 3b: Bracket Installation (Using 110v AC Motors) #
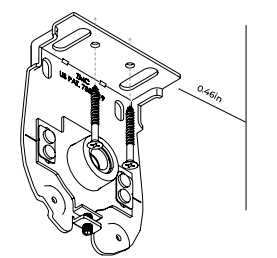
Install the motor side bracket inside of the pocket with a distance of 0.46 inches from the edge of the mounting bracket to the back wall.
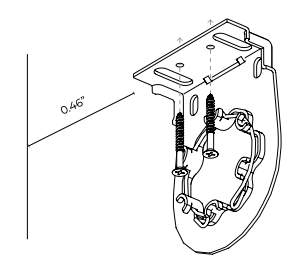
Install the idler side bracket inside of the pocket with a distance of 0.46 inches from the edge of the mounting bracket to the back wall.
Step 4: Installing the Roll #
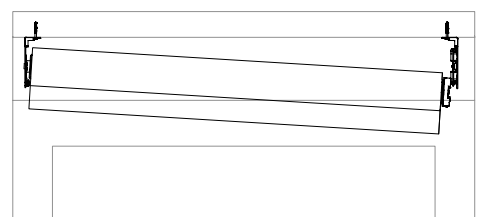
To install the roll: First, insert the idler side of the roll in the idler side bracket.
Making a slight pressure to the idler side, push up the motor side of the roll until lined up with the motor side bracket.
Parts in the Box #