
⚠️ Warning: Please read all instructions fully before beginning installation. Starting prematurely or skipping steps may result in damage to the springs, shade, or housing.
✅ Important: The tension cords coming from the springs are already attached to the shade hembar.
✅ Important: The metal pins visible on the spring channel are safety stops. These hold the spring tension in place.
⚠️ Warning: Do not remove the safety pins unless you are firmly holding the cord.
⚠️ Warning: Releasing a cord without control will cause the spring to unwind abruptly, resulting in spring damage.
Step 1: Install the Shade Housing #
Install your shade housing (this is the same whether it is installed inside a window frame or outside)
If using a fascia or open roll shade, install the brackets now and skip Step 2
Step 2: Install the Shade Brackets into the Housing #
Inside the housing you’ll see markings.
Position each bracket between these lines as a standard guideline.
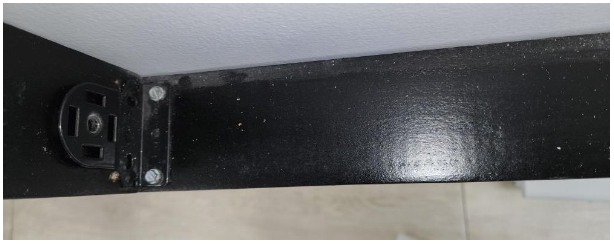
(Brackets can be seen secured to shade housing. Applies for both step 1 or 2.)
Step 3: Secure the Roller Shade #
Lock the roller shade into the installed brackets.
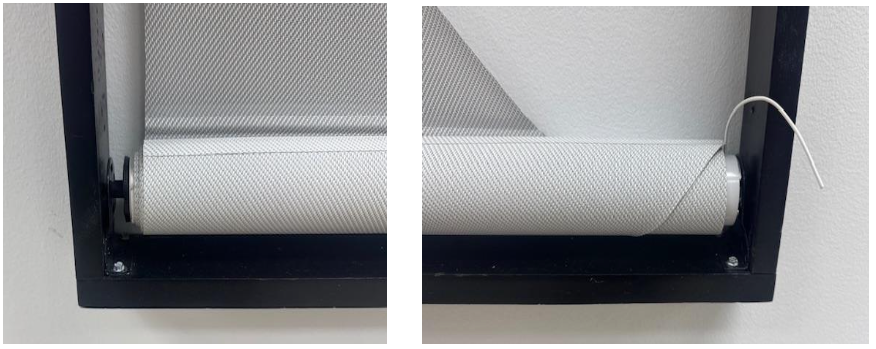
(Shade is securely installed into brackets)
Step 4: Installing the Spring Cassette #
Remove the cassette lid (if not already removed).
Position the cassette at the top of the opening.
Drill through the cassette into the mounting surface to secure it.
Do not drill into or too close to the springs. Use the spacing between springs for drilling points.
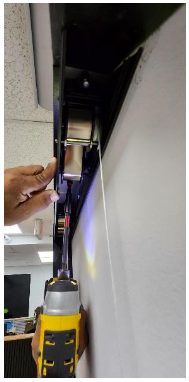
(Secure the Spring Cassette to the mounting surface as shown)
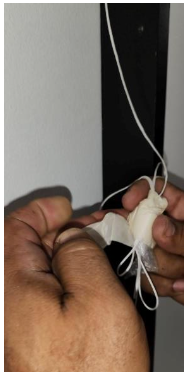
(Once secured, release the tension cord. (step 5))
Step 5: Verify Installation #
Confirm both the shade and spring channel are securely mounted.
You are now ready to release the springs.
Step 6: Release the Spring Tension Safely #
Firmly hold the tension cord.
While holding, remove the safety pin from the spring.
Slowly release the cord until it hangs vertically.
Repeat this process for every spring.
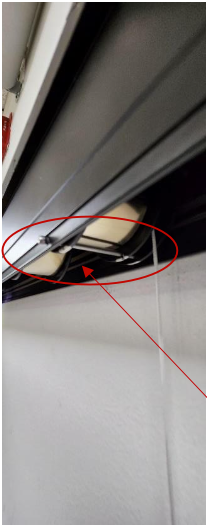
(Safety Pin is in place)
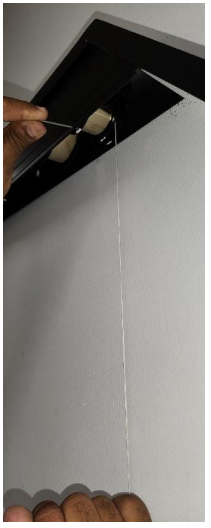
(Make sure to hold tension cord securely and in a vertical direction. Continue to do so as you release so it winds on the spring correctly)
Step 7: Limit Setting & Integration #
Origami shades operate bottom-up, which is the reverse of a standard shade.
Standard shades are programmed with Upper and Lower limits (UP = Open, DOWN = Closed).
Origami shades, however, should be thought of as Open and Closed limits:
Open: Shade fully lowered
Closed: Shade fully raised
Because the travel direction is opposite, the motor direction must be reversed so that the controls make sense to the end user.
Always reverse the motor direction before setting limits.



