Installing Nano Side Channels #
Install the Nano Box shade prior to installing Side & Sill Channels.
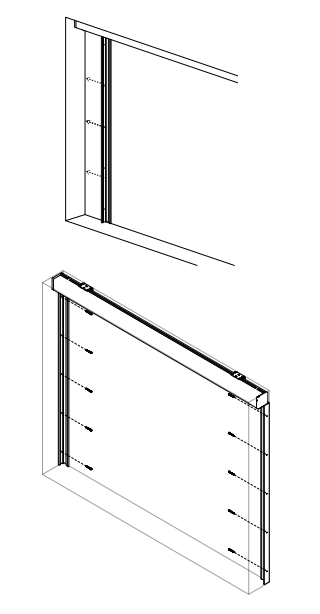
Pre-drill holes 3″ from each end and add more holes approximately 12″ apart over length.
Side mounting will be used on inside mount installations.
Slide extrusion up against box shade and secure to wall with included screws in each of the drilled holes.
Repeat same for opposite side of the window.

Roll down the shade, checking to ensure the fabric doesn’t drag or rub the inside of the channel.
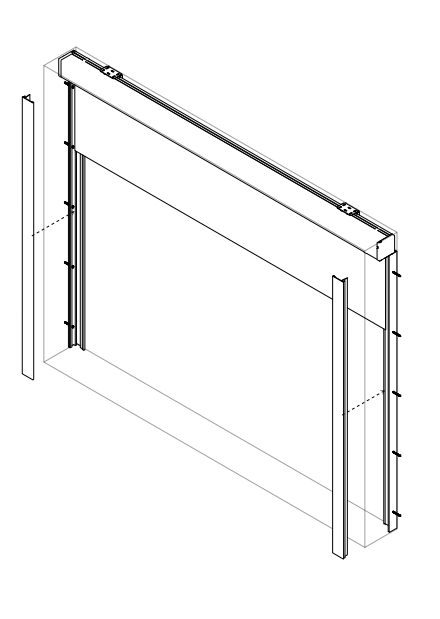
Install the Covers.
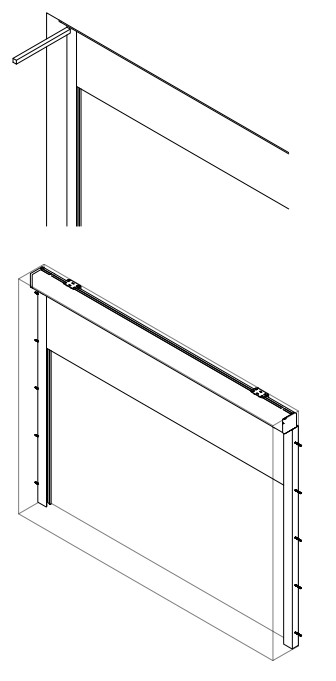
To secure the covers, use the supplied install tool.
Using a mallet, tap the tool to snap the outside extrusion into the mounted extrusion.
This could take quite a bit of force.Once started work your way down continuing to tap the tool to seat the extrusion.
Repeat for the other side.
Installing Sill Channel – Optional #
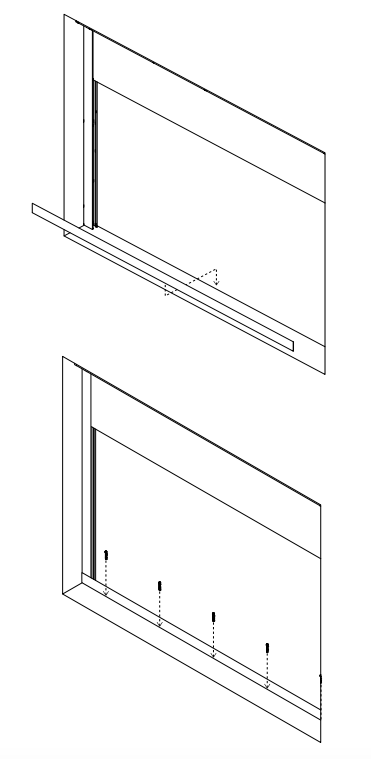
Install the sill channel at the bottom.
Secure the channel covers to wall with included screws in each of the drilled holes.
Removing the Side Channels #
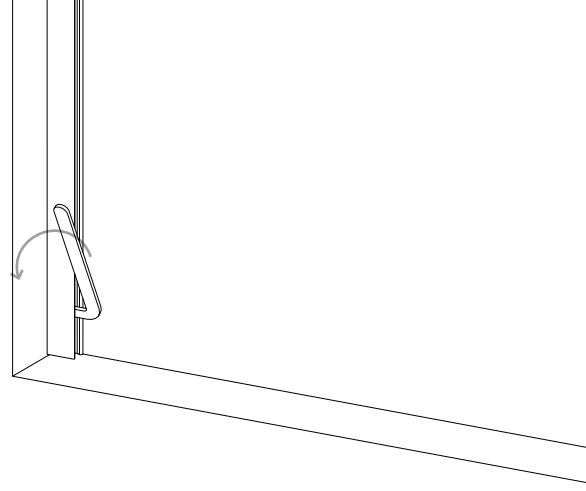
If a need arises to remove the extrusion, use the side channel removal tool.
Make sure the shade is rolled up to prevent damage.
Starting at the top or bottom, insert the tool into channel at an angle as shown.
Make sure the tool is as far into the channel as possible and pry the channel apart by rotating the tool down.
Repeat every few inches until the side channels are fully separated.
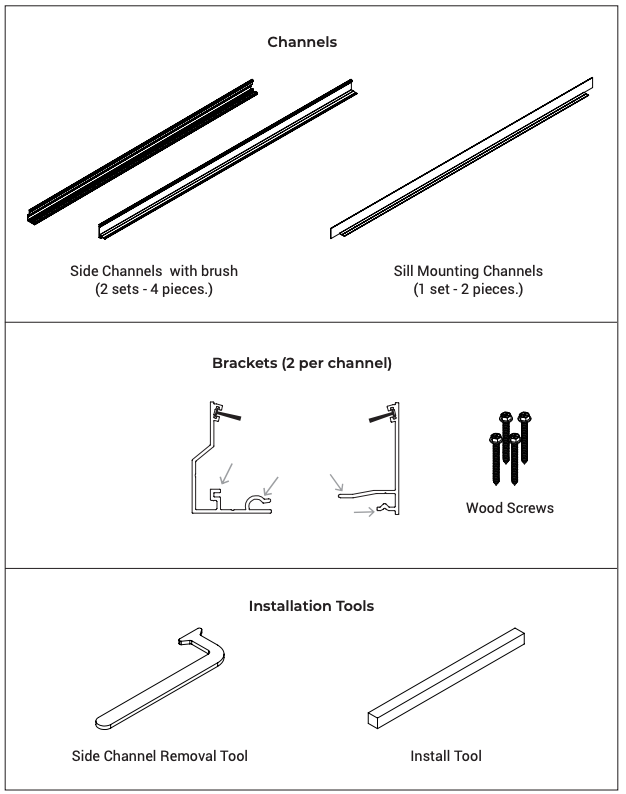
Parts in the Box #