
3rd Party Integration #
Telnet/JSON Server Settings #
Telnet/JSON Server Settings allow third-party control systems to communicate with TRO.Y.
Only 1 Telnet connection can be used on TRO.Y at a time.
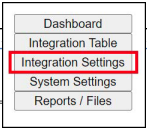
Click Integration Settings

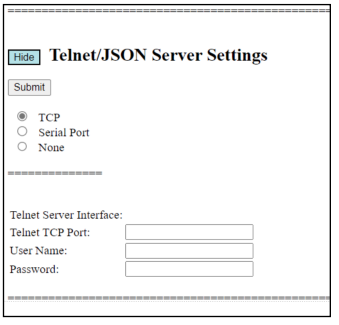
Click Show on Telnet/JSON Server Settings
Select TCP
Choose Telnet port (default: 23)
Enter Username and Password
Click Submit
Restart TRO.Y
Bond Bridge Pro #

Adding TRO.Y to Bond App #
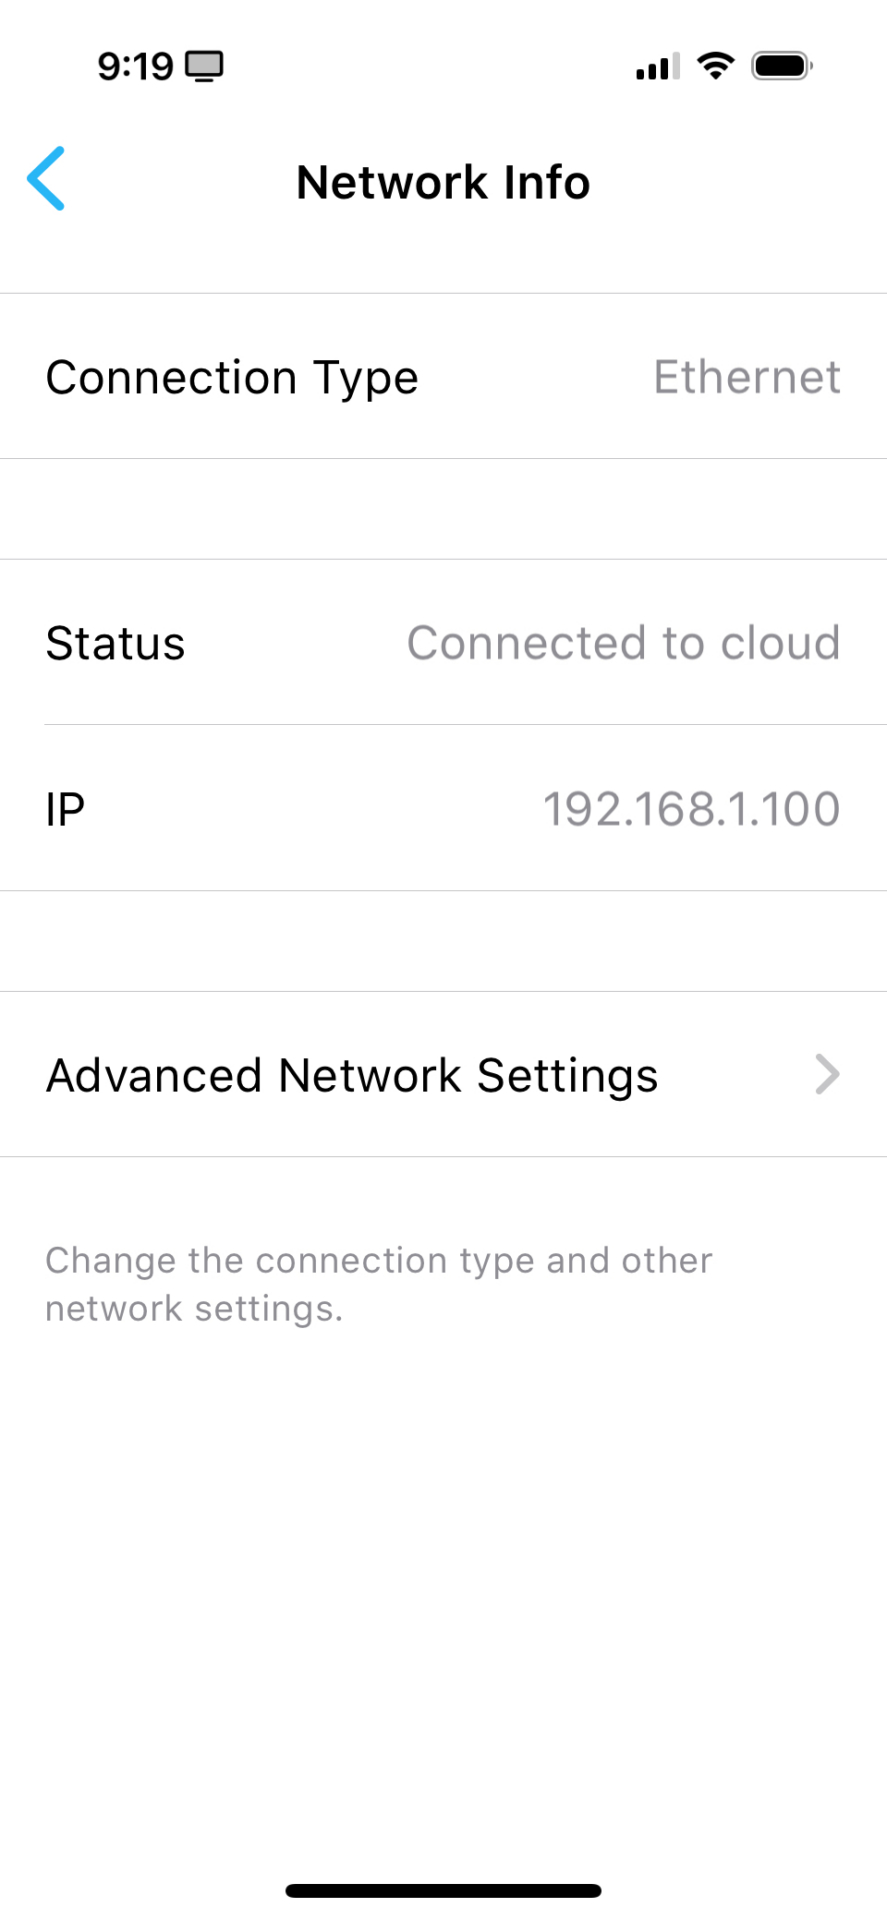
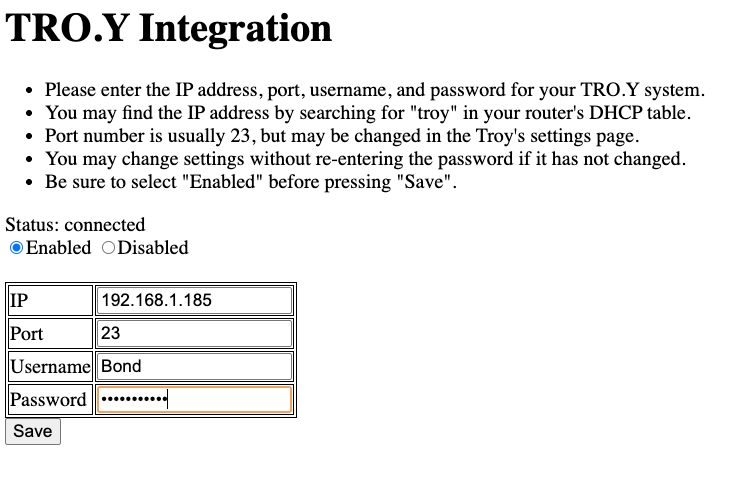
Verifying Bond Connection #
Power cycle your Bond Bridge Pro.
Ensure TRO.Y 2 and BBP are connected.
Open the TRO.Y 2 Dashboard.
Confirm the Telnet Server shows Good Connection.
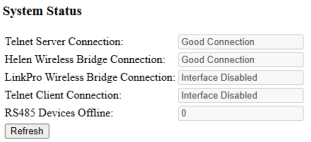
Open the Bond app and swipe down to refresh the page, and your shade will start populating.
If you add a shade later: Once added into TRO.Y, just swipe down in the Bond app to refresh and the new shade will appear.
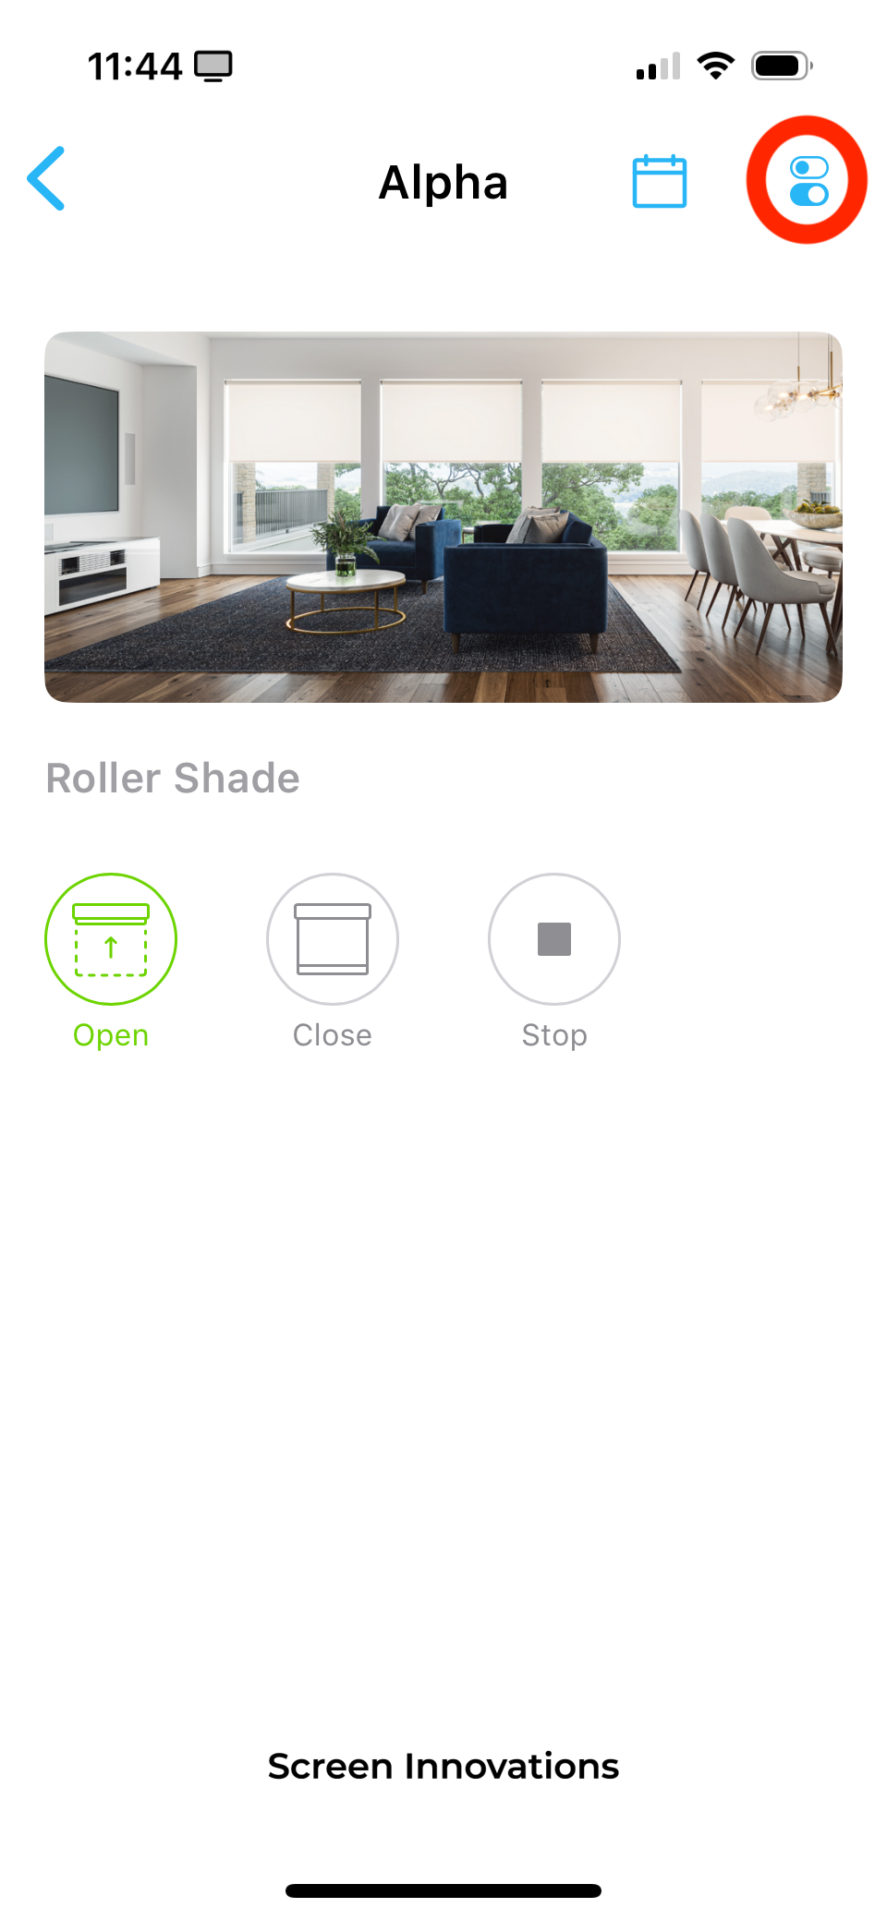
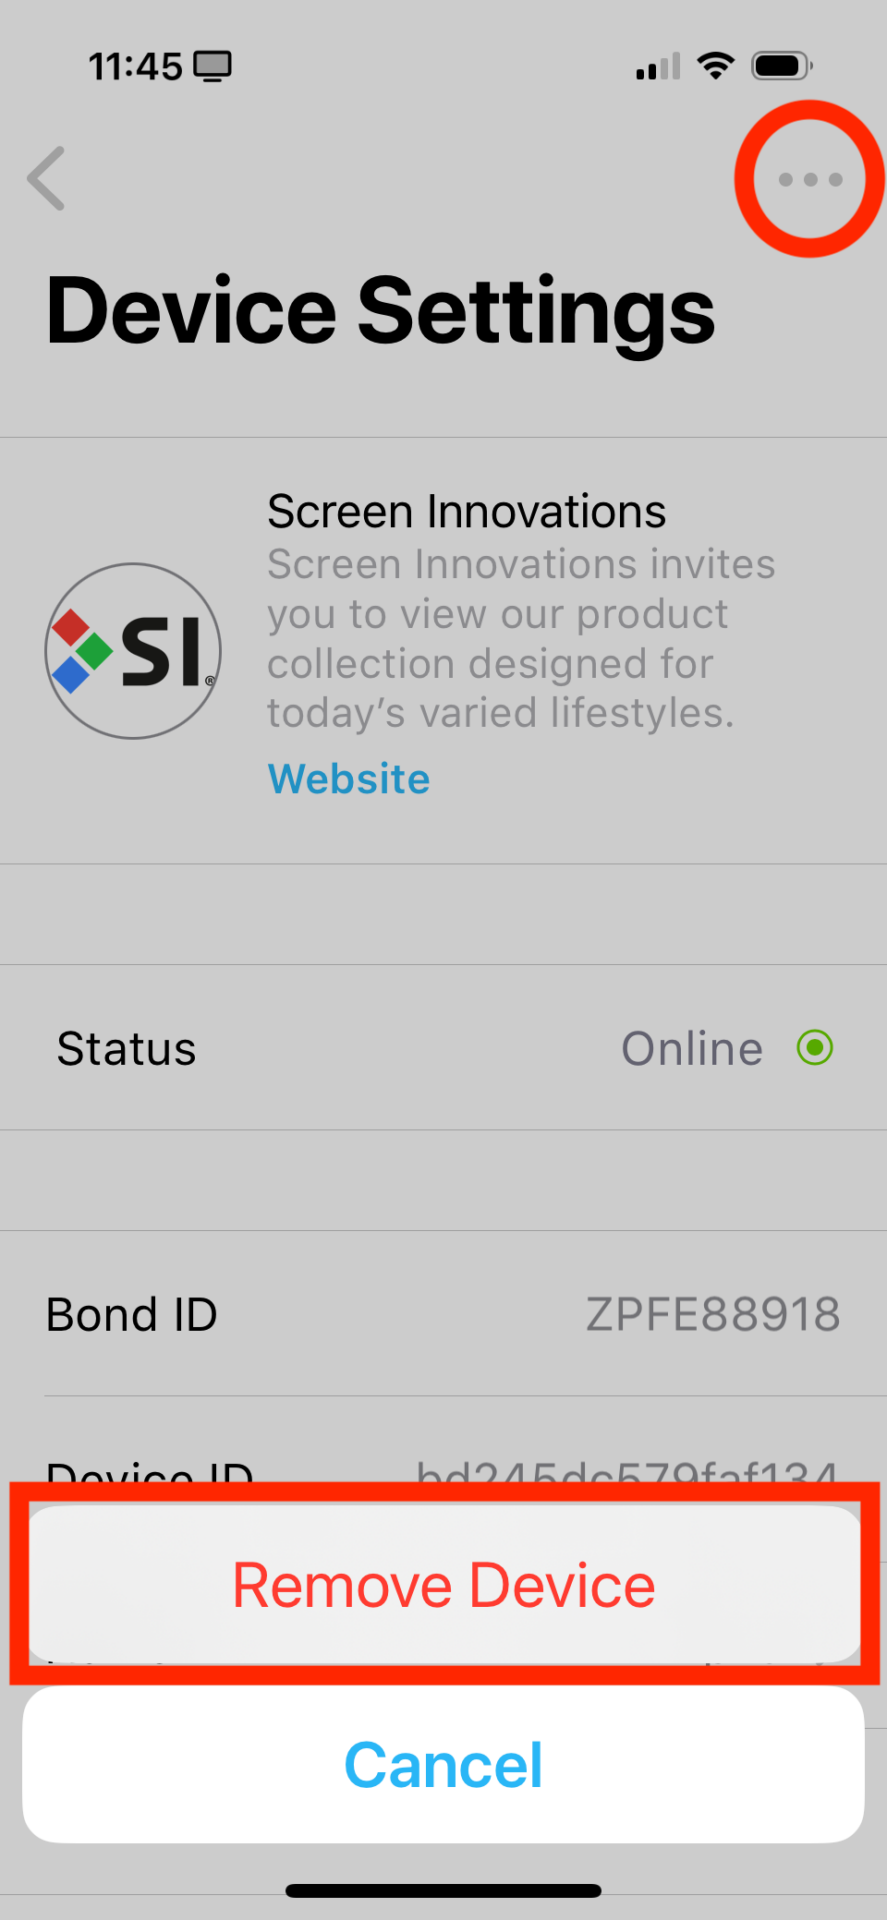
If you delete a shade: You must also delete it in the Bond App — it will not delete automatically.
Removing Shades from Bond #
Control4 #
Make sure the Telnet/JSON Settings are configured in TRO.Y first.
It is recommended to use a Static IP, or MAC reservation, or both on the TRO.Y and 3rd Party processor.
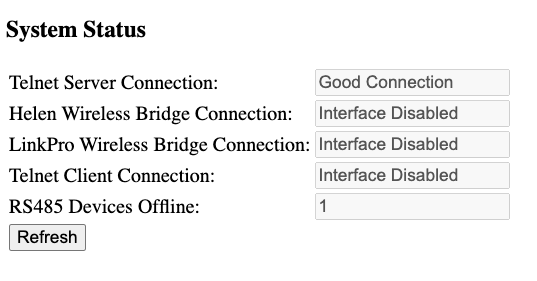
When the Control4 Gateway driver is setup, you will see a “Good Connection” in the TRO.Y’s Dashboard System Status.
C4 Composer – Network Settings #
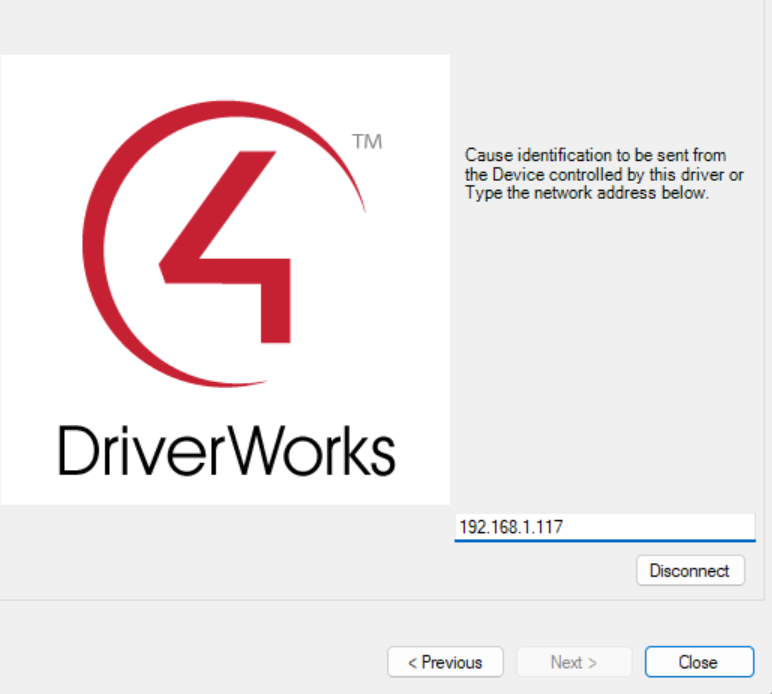
In the Connections tab under System Design, double-click the Screen Innovations Troy Gateway.
Enter the TRO.Y’s IP address and press Close.
In the Gateway Driver you will see the Operational Mode show: OK


C4 Composer – Adding Drivers #
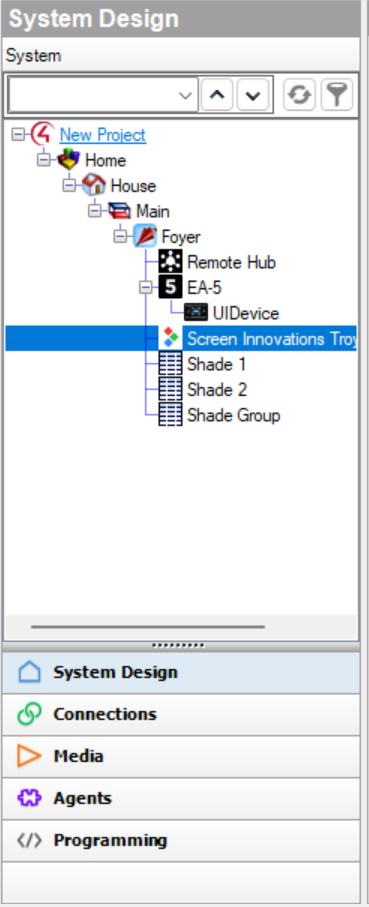
Search the Drivers for Screen Innovations, there will be 3 drivers to select and install:
Screen Innovations Troy Gateway – (Install only one instance of this Driver)
Screen Innovations Blind – (Install one driver for each individual shade in the system)
Screen Innovations Blind Group – (Install one driver for each shade group in the system)

C4 Composer – Gateway Driver #
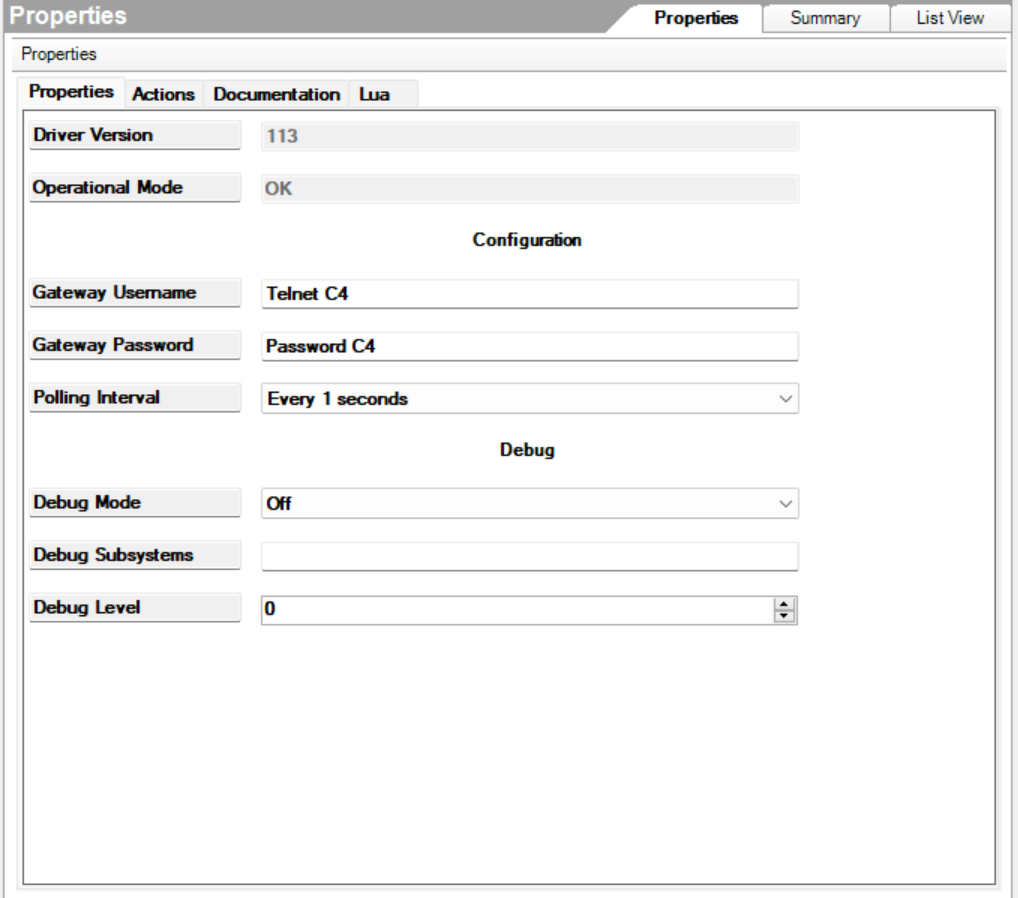
Enter the Gateway Username and Password used in the Telnet/JSON Server Settings of the TRO.Y
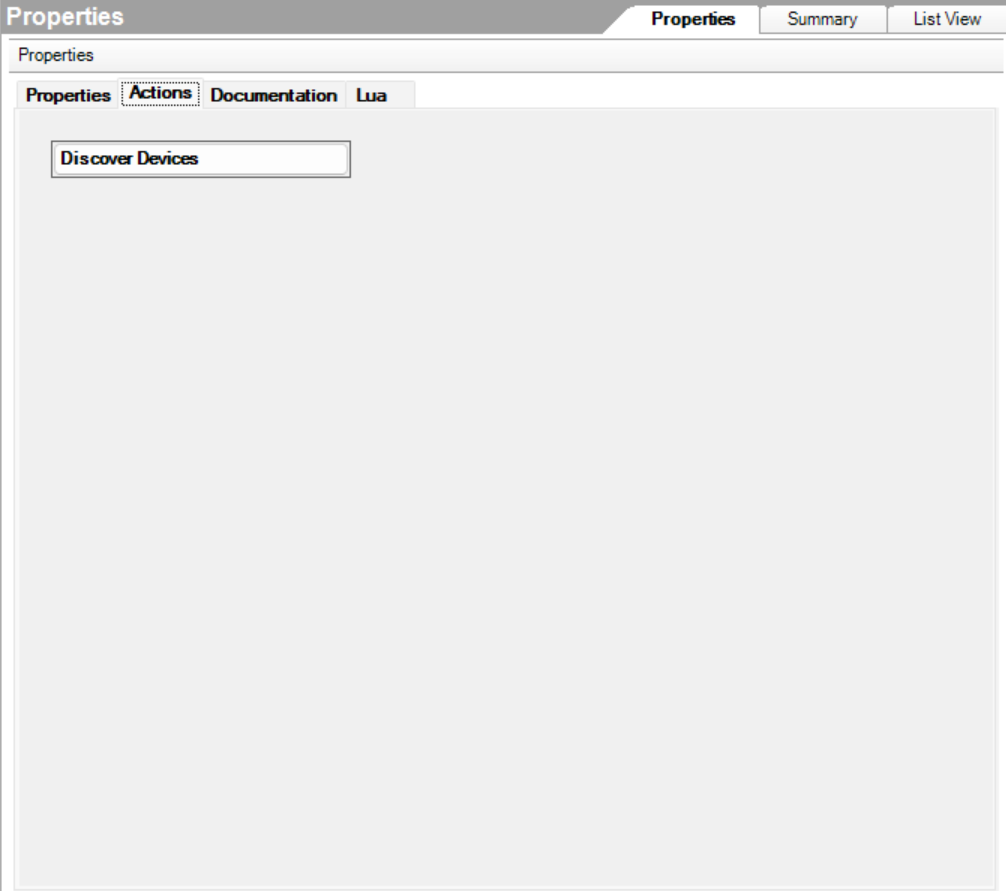
Select the ACTIONS tab and press the Discover Devices Button
C4 Composer – Blind Driver #
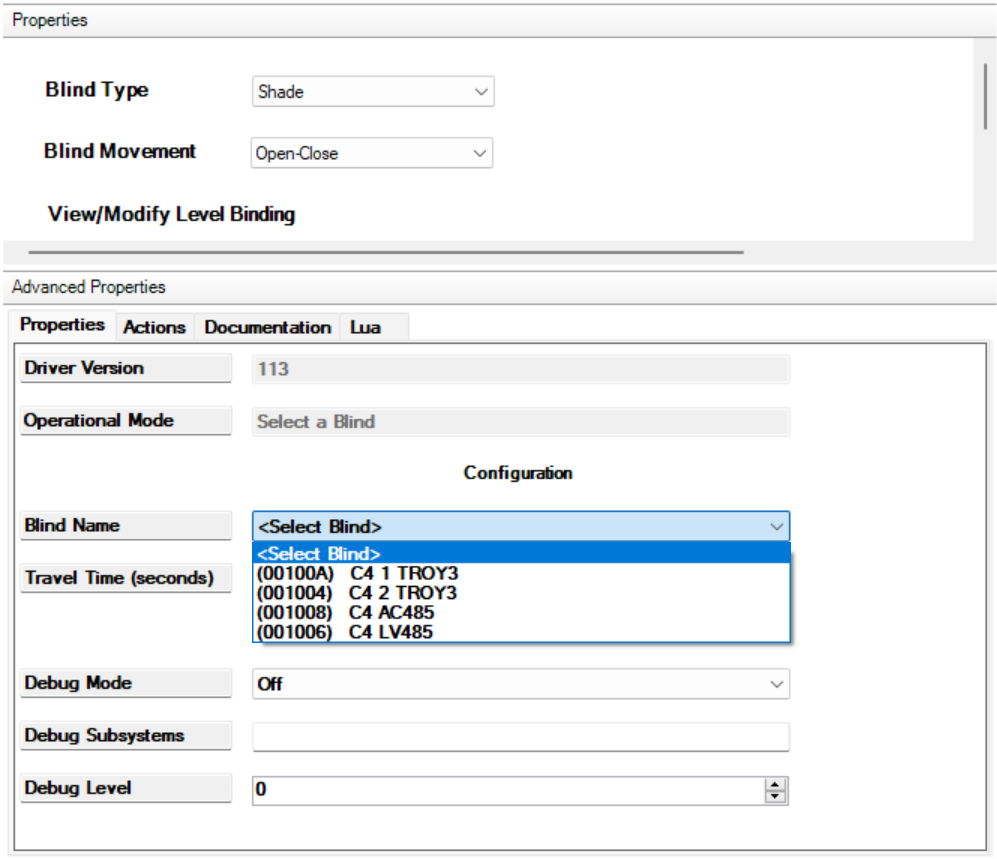
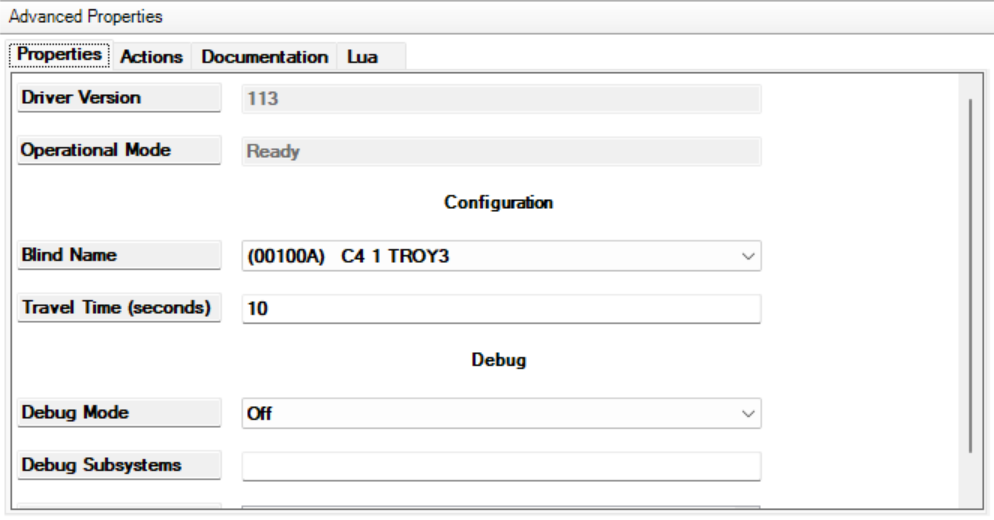
In the Blind Name drop down, select the shade for this driver.
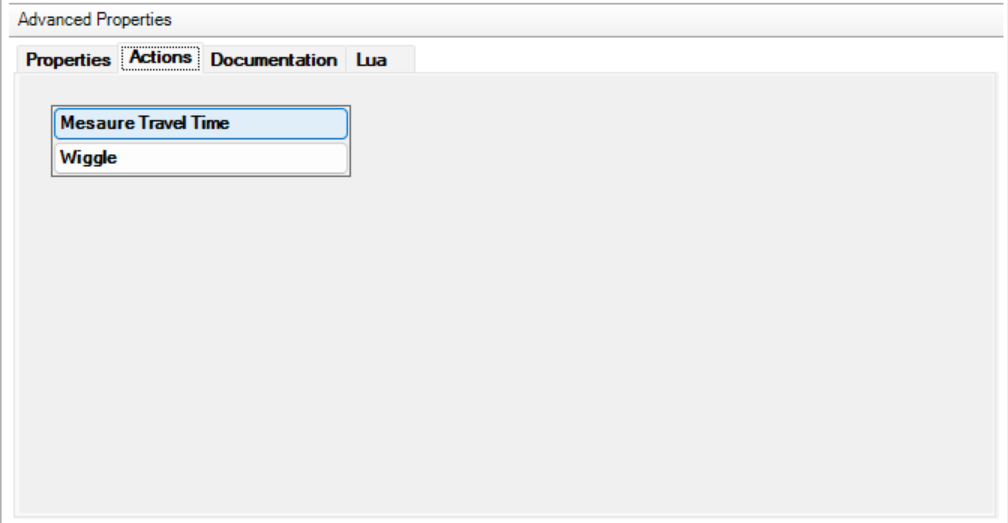
Select the ACTIONS tab, and press the Measure Travel Time button.
THIS IS REQUIRED FOR 2 WAY FEEDBACK
This will move the shade to calculate the travel time, and will show in seconds.
C4 Composer – Blind Group Driver #
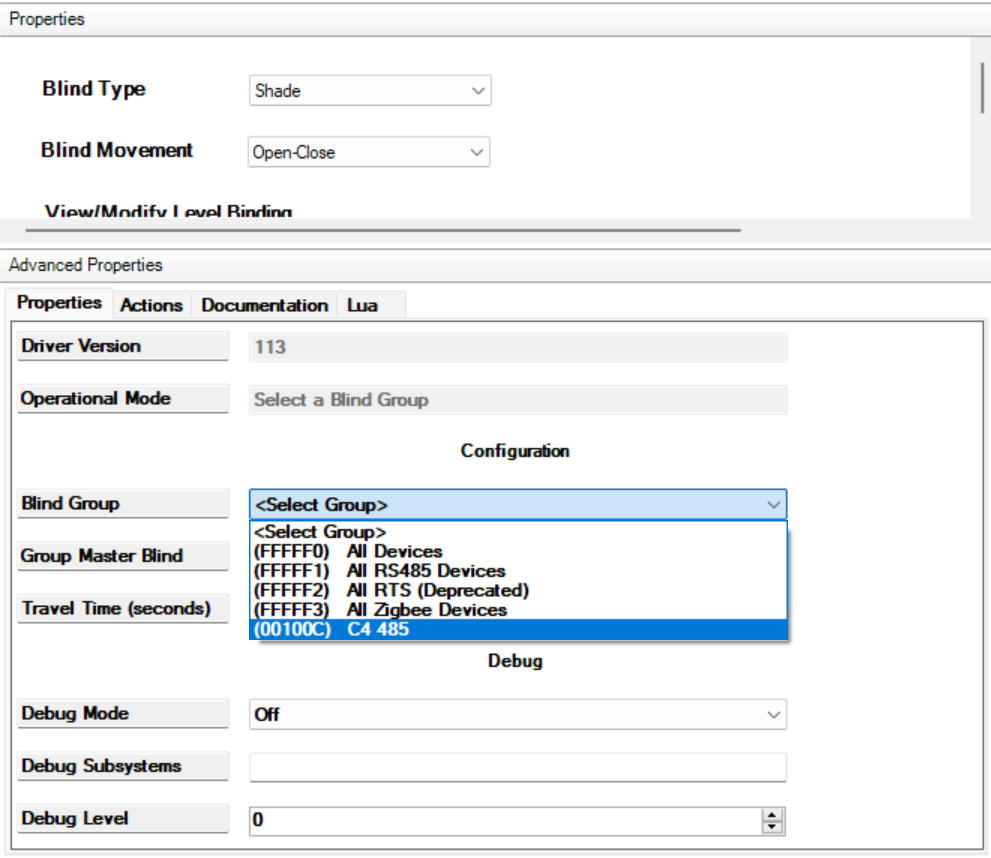
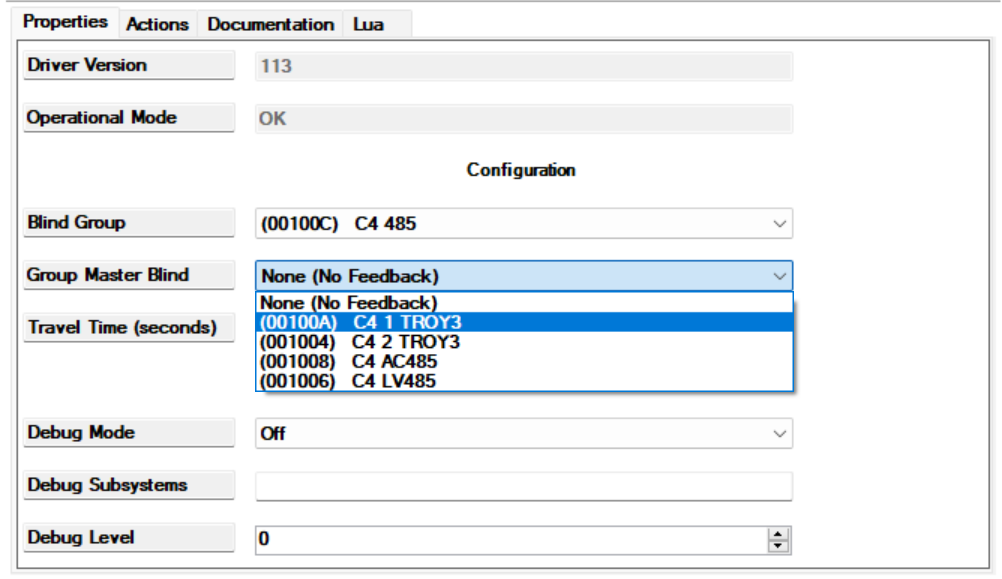
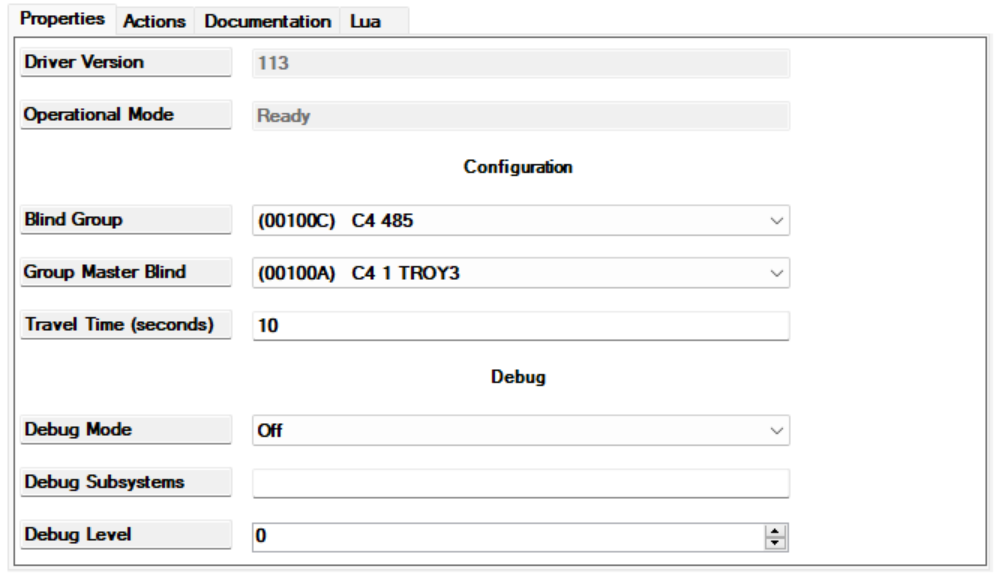
In the Blind Group drop down, select the Shade Group (created in TRO.Y)
In the Group Master Blind, select one shade in that group to be the Master, usually the largest shade of the group.
Select the ACTIONS tab and press the Measure Travel Time button.
THIS IS REQUIRED FOR 2 WAY FEEDBACK
Crestron HOME #
Crestron Home – Driver Setup #
You only need one instance of the platform driver. This will create 16 blind / group extension drivers that you can later configure to control a blind or group.
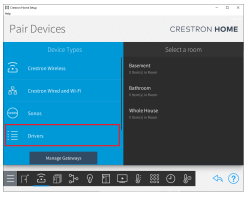
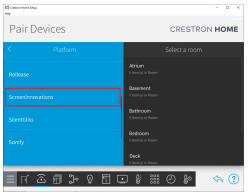
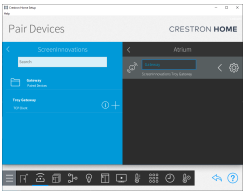
In Crestron Home Setup on the “Pair Devices” screen.
Select Drivers and wait for the spinner to stop spinning to allow drivers to update.
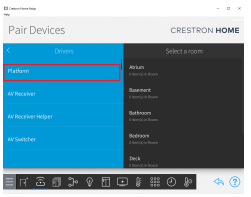
Select: Platform
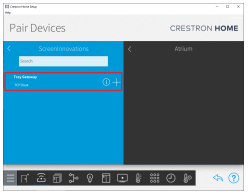
Select: Screen Innovations
Select a room and select Troy Gateway to install the driver in the room.
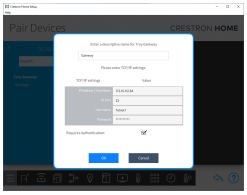
Enter the IP and port of the gateway, and the username and password (as entered when you login to the web interface of the gateway).
Port is 23
Leave Requires Authentication selected
Select OK
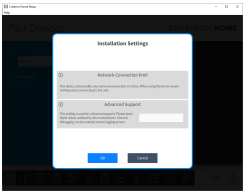
Leave Advanced Support blank.
Select OK.
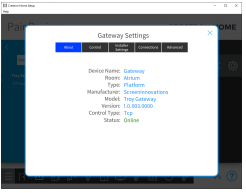
The driver status should now show Online.
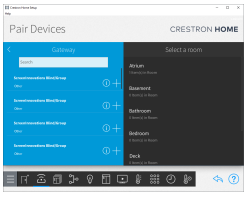
When the driver connects, it will automatically create 64 shade drivers in a folder that can be added to different rooms.
Select the folder and add a device to a room.
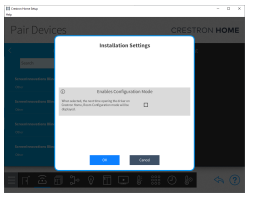
Click OK on the Installation settings leaving the “Enables Configuration Mode” check box unticked.
Crestron Home – Shade Driver #
To control a blind:
Deselect group control toggle, and select the individual blind to control in the dropdown.
Click Save
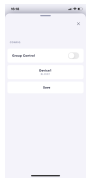
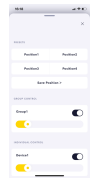
Shade Controls:
Slider toggles – for adjusting the group/shade levels and a toggle to fully open/close the shade.
Presets – To save a preset, adjust sliders to desired level, and click Save Position to save to one of 4 presets.
There are 4 preset buttons on the controls page to recall the presets.
Crestron Home – Shade Group Driver #
The Shade Extension driver supports:
Blind and group configuration touch panel screen
Blind / group touch panel controls
Programming of events and actions
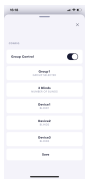
To control a group:
Select group control toggle and select the group to control in the dropdown.
Set the blind count (number of blinds in group), and then choose the individual blinds in the group.
THIS MUST MATCH THE GROUP CONFIGURATION EXACTLY AS SETUP IN THE TROY GATEWAY, OTHERWISE THE GROUP CONTROL/FEEDBACK WILL NOT WORK PROPERLY.
Click Save
Crestron SIMPL #
Use the Somfy UAI+ Module from the Crestron store.
Make sure the Telnet/JSON Settings are configured in TRO.Y first.
It is recommended to use a Static IP, or MAC reservation, or both on the TRO.Y and 3rd Party processor.
Lutron #
TRO.Y 2 can only integrate with Lutron QSC, Radio RA2, Radio RA2 Select, and Caseta Pro. QSX and Radio RA3 are not yet compatible.
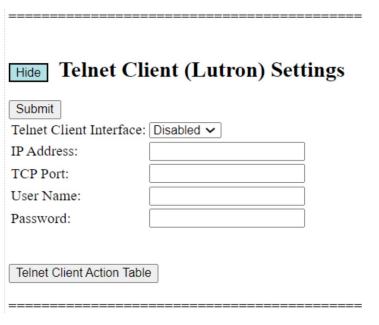
Default Lutron credentials:
User:lutron
Password:integration
Enable Telnet Support in Lutron App #
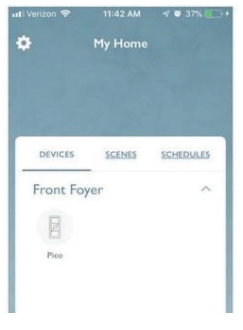
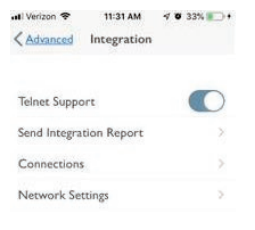
Launch the Lutron Caséta and RA2 Select App
Enable Telnet Support
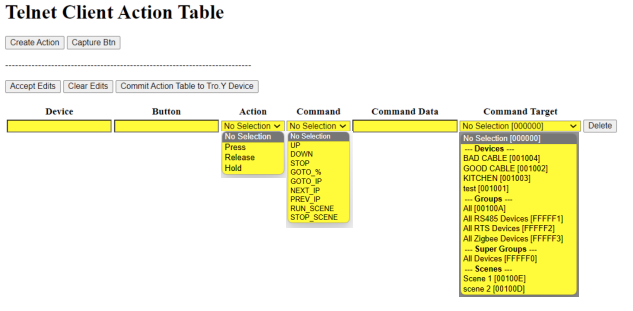
TRO.Y Lutron Settings #
Josh AI #
Important: Josh AI will not import groups from TRO.Y or RTS motors connected via Pegasus.
Steps for Integration via Auto-Discovery #
Log in to the JOSH Portal
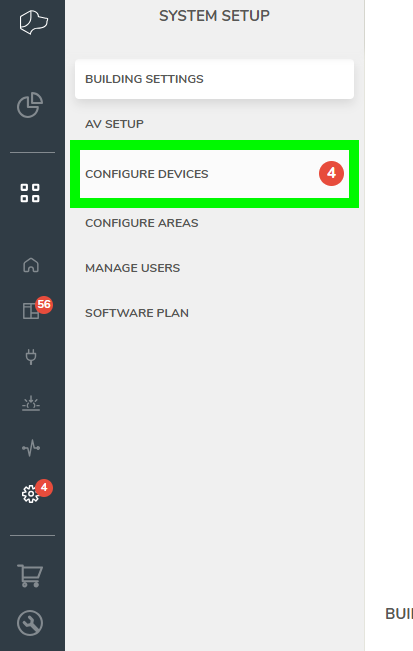
Navigate to Portal → System Setup → Configure Devices
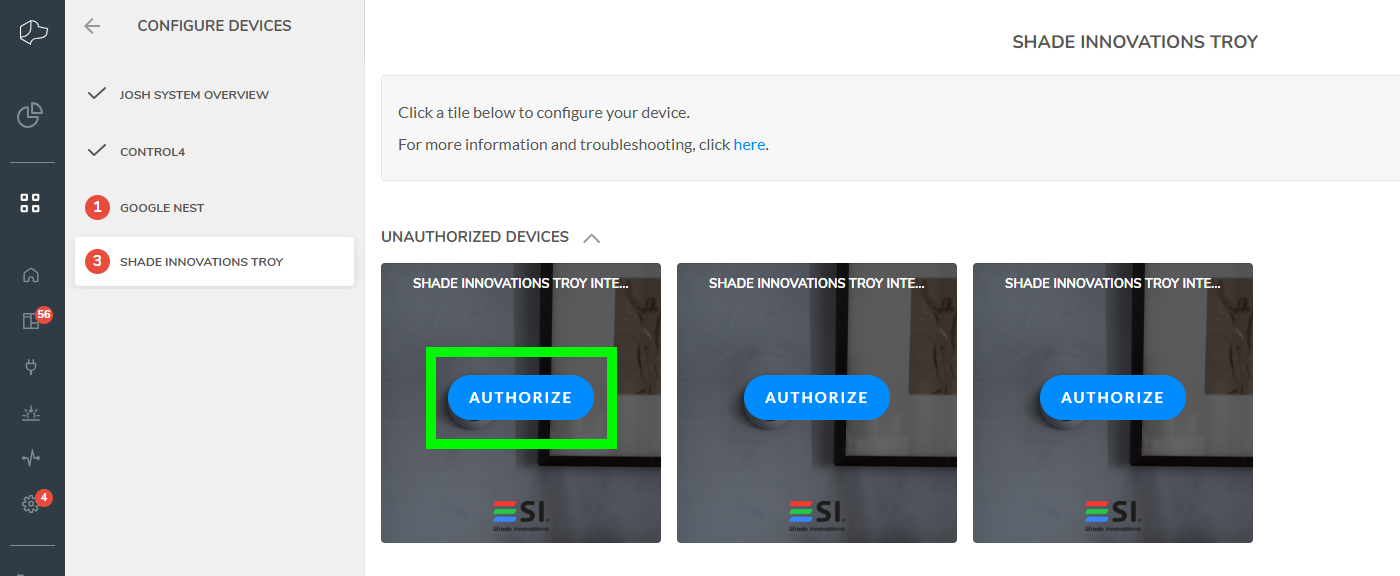
If the TRO.Y device was automatically discovered, it will appear in the Configure Devices list
Select the Shade Innovations TROY from the list and click Authorize
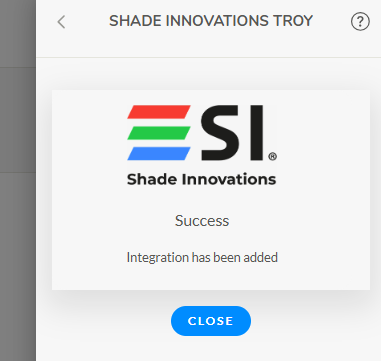
Enter the TRO.Y device’s IP address, then tap the reset button on the front of the TRO.Y (red LED should begin blinking). Click Next.
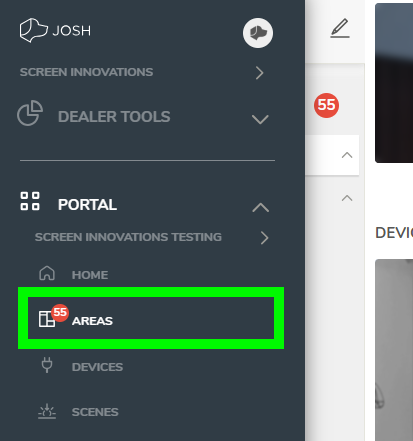
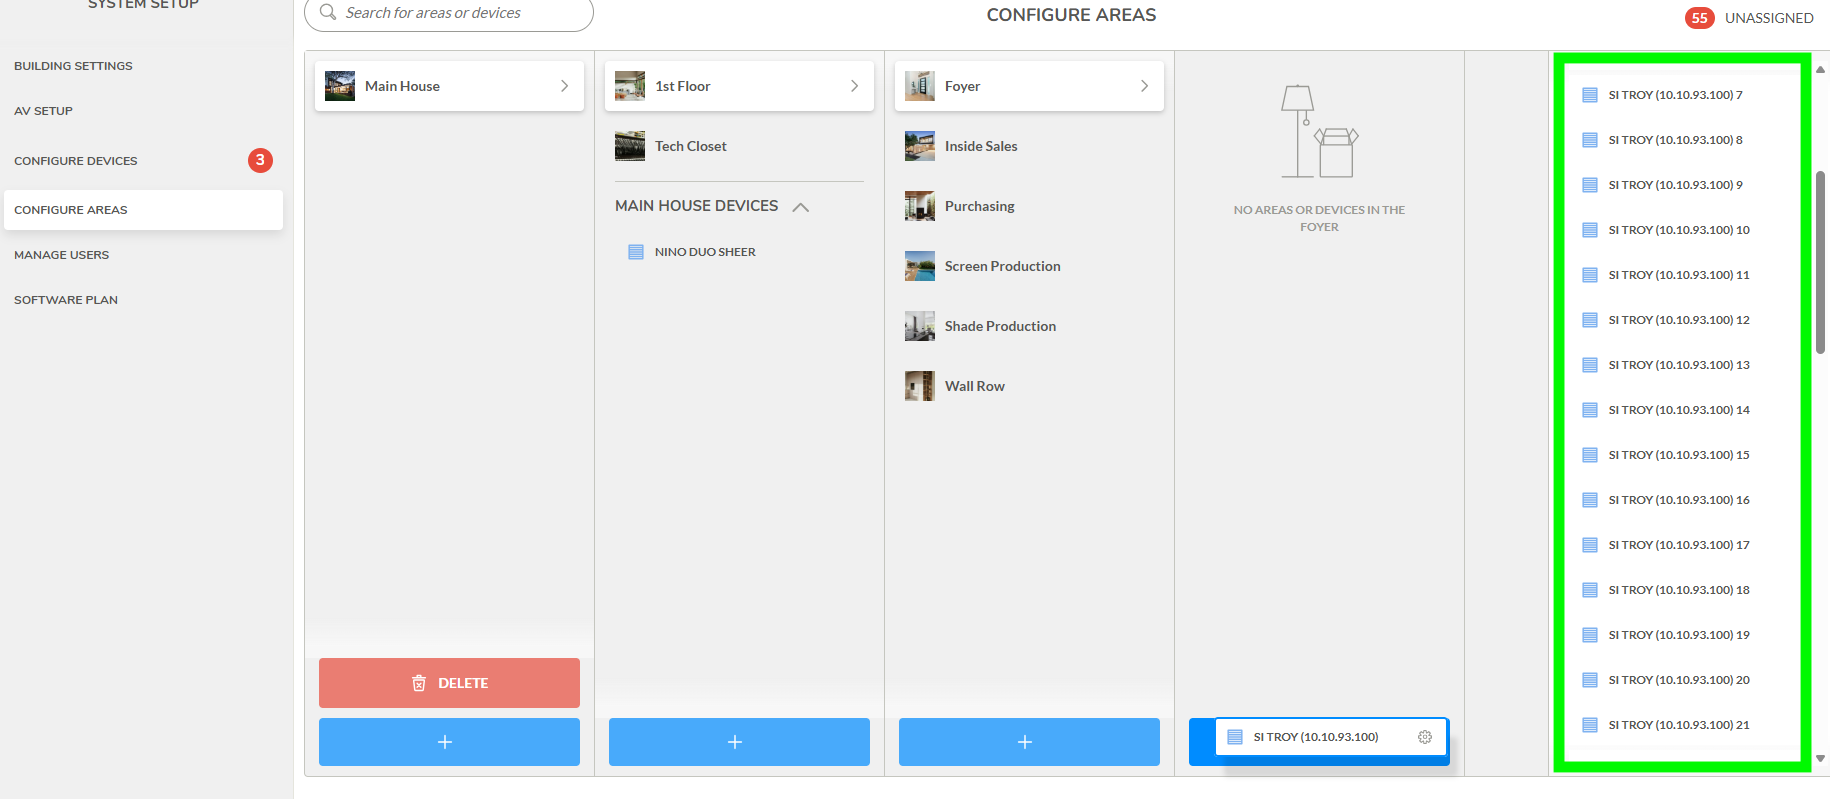
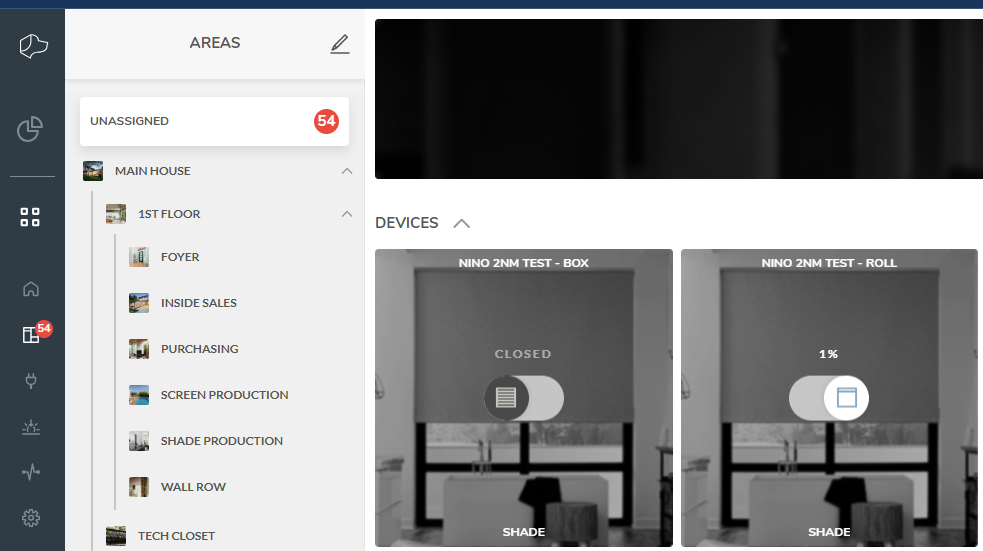
The devices connected to your TRO.Y will populate in the JOSH system under the Areas tab
Assign devices to their area using Configure Areas or the gear settings icon
Once configured, you can control TRO.Y devices through the JOSH system using the Areas page, mobile app, or voice commands



Manual Integration (If TRO.Y is Not Auto-Discovered) #
Navigate to System Setup → Configure Devices
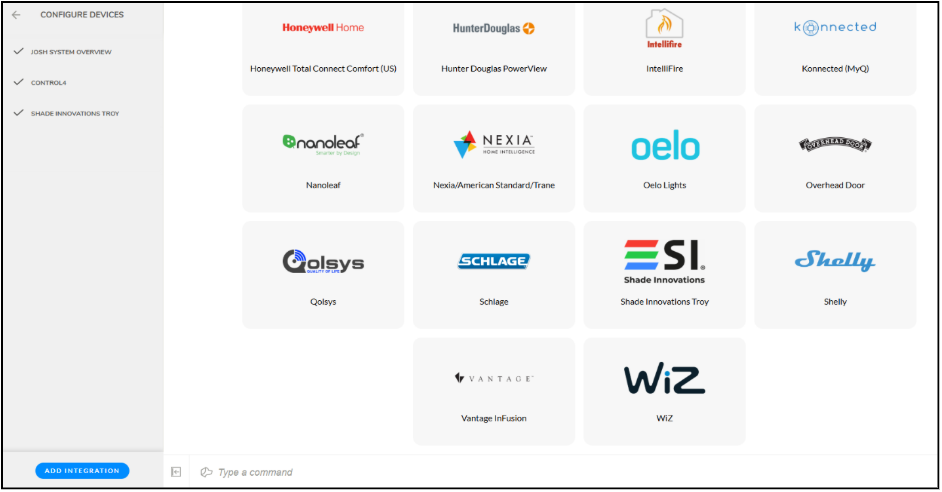
Click Add Integration, then search for and select the Shade Innovations logo
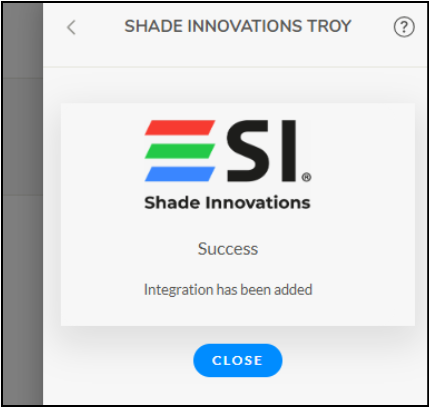
Enter the TRO.Y device’s IP address, then tap the reset button on the front of the TRO.Y, the red LED should begin blinking. Click Next.
Devices will begin populating under the Areas tab

Troubleshooting Tips #
Verify network settings and connectivity
Power Cycle both the TRO.Y and JOSH
Confirm red LED is flashing on TRO.Y when attempting integration



